Whether you're a content creator, A video agency, an aspiring filmmaker, or someone who wants to work on video editing, adding backgrounds to your footage has become easy. Here is how to add background to video using one of the industry's leading editing software: Cap Cut, Adobe Premiere Pro, Movivo, Video Leap, and Kapwing.
We will also look at what you should do to get the best outcome from editing a background to a video. This guide will cover everything you need to know about adding a background to a video.
Popular Methods to Use to Add Background to Video
Video editing software
Video editing software such as Adobe Premiere Pro, cupcut, and others offer the flexibility to add backgrounds to videos. The basic steps for adding a background using most software are as follows:
Layering
Import the video footage and the background image or video into the software. Place the background on a lower layer and the main video on a higher layer to create the desired effect like a lower shot.
Masking
Use masking tools to define the areas where the background will be visible. This allows for precise control over which parts of the video will show the background.
Chroma Keying
Some software, like Adobe Premiere Pro, offer chroma keying features to remove a specific color from the video, often a green or blue screen, and replace it with the background.
Mobile apps
Online platforms and apps like Kapwing, VEED, and others provide convenient and user-friendly options when you want to add background to videos. These tools offer functionalities such as:
Background Templates
There is a range of background templates to choose from. These allow users to customize the background to what they want. You can Choose what fits you and there are many for different videos .
Chroma Key Function
The chroma essential function is like a magic tool that helps you put a different background in your videos. It works by picking a specific color in your video (usually green or blue) and replacing it with another background image or video.
Real-time Background Change
Certain apps allow changing the background of the camera video in real-time.
These methods provide various options when you want to add background to video, catering to professional and casual video editing needs.
Choosing the Right Background
When adding a background to a video, there are several types to consider, each with its characteristics and uses. The main types of backgrounds for videos include:
Static Images
Still, pictures can be used as backgrounds for videos. These can be photographs, illustrations, or graphics that complement the video content.
Dynamic Images
These are moving images or animations that can serve as backgrounds for videos. They offer a different aspect to the visual presentation and can be used to create engaging visual effects.
Videos
Videos can also be used as backgrounds for other videos. This technique is mainly used for video production to create specific moods to provide context for the main content.
Solid colors
Using a solid color as a background is a simple and effective way to make the main video content stand out. It can help to create a clean presentation and is often used in professional settings.

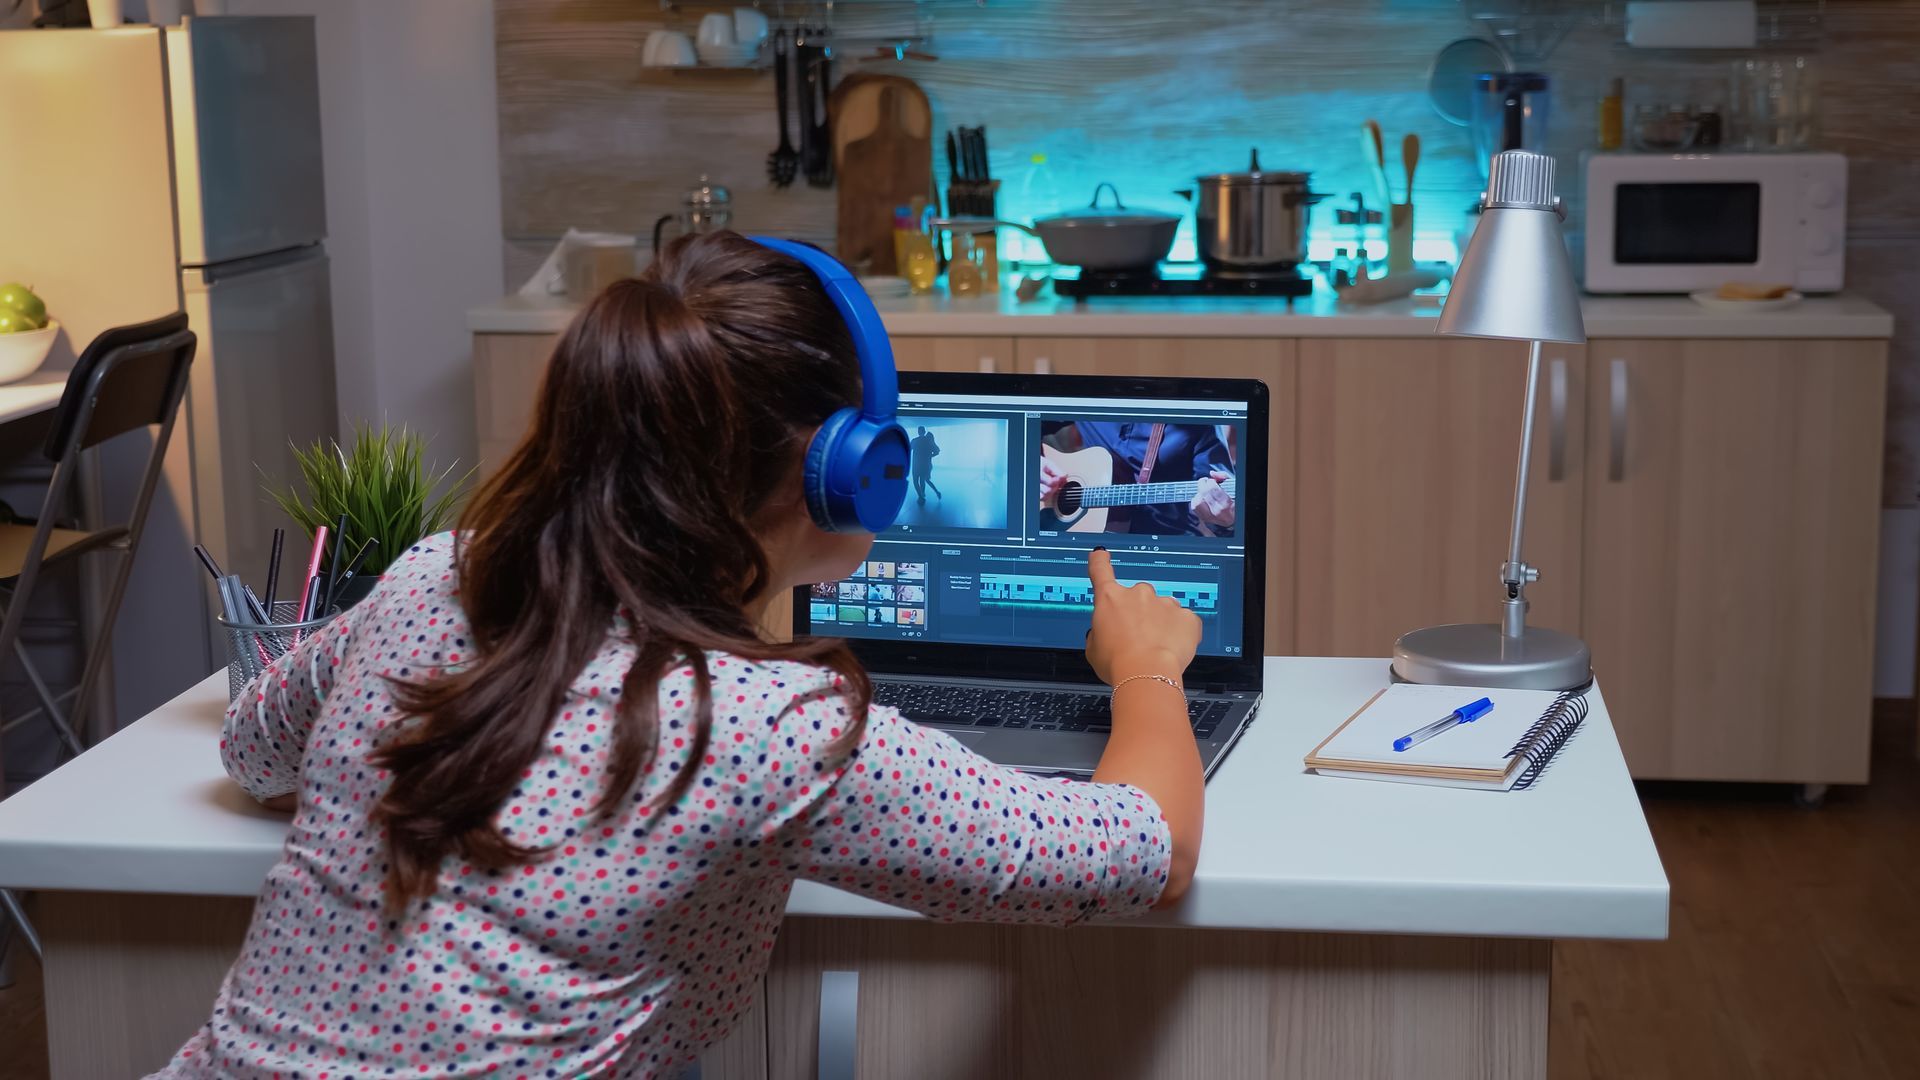
1. How to Add background to video using cap cut
First, open up Cap Cut and start a new project. Then, in the timeline area in the top left, ensure you're in the media tab, click import, navigate to your content, click it, and click open. It will be added to this bin. Click and drag your content onto the timeline.
The next step is to remove the background, so in the top right, click the cutout tab, and below that, click Auto cutout. Then, to the right, it will say processing, and once this reaches 100, your background will be removed entirely.
Now that the background is removed grab the playhead on your timeline and go through your video content to remove the background throughout your whole clip.
Grab your video content, move it to the video track above the current one, and then mute it. You can add the backgrounds to the original video track. On the top left, click Library and drag in your new video background from the options. Pull in the video background of your choice, then scroll down and place it on the second empty track.
You can also click your video content, grab the corners, change the size to what you want, and then click and drag the content to where you want. Then, when you press play, you will see that the video background is changing.
If you are having the issue where the auto cutout isn't taking your background away, what you want to do is go to the top left. In the media tab, click local, then click Import, and your video content will be there. Click it, click delete, confirm, and close out of the cap cut.
Once you're on this page, go to settings at this operator, then click settings again, and then in this project tab, go below it. So you see the cache size, click the trash can, and click ok. Click cancel, close out a cap cut, fully reopen it, go back into your project, and then do the same steps as before to import your content and do the auto cutout, and that problem will be fixed.
2. How to Add Background to Video With a Green Screen Using CapCut
Initiate a new project within CapCut. Import the video clip that will serve as your background into the project.
Add Overlay
Navigate to the bottom of the screen and locate the Overlay option. Click on it, then tap Add overlay to lay down your videos.
Select Green Screen Video
Choose the specific green screen video from your media library that you intend to overlay onto the background.
Adjust Green Screen Video
Please tap on the green screen video within the timeline for it to get highlighted or to prepare for further adjustments.
Activate Chrome Key
Scroll through the tools at the bottom until you find the Chrome key button. Click on this button to get to the chroma key functionality.
Choose Green Color
Upon tapping the Chrome key, a color picker will appear. Select the green or color you want to eliminate from the video as the background.
Adjust Chroma Key Intensity
Utilize the chroma key intensity slider to fine-tune the removal of the selected color. Adjust the slider until the green color is removed, leaving your desired background.
Utilize the Shadow Option
Using the shadow option, you can blend the shadow of your foreground with the background. Adjust as needed to achieve the desired visual effect.
Save and Export
Once satisfied with it, save your project. Export the final video with the added background by clicking on export.
Background Remover Feature
CapCut offers a convenient Background Remover feature. Tap the green screen video within the timeline, locate it, and select the Remove background option. Allow the app to automatically eliminate the green screen background, streamlining the process for users seeking a quicker solution.
3. How to add a background using Adobe Premiere Pro
Open Adobe Premiere Pro and import your video. Do this by navigating to the file and selecting import. Choose the video file you want to edit.
Create a New Sequence
Inside the project panel, click on the New Item icon. From the dropdown menu, select Sequence. This creates a new sequence where you can edit your video project.
Add Your Footage to the Timeline
Drag your main video footage from the project panel to the timeline at the bottom of the screen. The timeline is where you arrange and edit the various elements of your video.
Add Your Background
Import your background into the project panel. Drag this background from the project panel to the timeline, placing it on a lower track than your main footage.
Adjust the Background
Select the background on the timeline. Use the Effects Control panel in the top-left workspace to adjust the background position, scale, and opacity. This ensures it fits and complements your main footage.
Mask the Foreground Video
Select the main footage (foreground) on the timeline. Go to the Effects panel, usually situated in the bottom-right workspace. Look for the crop effect in this area and apply it to the central footage. This is a crucial step for blending the two videos seamlessly.
Use Crop Effect to Mask
Utilize the Crop effect to create a mask on the foreground video. Adjust the settings to mask out the foreground subject, revealing the background video underneath. This step is essential for achieving a clean and integrated look.
Export Your Video
Once satisfied with your edited video, go to a file, choose Export, and then Media. Set your desired export settings, such as format and resolution. Click on Export to save your final video file to your preferred location. Add background to video using Adobe Premier Pro.
4. How to add a background to a video using Movivo
Begin by downloading and installing Movavi Video Editor on your computer or phone. Once installed, open the program and import the video files and background images you wish to add to your project. Add Your Video to the Timeline
Create an Additional Video Track
Click the Add icon in the toolbar to accommodate the background video. From the dropdown menu, select the item Add Video Track. This action creates a new track where you can place additional items.
Move Your Video to the New Track
Now, take the video you want to edit and drag it onto the newly created track. This step ensures that your primary content is appropriately positioned for adding the background video.
Add a Background Image to the Timeline
Import the background image that you intend to use. You can get it from the backgrounds section. Drag this image to a lower track on the timeline, where it will serve as the backdrop for your main video.
Adjust Background Duration
To control the timing and duration of the background image, drag the right edge of the image on the timeline. Ensure that it aligns with the right edge of the video track. You can remove it when you want it to show on the video. Adjust the size and position of the video on the background to what you want it to look like
Save the Video
Once satisfied with the arrangement and appearance, click the Export button in the top menu. Choose the desired video format and quality settings, and designate the destination folder for your final video. Finally, click Start to initiate the export process.
How to Add Background to Video Using Video Leap
Tap the red plus button to the right of your video timeline. Choose the file from your camera roll. This will open in Videoleap and appear on the timeline at the end or beginning.
Drag your original video containing the isolated subject over the background clip to create a new layer in your timeline.
Trim the ends of the entire video using the arrow tools given.
If your isolated subject needs to be in the correct position over your background video, drag the video of your secret subject to the right place.
To remove the background from your video, tap the video and select Cutout on the bottom toolbar. Experiment with the intensity and shadow tools until your subject is isolated effectively without losing detail.
Tap the red plus sign in the video editing screen to import a replacement background video or image. Choose your preferred background from the stock library or import your background from your camera roll.
Tap the half-filled-in circle icon above the main toolbar to keep the isolated background and remove the subject.
After editing the video to what you want, tap export in the top right corner.
5. How to add a background to a video using Kapwing
Go to Kapwing and upload your video. Pick a video file from your device or paste a URL into the upload bar.
Click on the effects tab on the right. Choose to remove the background to get rid of the original background. Drag your new background (image, video, or GIF) onto your video. Right-click and select send backward to place it in the background.
Once you're done, click export. Download your final video and share it on your favorite platform to let others see your creation online.
6. How to Add a Background Using DaVinci Resolve
- Open DaVinci Resolve and start a new project. Import your video clip and the background image you want to add.
- Drag your video clip onto the timeline.
- Place the background image on a layer below the video clip.
- Resize and position the background image to cover the entire frame. Extend the duration of the image in the background to match the length of your video clip.
- Use blending modes to merge the background with the video. Experiment with different options to get what you want for your video.
- Play through your project to see how the background interacts with the video. Make any necessary adjustments to ensure the background enhances your video.
- Once you're satisfied with the result, export your video with the added background. Choose the desired format, resolution, and settings for your final video.

7. Adding a Background to Your Video Using FlexClip
Click on New Project and choose a project type that fits your needs. For example, select YouTube to make YouTube videos.
- Browse the library of pre-made templates or start from scratch by clicking Blank.
- Click the Background tab below the timeline to add a background image or video. Upload photos or videos or browse the extensive collection of stock images and videos available within FlexClip.
- Drag and drop it onto the canvas. If you need to change the background size, click and remove the edges until it looks perfect.
- To edit the background further, double-click on it to open the editor panel. After completing your edits, add elements like text, shapes, animations, or voiceover to your video.
- It lets you preview your video by clicking the Play button above the timeline.
- download your completed video in the desired format and dimensions for uploading to YouTube.
Factors to consider when choosing a background
Matching the theme and tone of the video
The background should have relevant content depending on the topic of the video and the overall tone of the video. It does the introductory work and combines everything to make the movie engaging and coherent.
Ensuring visual clarity and avoiding clutter
A cluttered background could bend viewers ‘ eyes off the video's central message. The background must be simple to keep the viewers' attention and relevant to the video content.
Considering the aspect ratio and resolution of the background
The background should have the same aspect ratio and resolution as the image in the video to avoid distortion or pixelation. Ensure that the resolution and aspect ratio of the background match that of the video content.
Relevance to the content
The background has to be suitable for the video's content and the target user. The background should match and complement the video’s content for the crowd. An appropriate background brings a sense of vicariousness to the spectator.
Lighting
The correct lighting is essential to have an excellent video. Lighting can help you to balance the video and make it better. Use direct light (sunlight or artificial) and avoid casting shadows. This will create a flattering appearance. Maintain a coherent design to build your brand's distinctive and recognizable style—consistency results in brand recognition and reflection of the brand identity.
Color
Choose a background color that complements the subject and other props in the frame. Pay special attention to movement and color to reduce distractions. Striking a balance ensures that the background complements, rather than competes with, the video's main content.
Consistency and branding
Steadiness in your background will build an exciting style/recognition for your brand. Keeping a consistent background will help develop a brand style that will be recognizable. Consistency makes the brand recognize and reestablishes the values of the video.
Camera framing and composition
Experiment with different camera angles and points of view until you discover the most visually appealing shot type. Conduct trials using various types of camera shots to find the best looks. Favorable image composition and careful framing contribute to the video‘s professionalism and captivating feel.
Angle and framing
Consider how different camera shot types, angles and framing will be shot to prevent the backdrop from becoming a distraction. Now let the angle and the way the camera shot is composed work in your favor, and avoid having the background play the role of a distraction. Thoughtful composition directs the viewer's focus to the intended focal points of the video.
Tips for Creating Effective Video Backgrounds
Choose the Right Background
Ensure the background aligns with your video's content and does not divert attention. Opt for backgrounds that enhance the overall message and theme.
Keep the Background Simple
Use something simple for the background to prevent overwhelming the viewer. Simplicity fosters clarity, allowing the audience to focus on the primary content.
Optimise Video File Size
Keep video file sizes small to eliminate buffering issues during playback—Prioritise efficient compression techniques without compromising video quality.
Use High-Quality Backgrounds
Employ high-quality backgrounds to maintain the overall video's visual integrity. High-resolution backgrounds contribute to a polished and professional appearance.
Consider Mobile Fallback Images
Enhance the mobile viewing experience with animated .gif fallback images. Ensure a seamless transition between different devices for a consistent user experience.
Styling Your Background
Apply stylized filters and overlay colors to create a custom look. Consistent styling enhances brand identity and contributes to a visually appealing backdrop.
Use Videos for Dynamic Effects
Incorporate background videos for a dynamic visual experience. Add text and images over background videos to convey additional information or reinforce key points.
Final Words on How to Add Background to Video
Adding background to a video is not just a technical process but also creativity and helps to improve the impact of the video you want to edit. You have gotten the steps to seamlessly integrate backgrounds into your videos through different video editing tools. Some offer you the tools to elevate your content to a new level.
Video editing offers endless possibilities as technology evolves and creativity continues to thrive. So, armed with the knowledge from this guide, find ways to transform your videos into captivating videos that leave a lasting impression. Contact for professional video production consulting services.

Get total clarity on your video marketing and paid media with our FREE comprehensive data audit.
CINESALON NEWS