Welcome to the world of YouTube video annotations. Standing out has become a challenging task in the vast ocean of digital content. As content creators, we must utilize every tool to enhance viewer engagement and retention. One such powerful tool is YouTube annotations. Yet, many are still unaware of its potential and how to use it.
This article is your comprehensive guide to exploring and mastering YouTube annotations. We will walk you through annotations, why they're vital for your video's success, and, most importantly, how to annotate your YouTube videos like a pro within a few minutes. By the end of this article, you'll be well-equipped to use annotations effectively, turning your videos into interactive, engaging, and audience-friendly content.
With the knowledge you gain here, you can transform how your audience interacts with your content, helping you stand out and make a mark in the competitive world of YouTube.
Why is this Article Important?
The world of YouTube is not just about creating and uploading videos. It's about creating an interactive platform to communicate effectively with your viewers. YouTube annotations allow you to do just that. Annotations provide you with a way to add interactive commentary to your videos. They act like pop-up texts that guide, inform, and engage viewers while watching your videos.
Learning to use annotations correctly can give your videos an edge over others, significantly improving the viewers' experience. This guide is designed with a detailed yet straightforward approach to empower you, whether a seasoned YouTuber or a beginner, to effectively use YouTube annotations to your advantage.
From explaining the basics, creating annotations, sharing tips and tricks, and common mistakes to avoid, to even understanding YouTube analytics for annotations, we've got it all covered for you.
In essence, this article aims to take you from just a YouTube video creator to a 'YouTube Pro' - a well-deserved title for anyone who can annotate their videos effectively.

Understanding Annotations and Their Importance
Let's first grasp what YouTube annotations are. Simply put, they're tools that help you layer text, links, and hotspots over your video. Think of them as interactive signposts guiding your viewers through the video content.
Now, why should you use them? There are many reasons.
The Role of Annotations in Video Marketing
Annotations serve as a powerful marketing tool. They can direct viewers to your other videos, increasing watch time across your channel. Also, they can lead viewers to your website or merchandise store. By doing this, annotations turn passive viewers into active participants, enhancing viewer engagement.
Enhancing Viewer Engagement and Retention
Annotations are more than marketing tools. They contribute to viewer engagement and retention. For instance, they can provide context to your video or clarify complex points. In a long video, they can guide viewers to interesting sections. As a result, viewers stay longer on your channel and engage more with your content.
All these aspects combined make annotations an essential part of your YouTube strategy. They give you a way to interact with your viewers actively. Plus, they enhance your video content, making it more accessible and engaging. With that in mind, let's learn about the types of YouTube annotations.
Basics of YouTube Annotations
Before diving into creating annotations, let's familiarize ourselves with the types. Knowing each type's function can help you make the right choice for your video content.
A. Speech Bubble
This is a pop-up bubble that displays text over your video. It's useful for adding dialogue or extra information.
B. Note
Notes are simple, rectangular text overlays. These are ideal for short, clear messages or calls to action.
C. Title
Title annotations let you overlay big, bold text onto your video. This is perfect for highlighting important points or sections.
D. Spotlight
Spotlights are invisible until you hover over them. They are great for highlighting specific areas of the video. You can add text that appears when a viewer hovers over the box.
E. Label
Labels are similar to spotlights but include a text box visible at all times. These are excellent for labeling parts of the video.
Understanding these types will help you choose the right annotation for your video. Remember, the goal is to enhance viewer interaction, not disrupt it.
How to Create Annotations
Once you understand the types of annotations, the next step is to create them. It's a simple process that can greatly impact your content.
A. Step-by-step guide on creating each type of annotation
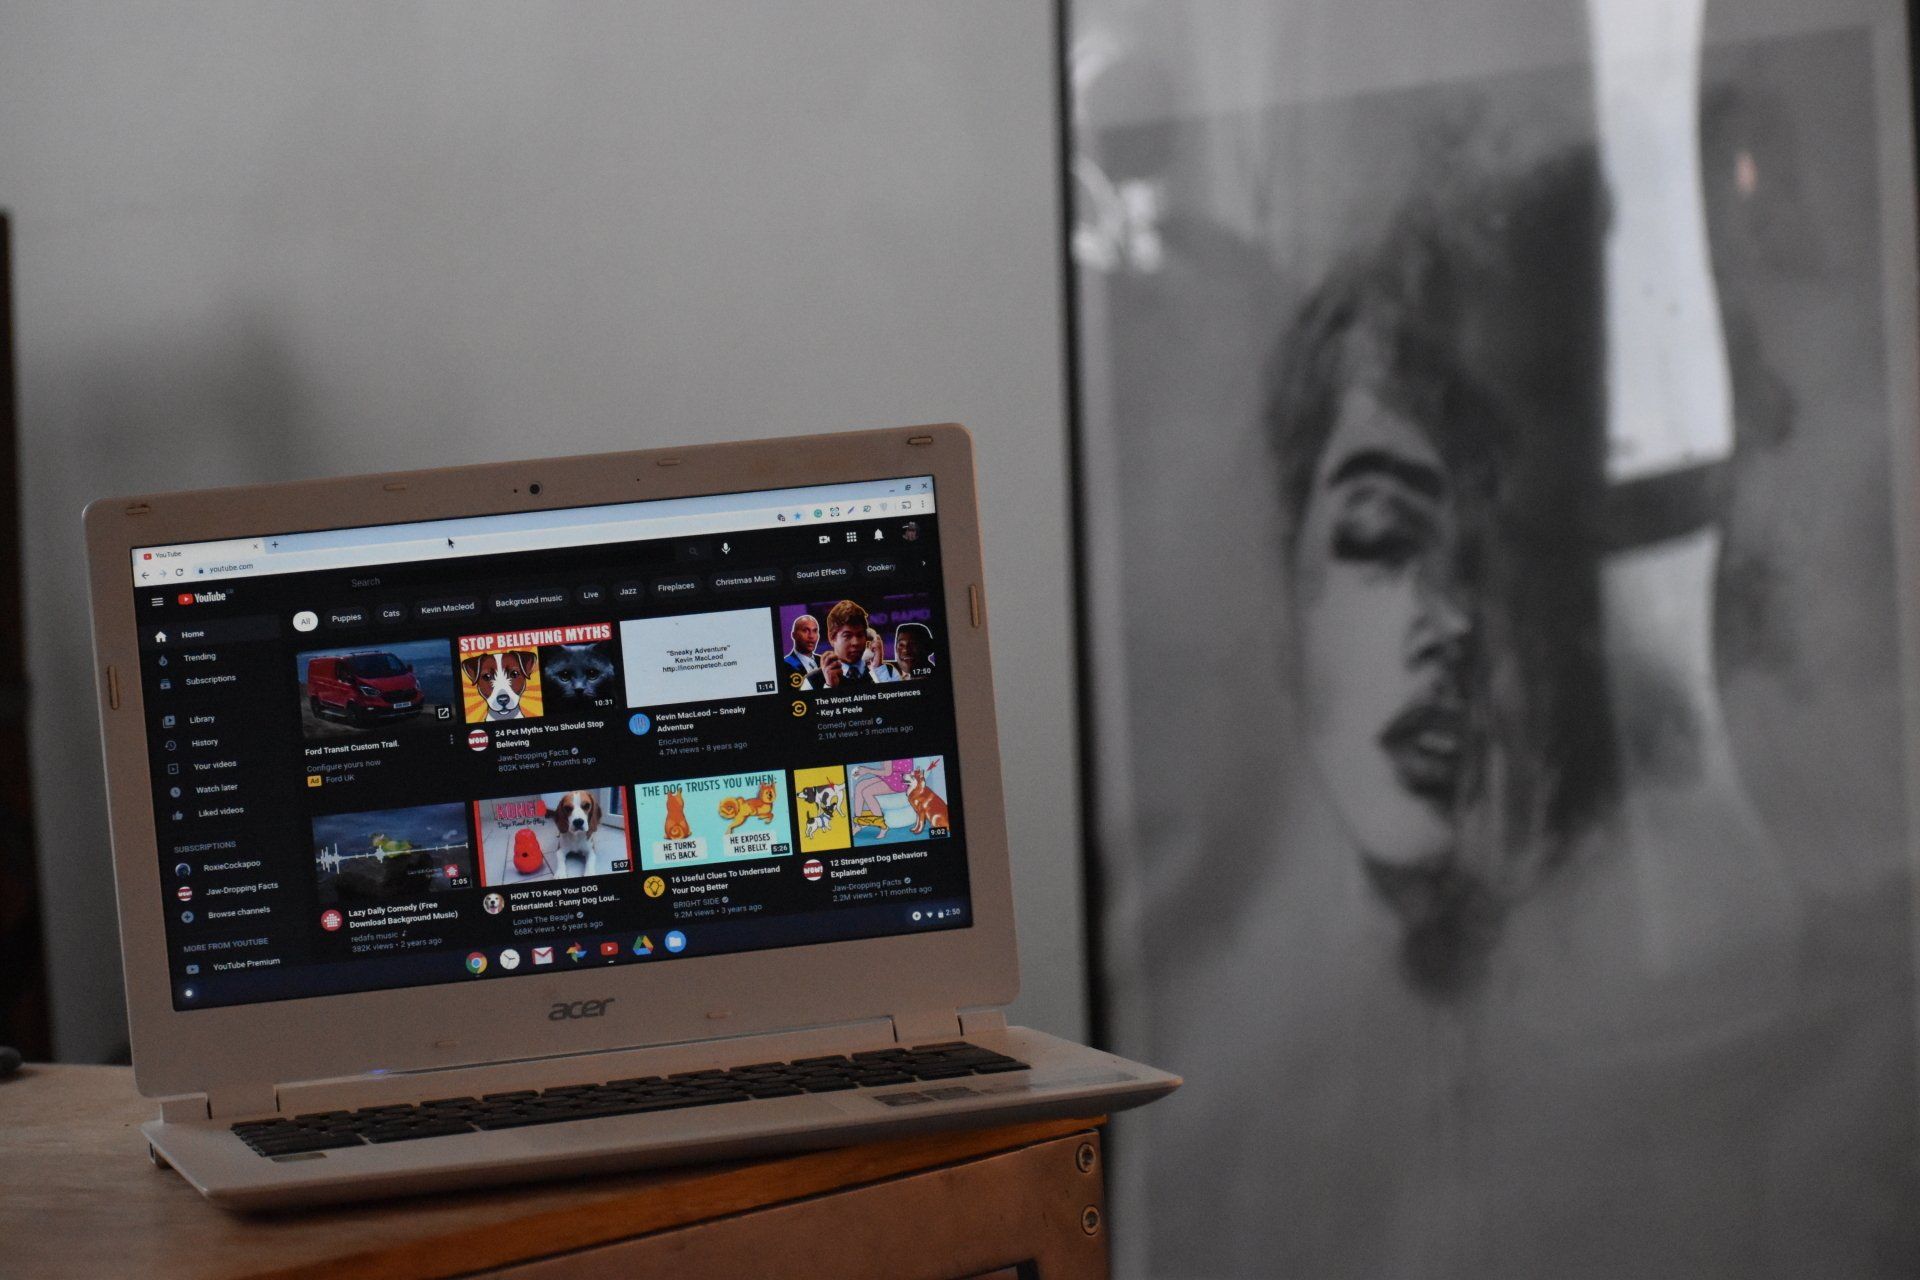
- Log into YouTube Studio: This is your YouTube dashboard where you control all aspects of your channel.
- Select a video: Go to the 'Videos' tab on the left side of your dashboard, and click on the video you want to annotate.
- Choose the Annotations option: Click the 'Editor' on the new page. Click it and then find the 'Add Element' option. Here, you'll see the 'Add Card' button.
- Add an annotation: Here, you'll see different annotation options, such as 'End Screen', 'Cards', etc. Choose the one that suits your needs.
- Adjust the annotation: Once you've added an annotation, you can adjust its timing and location in the video.
B. Providing screenshots and examples for better understanding
Although YouTube's interface is user-friendly, first-time users might find it confusing. That's why screenshots are handy. They give a visual reference that readers can follow as they add annotations.
Remember, the best way to learn is by doing. Don't be afraid to experiment with different annotations, placements, and timings. Over time, you'll better understand what works best for your videos and audience.
Tips and Tricks to Annotate Like a Pro
Now that you've grasped the basics, let's level up. Here are some pro tips to make the most out of your annotations:
A. Use the Right Annotation at the Right Time
Every annotation type has its unique strength. For example, a 'Spotlight' is perfect for pointing out objects in a video. 'Speech bubbles' work best for adding dialogue. 'Notes' are great for clear, concise messages. Choose the type that best fits your content and the message you want to convey.
B. Position and Duration Matter
Be strategic about where and when your annotations appear. Position them so they don't block important visuals. Adjust their duration to give viewers enough time to read and respond.
C. Color and Text Visibility
Annotations should be easy to read. Choose contrasting colors and clear text. But avoid making them too distracting.
D. Link Annotations
Annotations can link to other videos, channels, or external sites. Use this to guide viewers to your other content or promotional sites.
Proper use of annotations can elevate the quality of your videos and the viewer experience. But even pros can slip up. In the next section, we'll go over common annotation mistakes to avoid.
Common Mistakes to Avoid When Annotating
Annotations can enhance your video but can also detract from the viewer experience if used incorrectly. Let's discuss some common mistakes you should avoid:
A. Overcrowding Your Video with Annotations
Too many annotations can overwhelm and annoy viewers. They might even leave your video. The key is balance. Use annotations where necessary and keep them concise and relevant.
B. Misusing Annotations
Remember that each annotation type has a specific function. Using the wrong type can confuse viewers. For instance, using a 'Speech bubble' for a call-to-action might be less effective than using a 'Note.'
C. Bad Timing and Positioning of Annotations
Ineffective placement and timing can hinder your video content. Don't place annotations over important visuals. Also, ensure they stay long enough to be read and understood.
By avoiding these common mistakes, you can create a more viewer-friendly experience. But how can you tell if your annotations are working? In the next section, we'll explore YouTube's analytics for annotations and how to use this data to improve your videos.
How to Analyze the Effectiveness of Your Annotations
Understanding how viewers interact with your annotations is key to improving your video content. That's where YouTube analytics comes in. It provides valuable insights into the performance of your annotations.
A. Understanding YouTube's Analytics for Annotations
YouTube analytics provide data such as your annotations' click-through and close rates. The click-through rate shows how often viewers clicked your annotations. A high rate may indicate that your annotations are effective and engaging.
The close rate, however, shows how often viewers closed your annotations. A high close rate might indicate that viewers find your annotations annoying or irrelevant.
B. Interpreting the Data and Making Necessary Adjustments
These metrics can guide your annotation strategy. Consider changing its content or placement if an annotation has a low click-through rate. If it has a high close rate, maybe it's time to make it less intrusive.
Understanding and applying this data allows you to fine-tune your annotations and create a more engaging viewing experience.
Next, we'll look at real-life examples of successful YouTubers who have mastered the art of annotations. This will give you a better understanding of how these tips and strategies can be implemented effectively.
Case Study: Successful Use of Annotations
It's often helpful to learn from those who have successfully utilized annotations. Let's look at some case studies that illustrate effective annotation use.
1. Case Study: YouTuber A
YouTuber A uses 'Spotlight' annotations to highlight products in their review videos. A note pops up with more information and a link to the product page when a viewer hovers over the product. This approach enhances viewer engagement and drives traffic to the product page.
2. Case Study: YouTuber B
YouTuber B creates educational content. They use 'Title' annotations to segment their videos into sections. This allows viewers to navigate easily to the parts they are interested in, improving viewer retention.
These case studies illustrate how annotations can effectively enhance viewed engagement and retention. You can apply the same principles to your videos by learning from these successful YouTubers.
Frequently Asked Questions about YouTube Annotations
A. Can I Add Annotations to Someone Else's YouTube Video?
No, only the uploader can add annotations to a video.
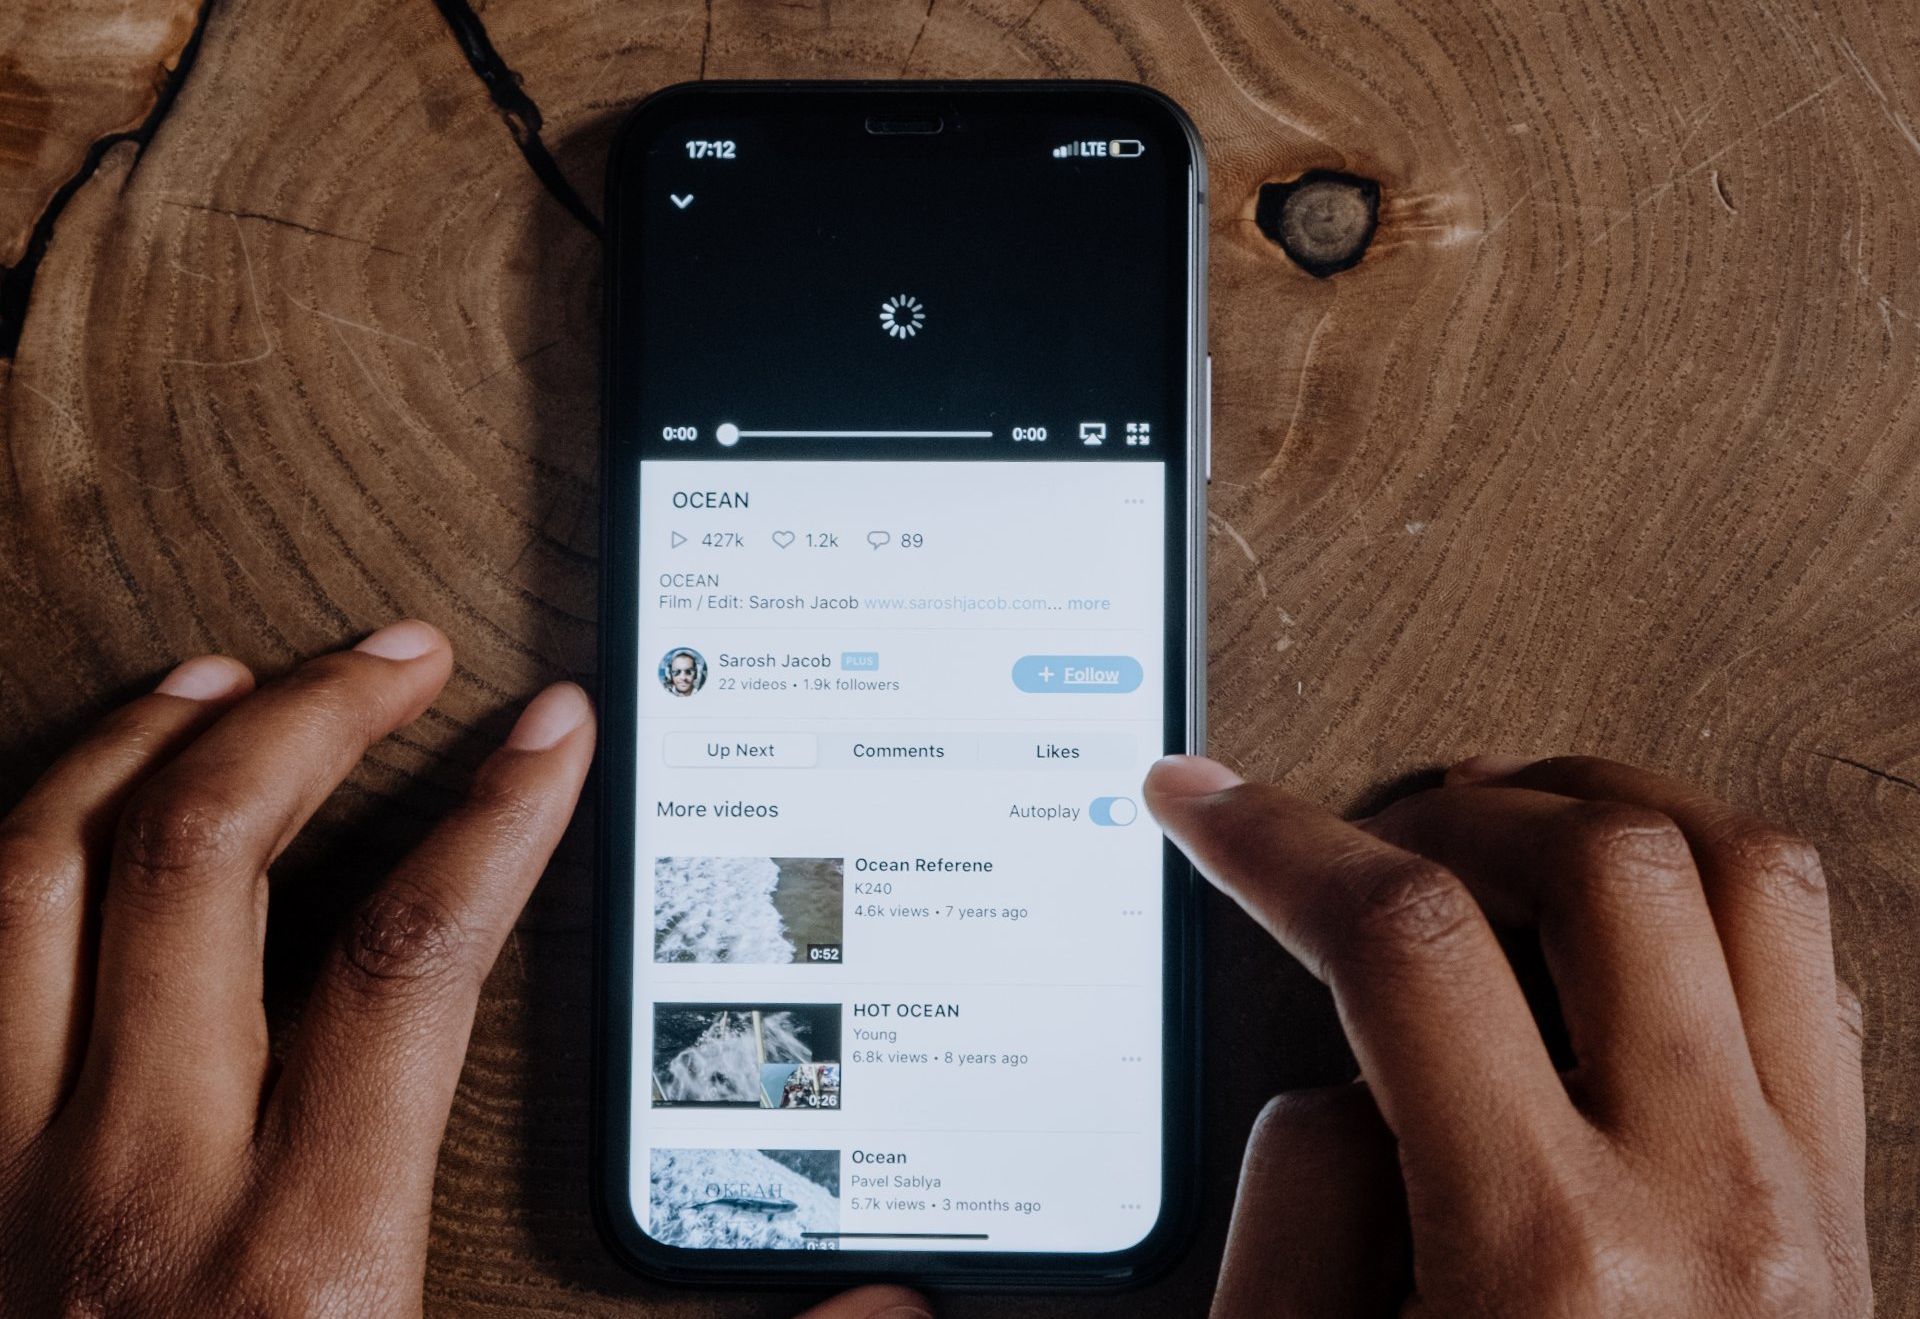
B. Can I Use Annotations on YouTube Mobile?
Unfortunately, YouTube removed annotations from mobile devices in 2017. You can only add and view them on a desktop.
C. Do Annotations Impact YouTube SEO?
Indirectly, yes. Annotations can improve viewer engagement, which positively affects YouTube SEO.
D. Can I Link Annotations to an External Site?
Yes, but there are conditions. The linked site must be part of the YouTube Partner Program and associated with your YouTube account.
These are just a few commonly asked questions. Remember, understanding annotations will help you create better, more interactive content.
Final Thoughts on YouTube Annotation
Congratulations, you've reached the end of your journey in learning how to annotate YouTube videos like a pro! Let's do a quick recap.
We started by understanding YouTube annotations and their importance in video marketing. We then explored the different types of annotations and how to create them. You've learned pro tips for using annotations effectively, avoiding common mistakes, and analyzing their effectiveness.
Remember, mastering YouTube annotations can significantly enhance your video content, making it interactive and engaging. It's an art and a science, requiring creativity and strategic thinking.
Finally, don't forget that learning is a continuous process. Keep experimenting with your annotations, stay updated with YouTube features, and always strive for improvement.
Now, it's time for you to start creating and annotating. Go ahead, implement these tips, and watch your YouTube channel reach new heights!
Resources for Reference
For further reading, here are some helpful links:

Get total clarity on your video marketing and paid media with our FREE comprehensive data audit.
CINESALON NEWS