Training videos help individuals learn new things. They make things easier to understand and are fun. Think of a video that teaches how to cook a new recipe or solve a computer problem – this is what training videos do. This outline will discuss everything you need to know about video production. All the steps, from planning and filming to editing and sharing, will be covered to enable you to understand the process of making your training videos.
Importance of Training Videos
More Accessible Learning: You can watch someone explaining things visually through training videos, thus making learning more accessible.
Convenience: These are available at home, school, or even while traveling with your phone, tablet, or computer, meaning one learns when free.
Better Understanding: Sometimes, it is easier to see something done than just reading about it because visual aids can be employed in these instructional materials.
Engagement: Videos may be much more interesting than textbooks or lectures since these could sustain your attention and make studying more enjoyable.
Accessibility: Many people can access training videos simultaneously, making them perfect for sharing knowledge with crowds. This means that such information gets shared by many people who have watched those clips.
Cost-Effective: For instance, creating training videos may be cost-effective in terms of repetition after being made without extra costs since they can be used again; otherwise, nothing else. That turns them into valuable teaching/learning resources.
Retention: Watching demonstrations helps recognize things better than simply reading from books or listening during seminars. Watching instructional films improves memory retention compared to reading or hearing about something.
So why train using video?
Training videos make it feel like you have your tutor whenever you want to learn something new. They simplify learning by guiding you step by step in doing things wherever you are.

Different Types of Training Videos
Screencast Videos
These videos can illustrate the proper usage of software or websites and are computer screen recordings. They aid in people’s navigation through applications.
Animation Videos
Animation videos utilize animations or characters to give examples of ideas or tell stories. Such videos would cater to simplified ideas, making them accessible to viewers.
Live-Action Videos
Live-action videos involve real-life actors or subjects performing actions or demonstrating techniques. For instance, they can be helpful when teaching physical skills or displaying practical examples.
Explainer Videos
These are brief animated films that explain concepts and products while maintaining attractiveness and engagement on the side. They usually serve marketing and education purposes and can help convey challenging notions understandably.
How-to or Tutorial Video
Instructional videos are concerned with teaching people how to do something. They can be helpful for skills transfer or process presentation.
Case Study Videos
This video shows real-life examples or success stories of individuals, companies, or organizations that have benefitted from using a specific product, service, or method. It offers inspiration and insights to viewers.
Webinar Videos are live or pre-recorded visual presentations focusing on a particular area. They include professionals who speak about certain subjects and interactive panel discussions.
By knowing the types of training videos available, you can choose which format suits your content best and ensure your message attracts and informs your target audience well.
Planning and Preparation
Identify Training Needs and Objectives
Knowing what people should learn before creating a training video is critical; this means finding out what they already know and need to know to fill any gaps.
When you understand what needs to be taught, what should be learned from it by those watching the video is determined. This way, one focuses on the most significant things that must be included, making the video compelling.
Define Target Audience
Understanding who will watch your video is essential because you must edit it based on age, interests, and prior knowledge to suit them better.
Different people respond better to different teaching styles. Adapting helps ensure they get involved in learning rather than just being told too much stuff at once by employing different delivery methods while considering their background and preferences.

Determine Content and Scope
Choose key themes or skills to become central points when producing your video. This helps you stay on topic and covers all the essential points.
Determine how much detail is needed for each topic selected. This means that enough information for understanding is given while keeping your viewers manageable for them to handle.
Scriptwriting and Storyboarding
Just like when driving, a script serves as your roadmap, guiding you on what will be said or shown in every section of the video, thus enabling you to deliver the message as intended.
Storyboarding visually captures each scene’s look in your video by sketching it out. It helps pre-visualize how things will fit together through pictures, which makes planning your shoot and editing easier.
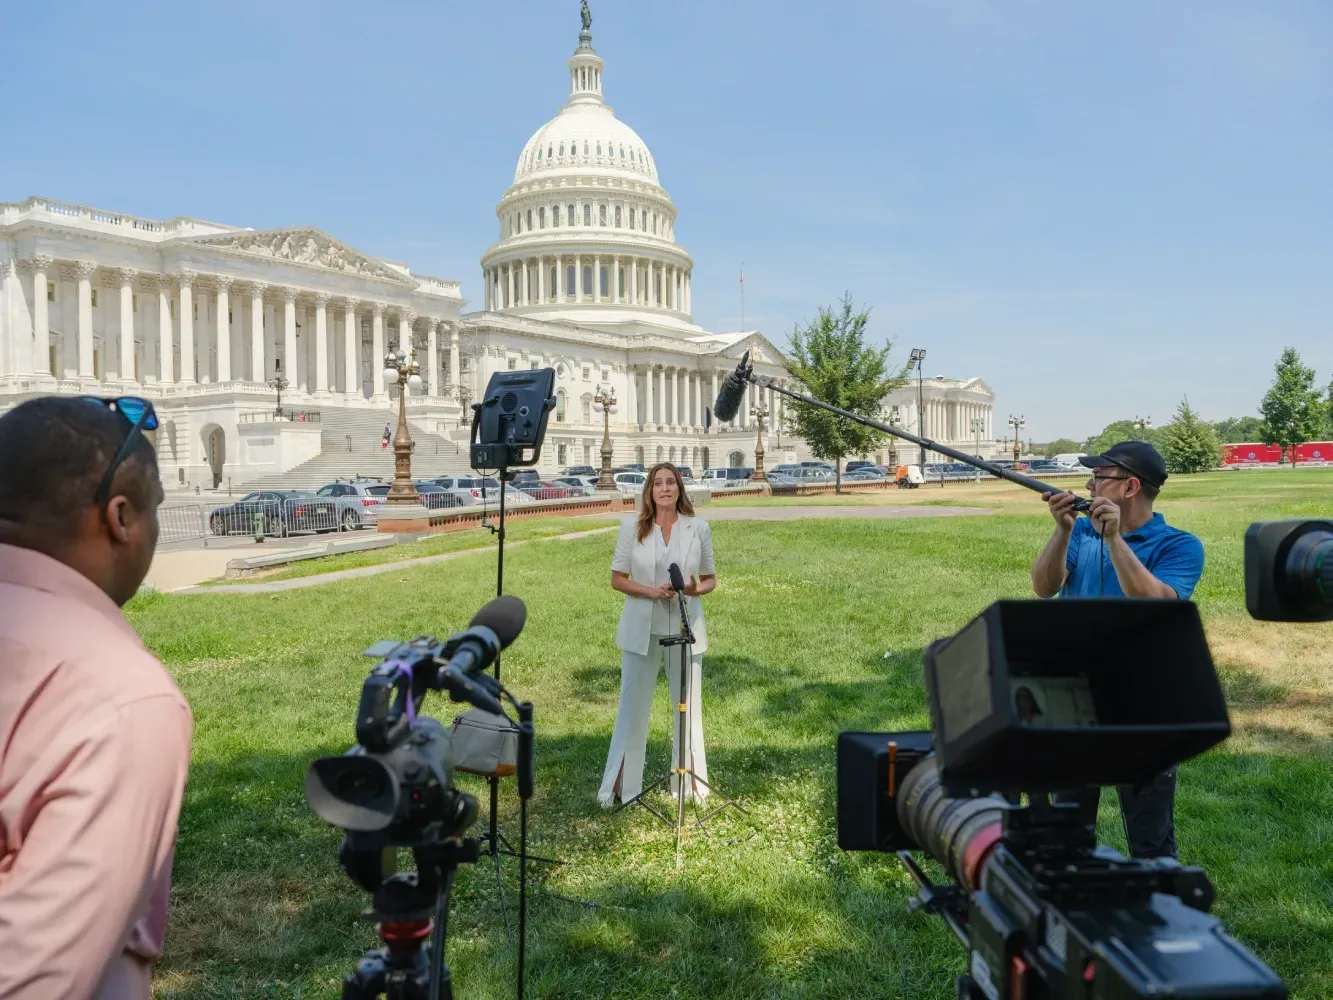
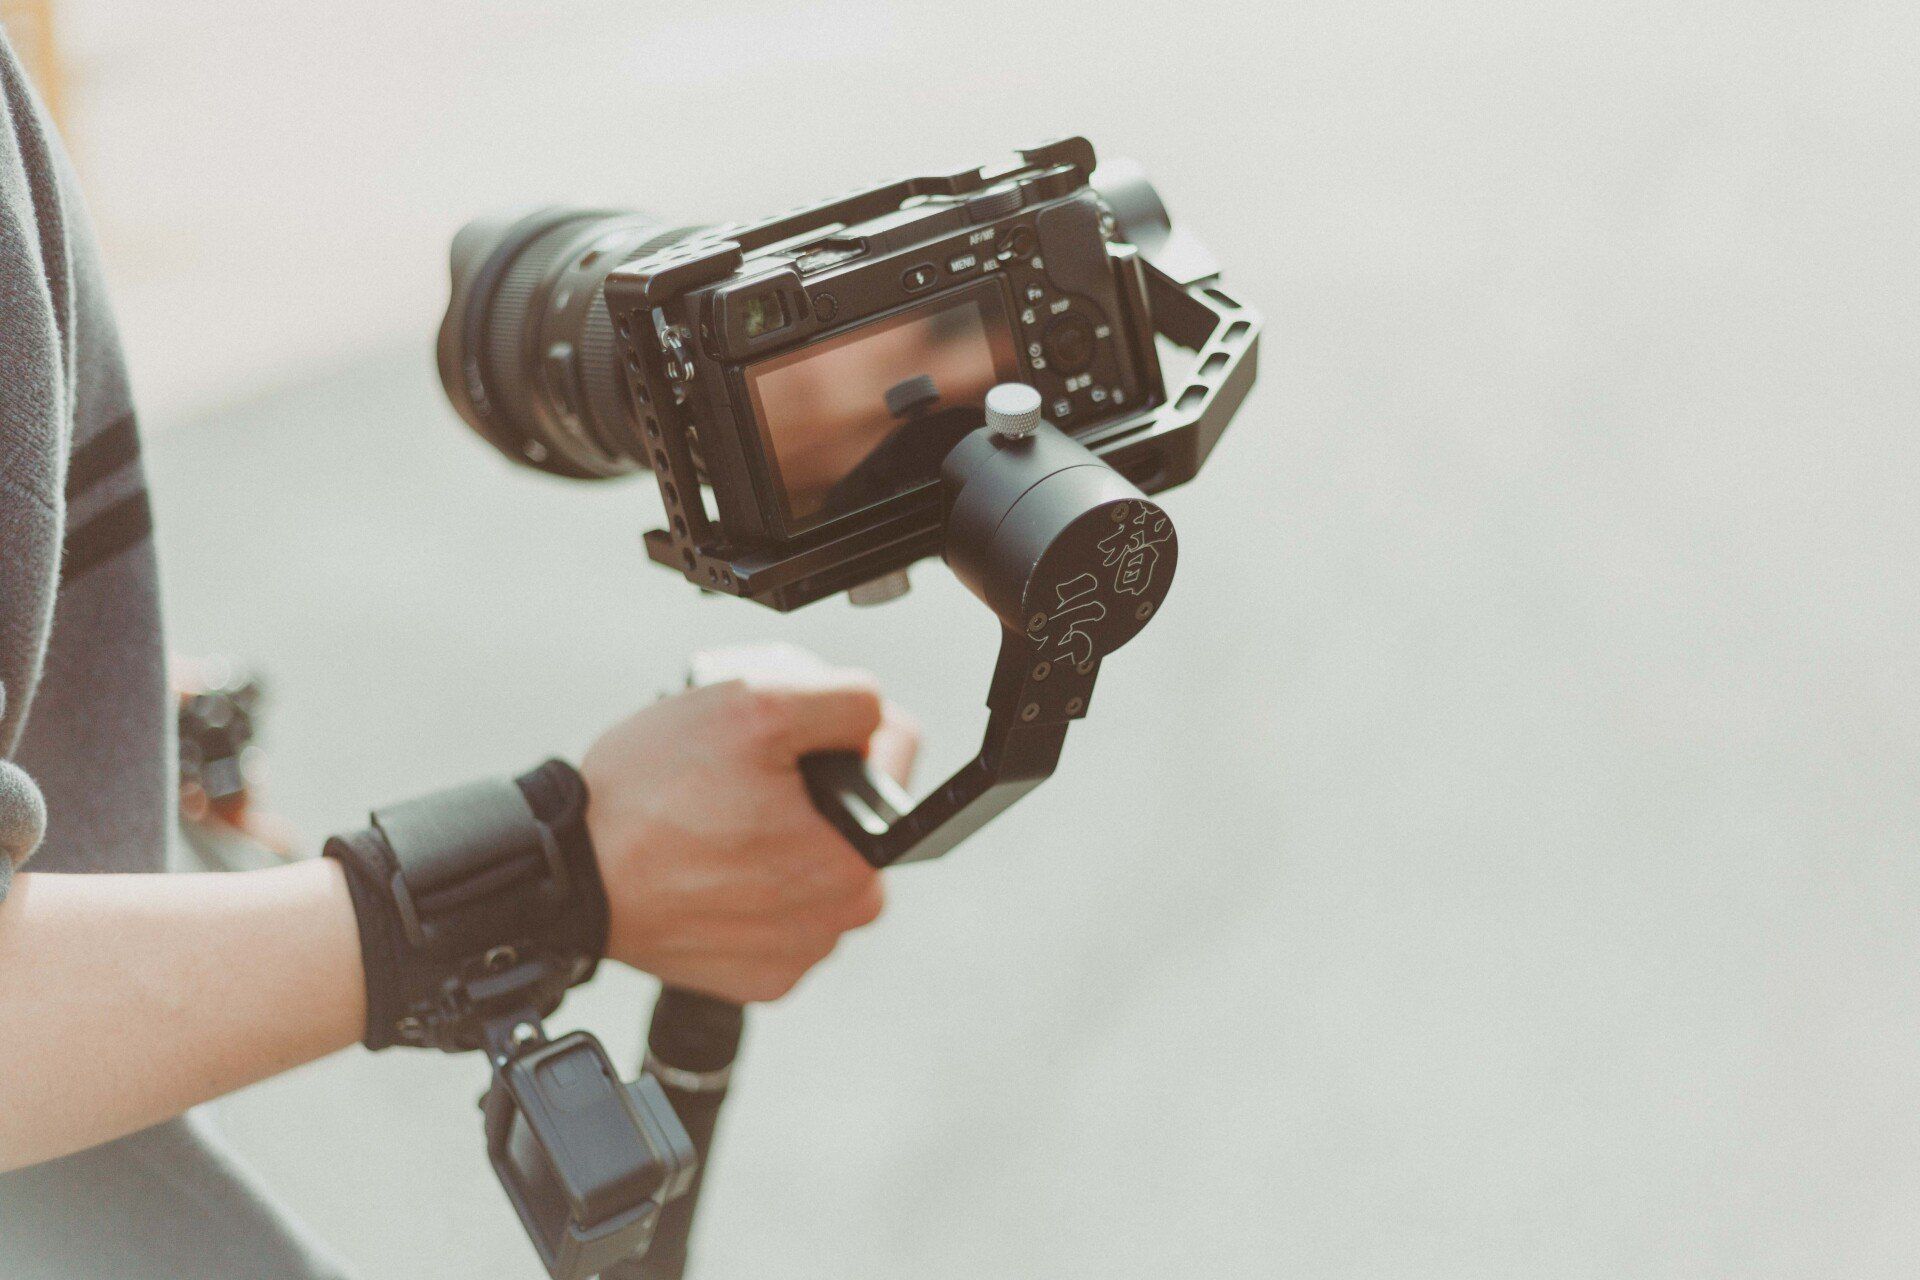
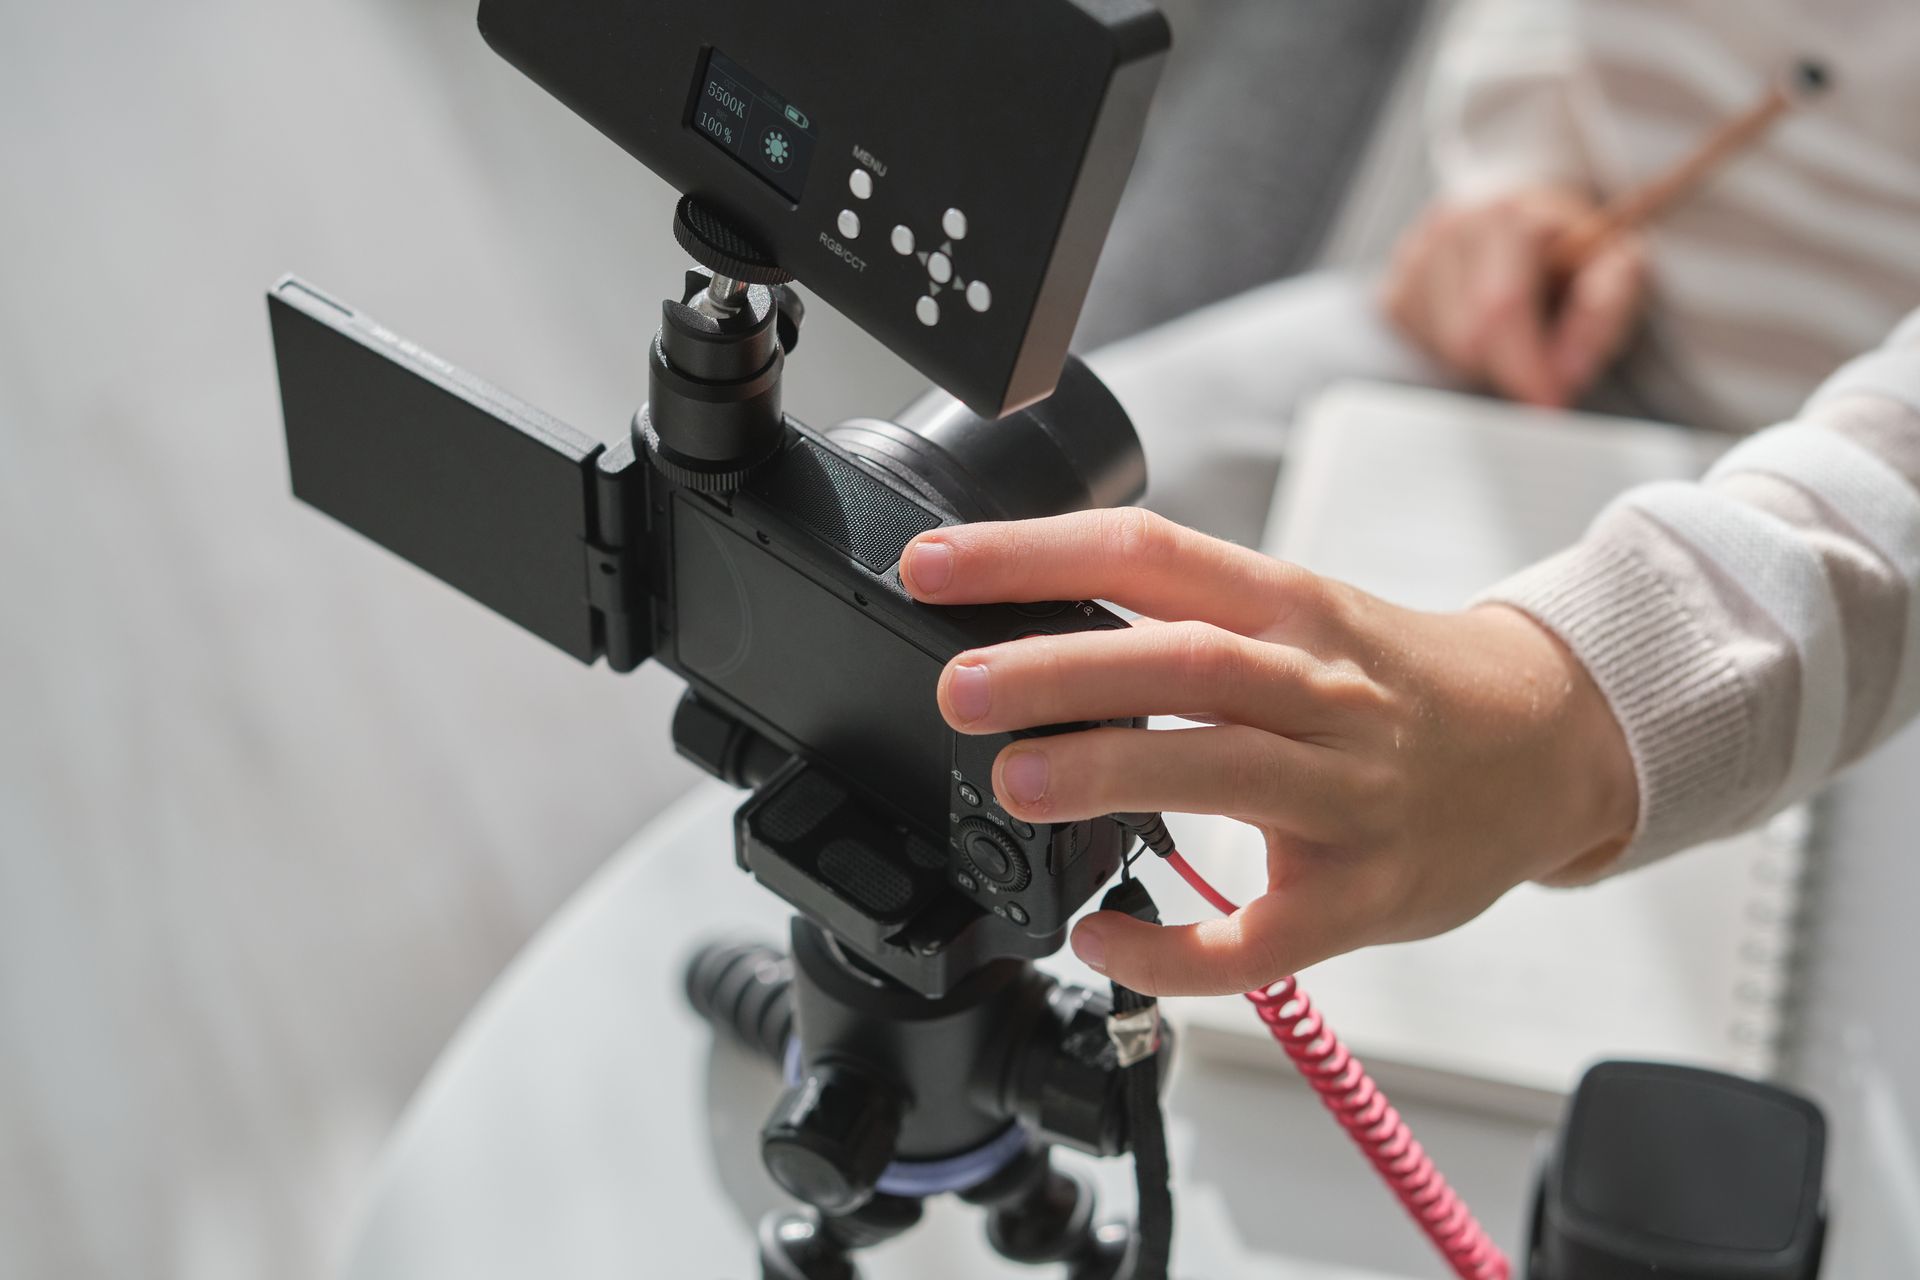
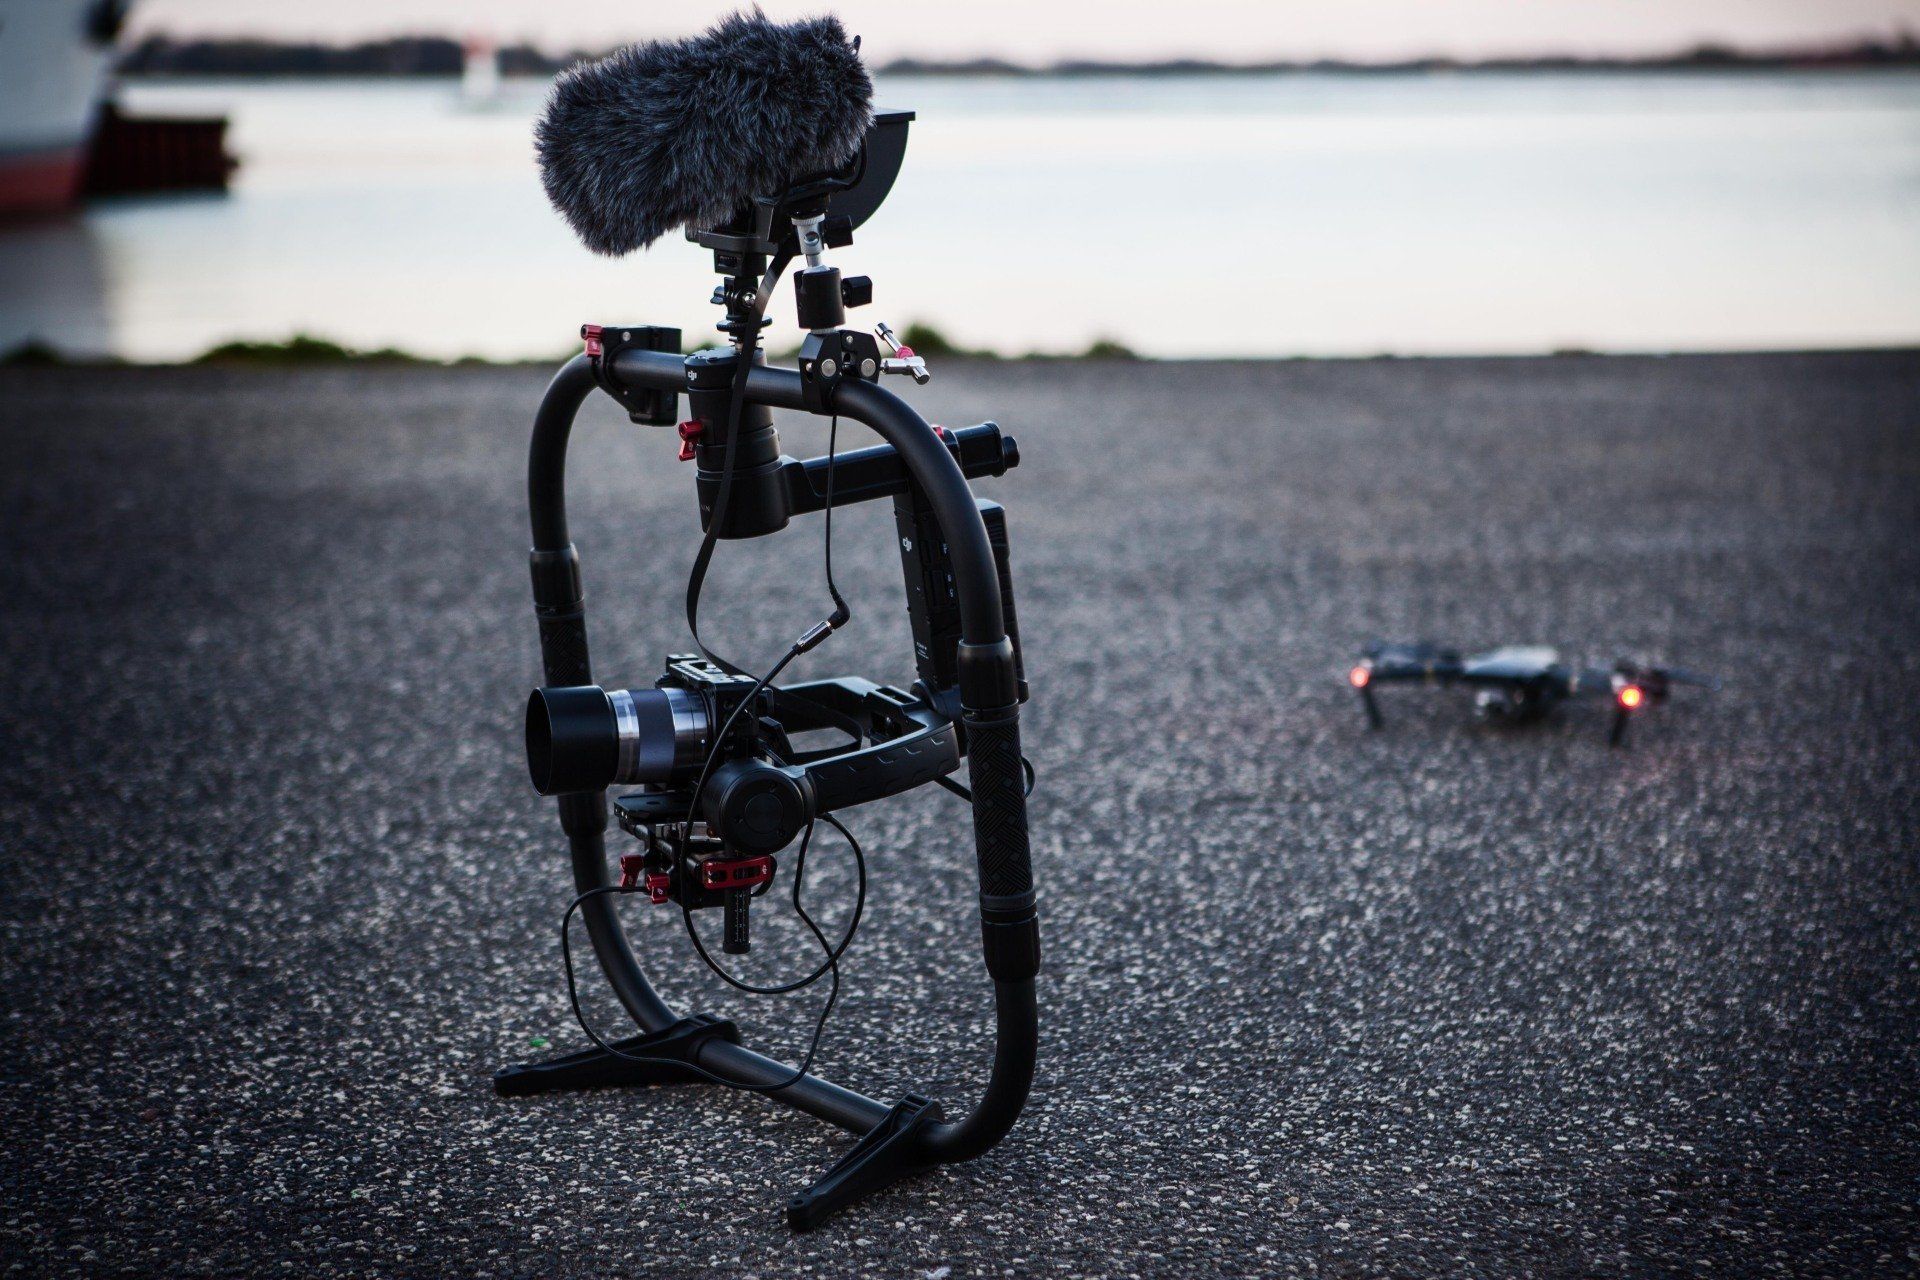
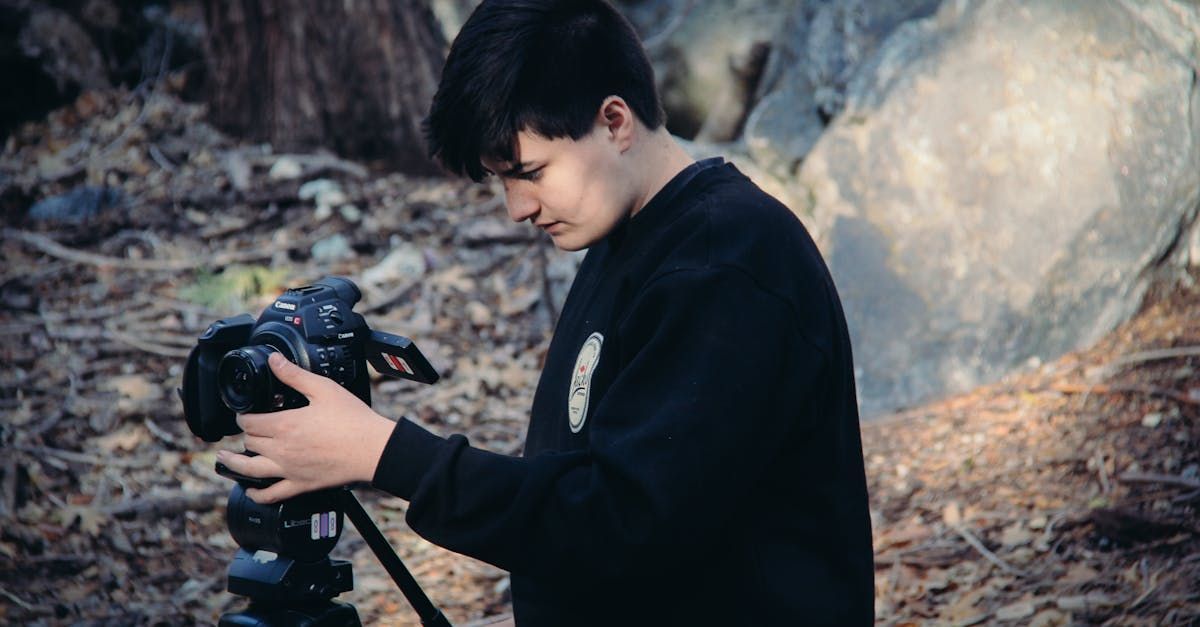
Equipment to Use To Create Training Videos
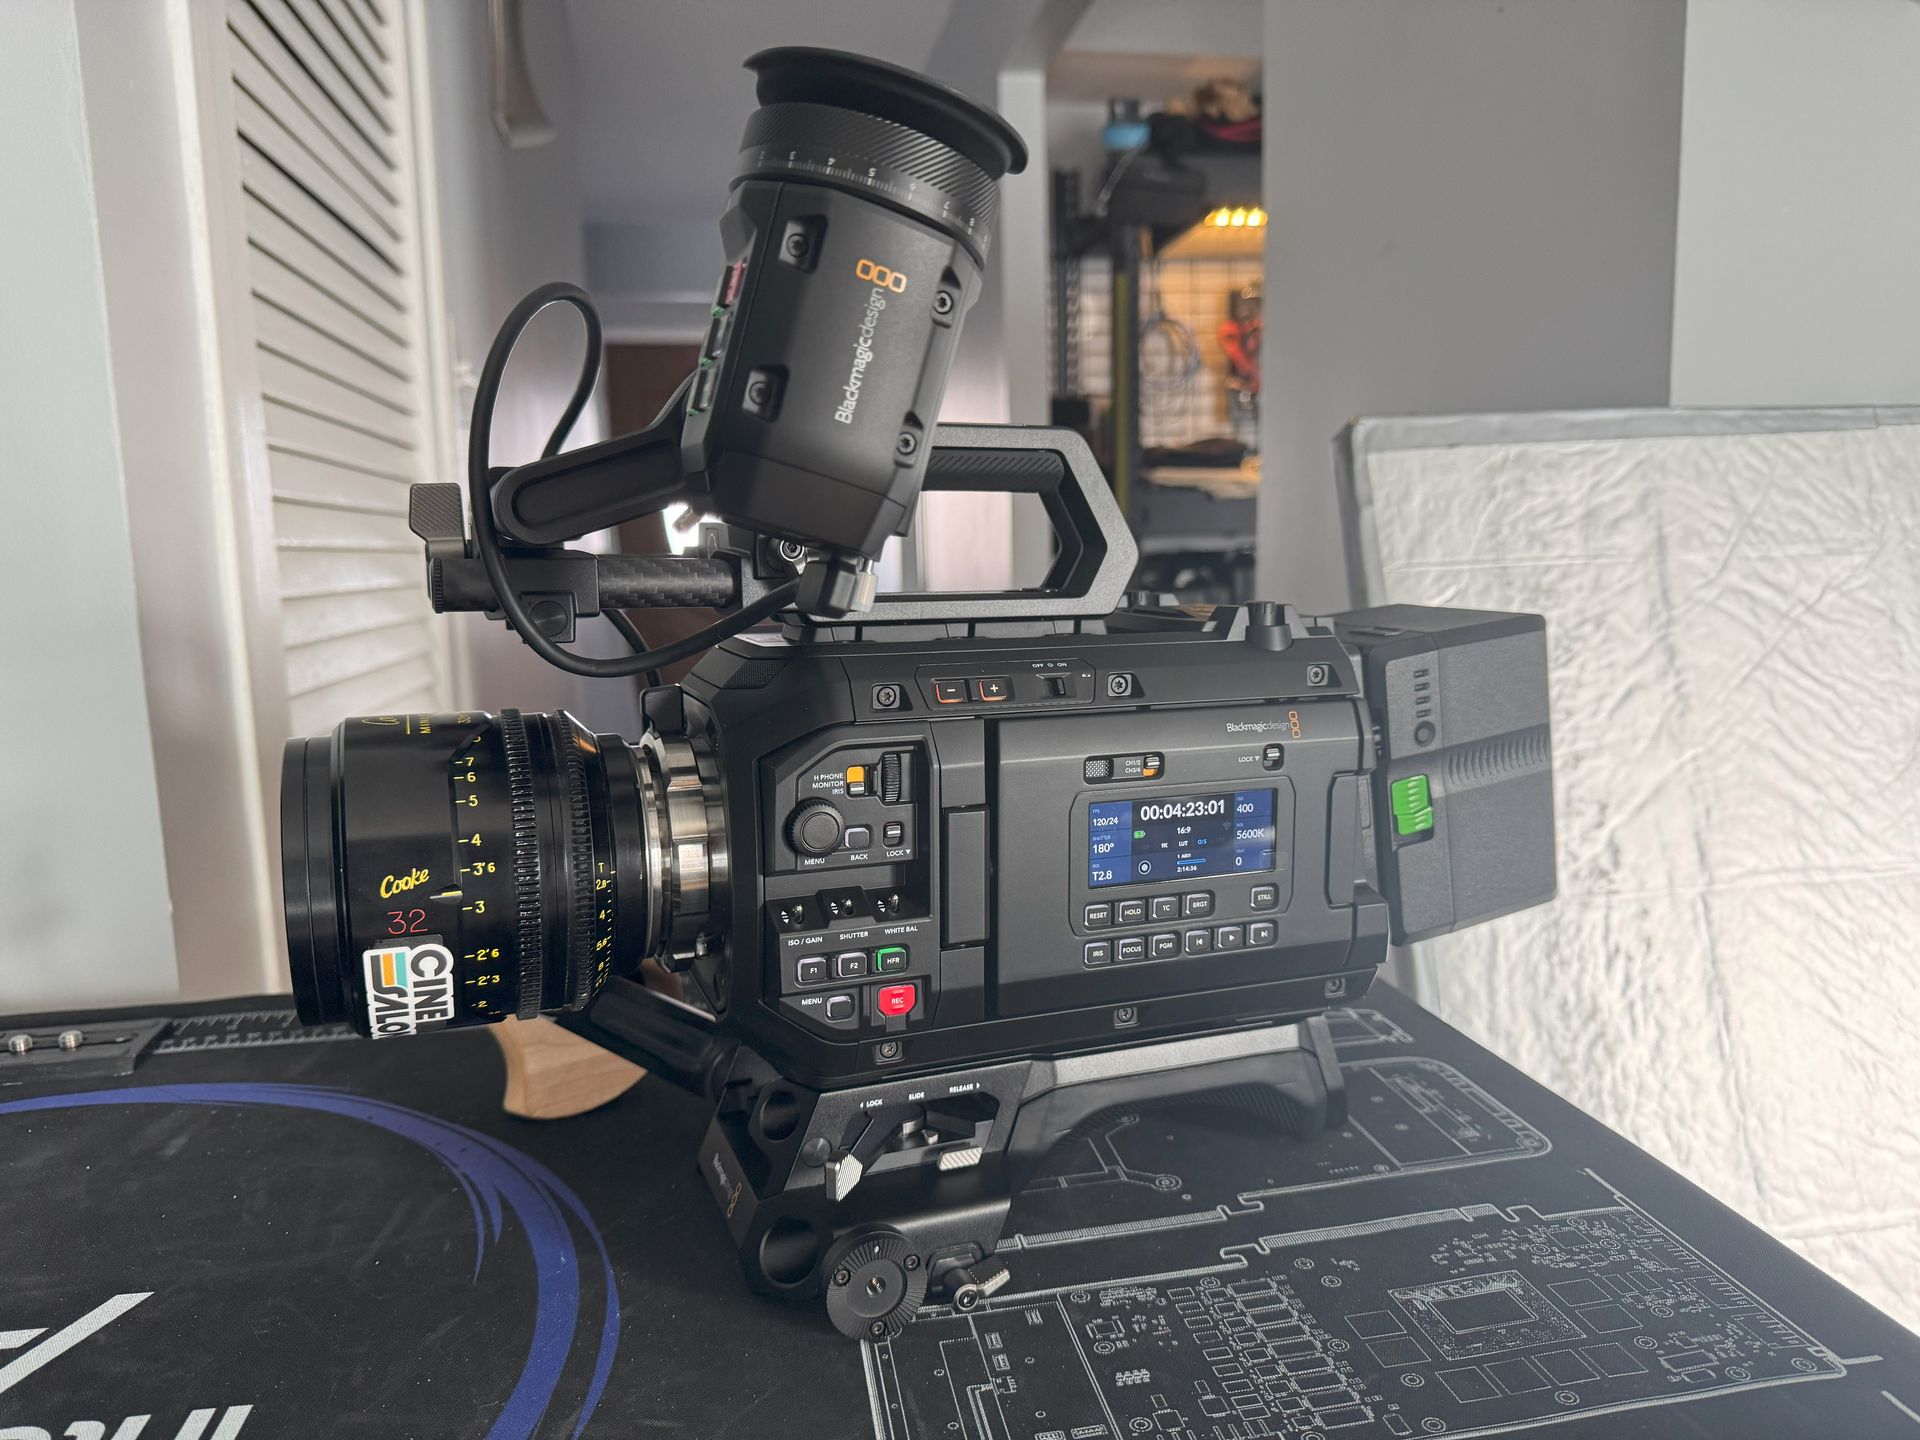
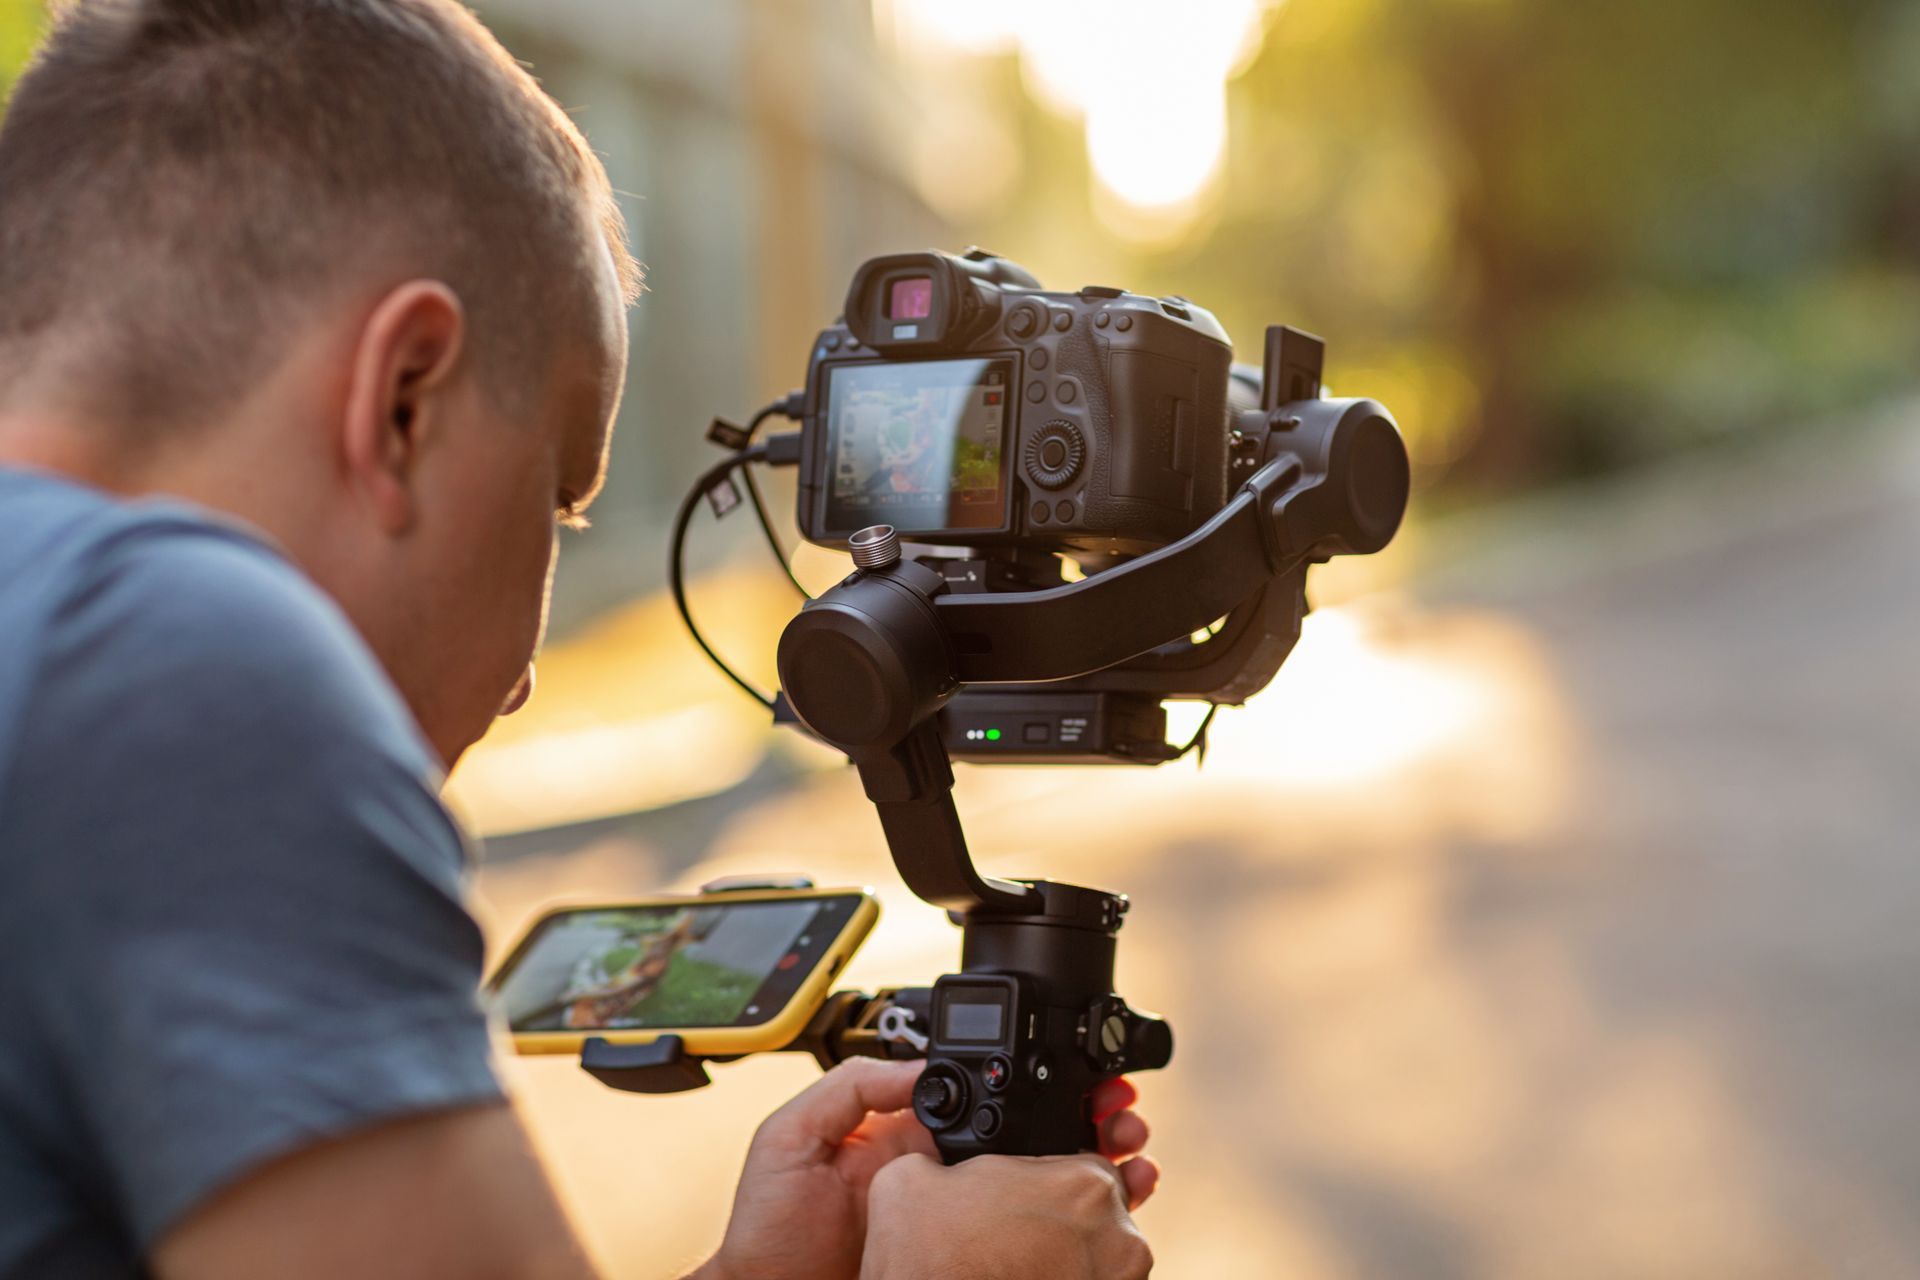
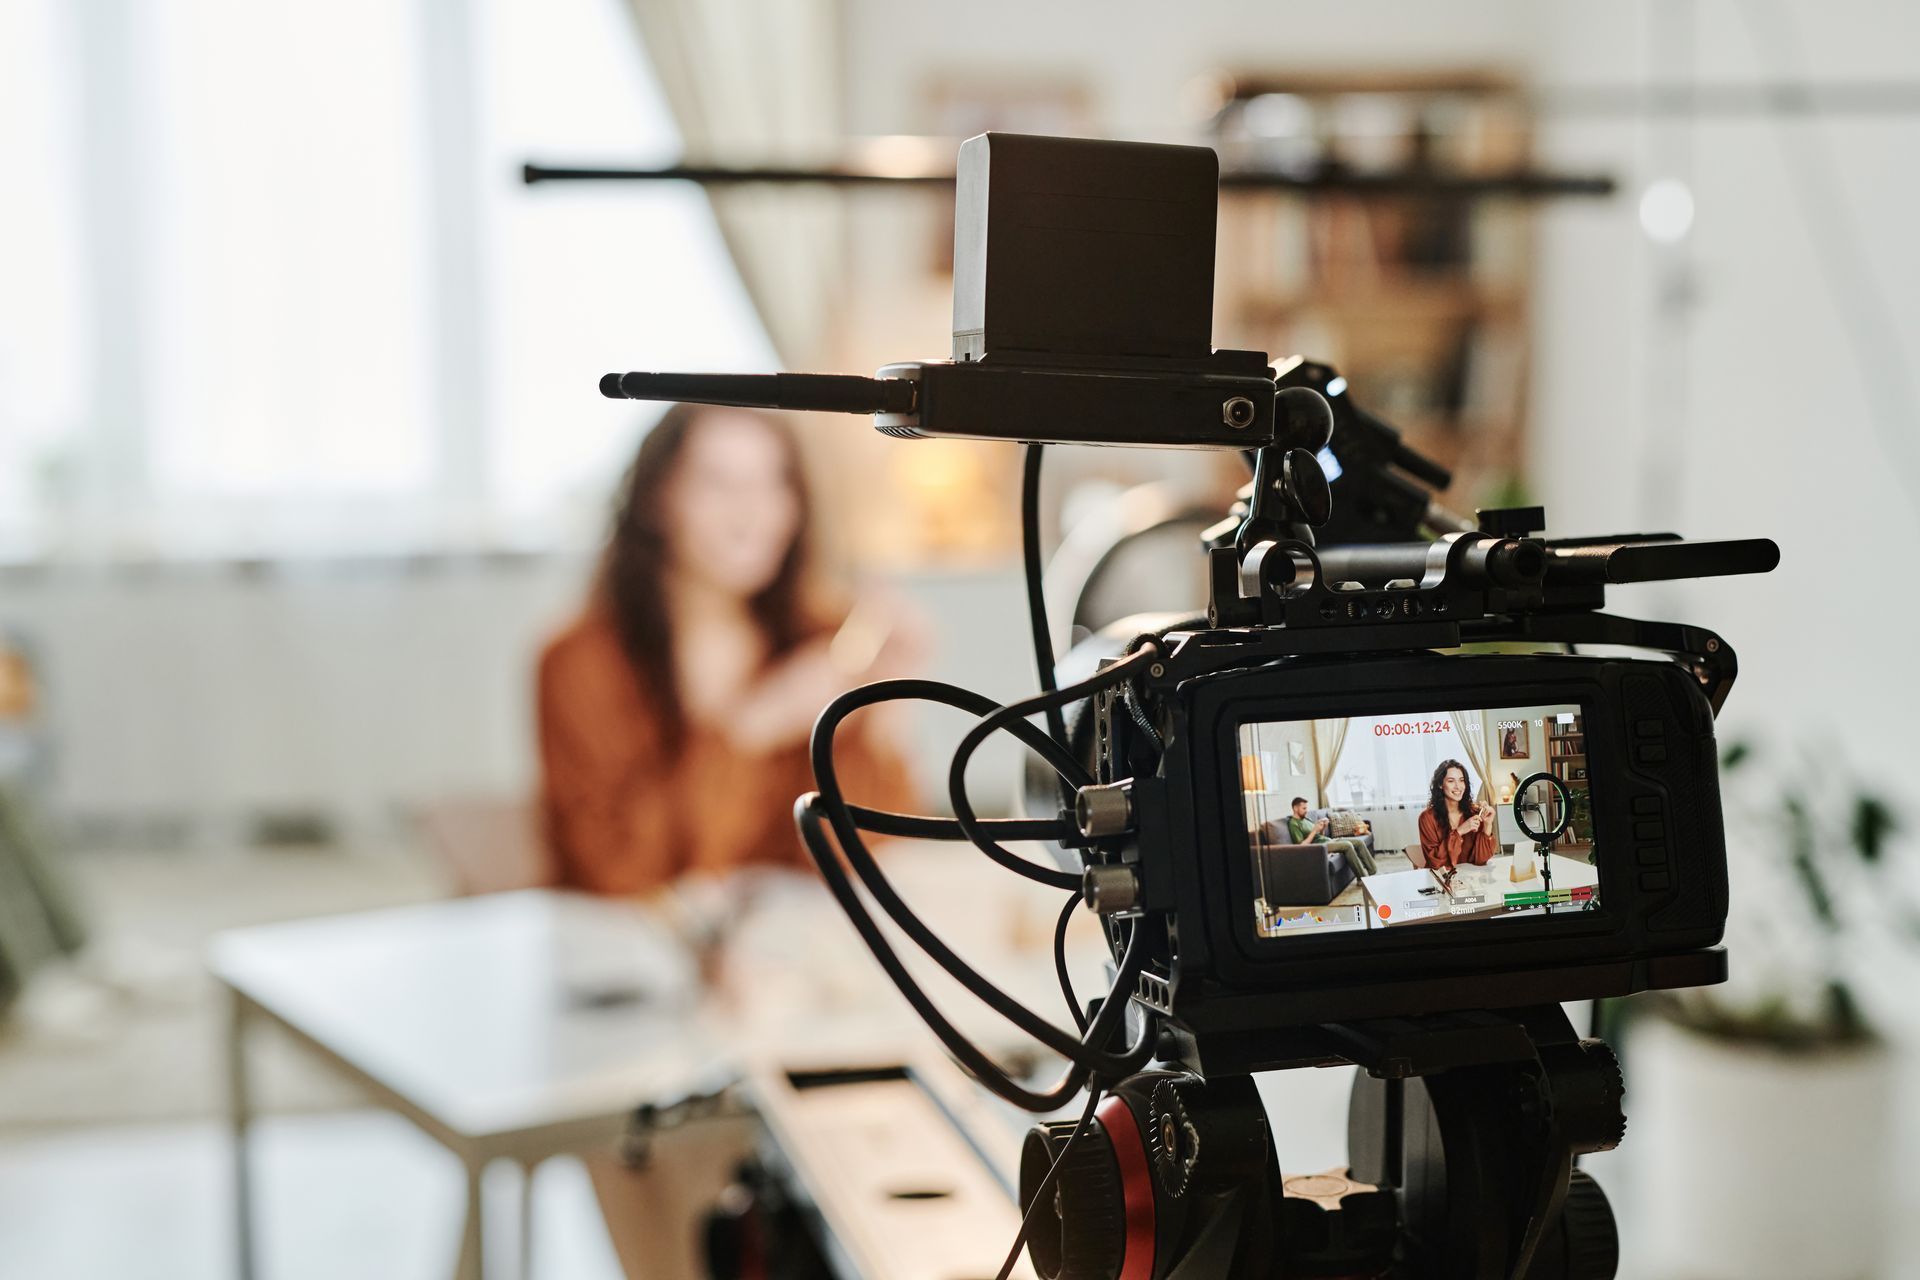
Camera
The most essential tool for making training videos is a camera. You can use your phone, webcam, or professional cameras to record your content. Smartphones are convenient because they are mobile and produce good quality videos, while professional cameras provide higher resolution results with advanced options.
Microphone
It is important to have good sound when making instructional videos. Using an external microphone can help you get better sound while reducing background noise. This includes lavalier, shotgun, or USB mics, among others, that are used in various recording situations.
Tripod
It eliminates shaky pictures while allowing you to get the desired angles of your shoots. Choose an adjustable solid tripod that suits your camera or mobile phone.
Lighting Equipment
Adequate lighting helps achieve clear and well-lit videos. You can use natural sources like windows or artificial ones like soft boxes or ring lights to improve visibility and eliminate shadows. Proper illumination can make significant differences in the quality of videos altogether.
Backdrop
By selecting an appropriate backdrop, one can enhance the visual appeal of their training video(s). A neat and uncluttered background ensures that learners concentrate on what is being said rather than the objects around them. Use ordinary walls or create a customized themed background to suit your video.
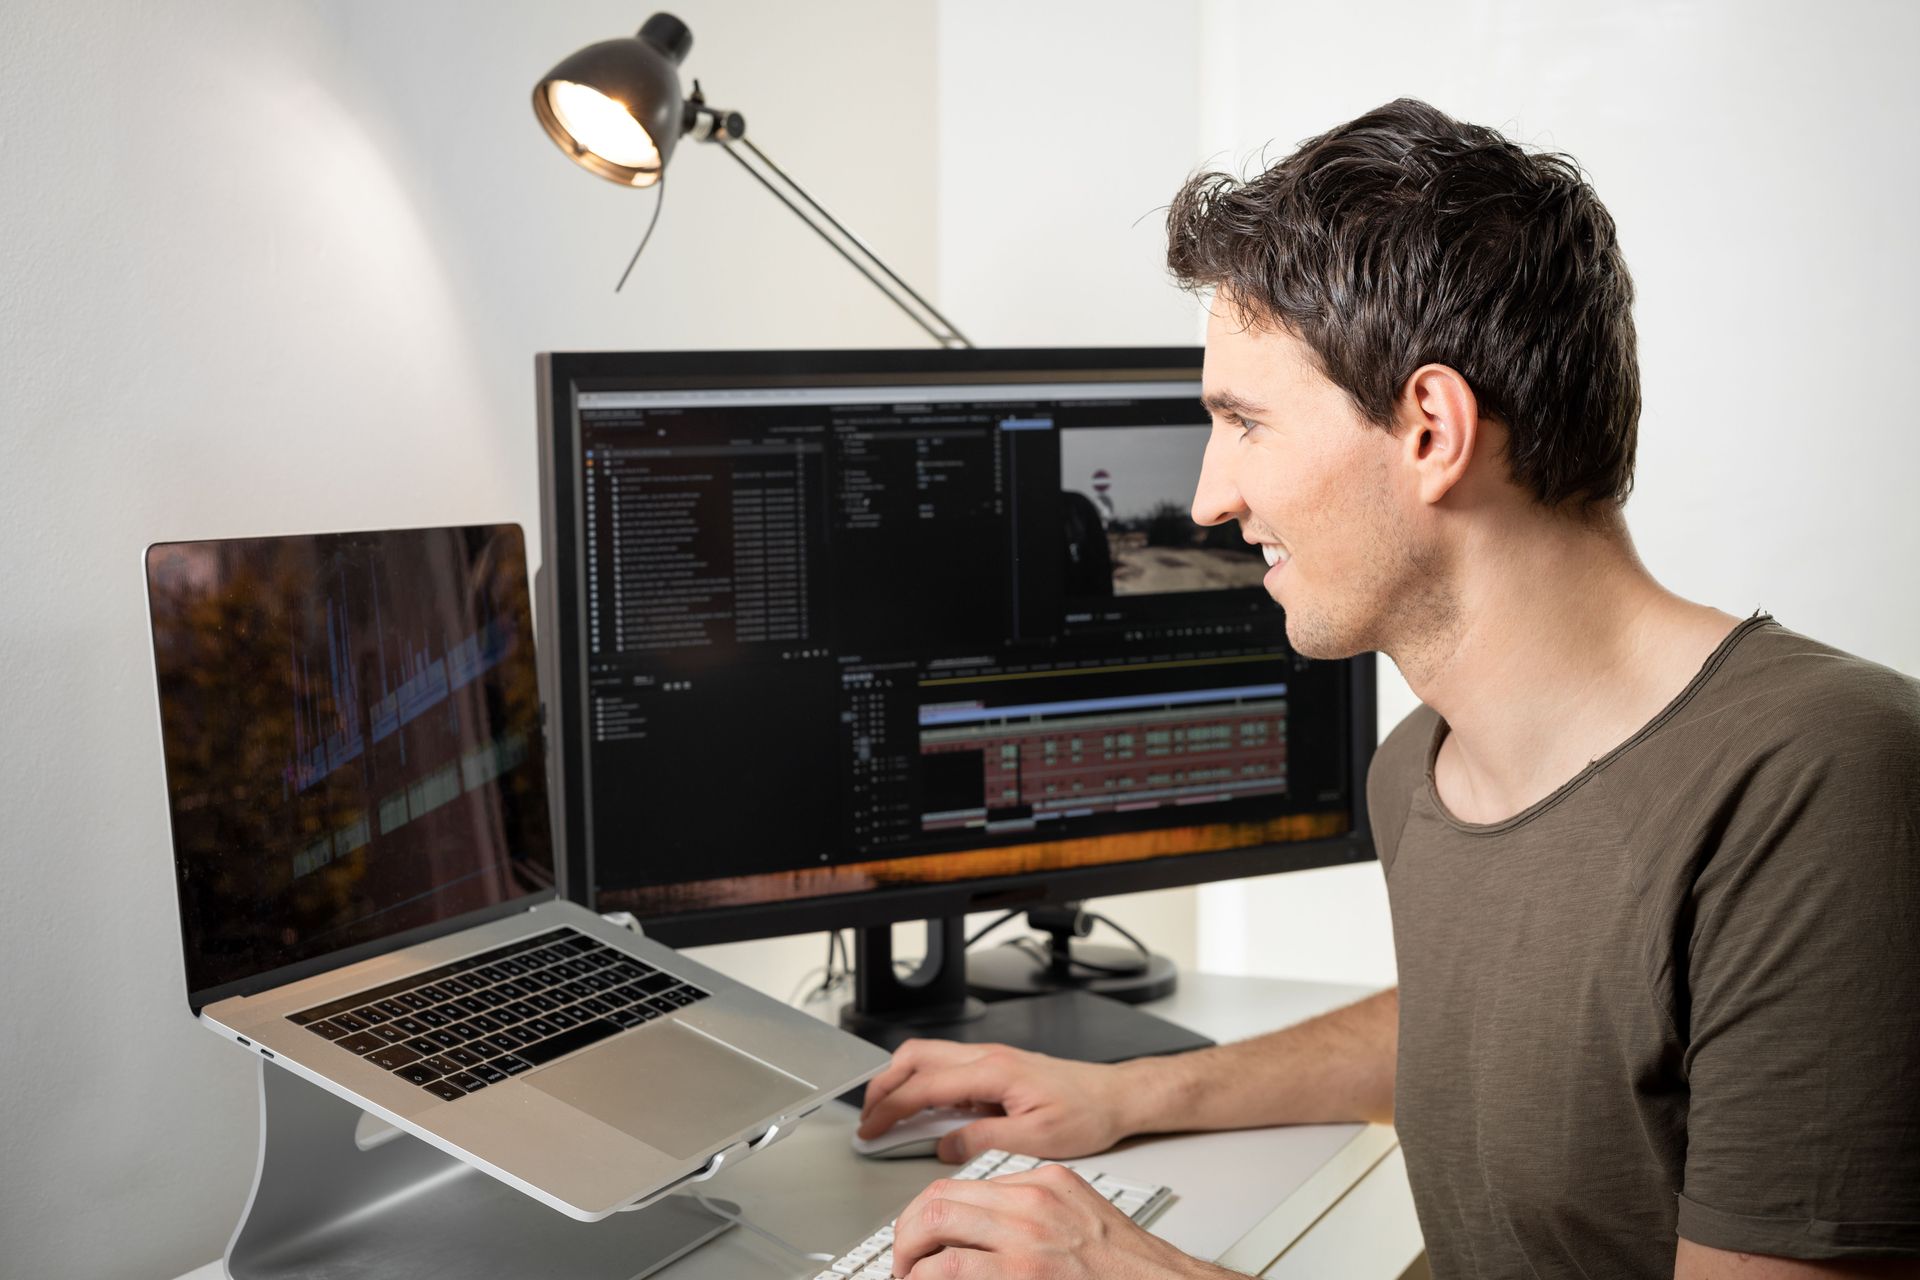
Editing Software
The editing software allows you to fine-tune and upgrade video clips before sharing them with others. Different kinds of editing tools exist, from beginner versions, such as iMovie and Filmora, to professional levels, such as Adobe Premiere Pro and Final Cut Pro, among others that deal with amateurs and professionals involved in filmmaking. This software enables trimming footage, adding transitions between scenes, inserting pictures or texts into frames, and improving other aspects concerning motion picture quality.
Computer or Laptop
You'll need a computer or laptop to edit videos using editing software. Please verify that your device meets all system requirements specified by the application developers when downloading it to avoid difficulties while modifying something on images.
External Hard Drive
An alternative to storing your video files on an external hard drive is that it offers you more space for storage and helps keep your computer in a clean environment. Moreover, this is another place where the same information can be stored if there is a hitch with the internal memory.
Props and Visual Aids
Props and visual aids can be handy in illustrating concepts in training videos. They will make the abstract subject matter more straightforward for viewers through whiteboards, charts, diagrams, or demonstration tools.
Green Screen
Using a green screen, one can change the background in post-production with any picture or video they want. This technique offers video flexibility, allowing you to create different settings without moving around physically.
Editing Software to Use To Create Training Videos
iMovie
iMovie is a beginner-friendly editing software for Mac and iOS devices. It has basic features like cutting clips, adding transitions and effects, and inserting text and music. This application comes with simplified templates for beginners new to making films that you can easily use.
Filmora
Another user-friendly editing software for beginners, Filmora, is also available to Windows and Mac users. It has various kinds of effects, filters, and transitions, among others, which help to enrich videos. Edit movies via an easy-to-use interface even when you are entirely new but still want your work to look professional.
Adobe Premiere Pro
Adobe Premiere Pro has complete tools for video editing, color correction, and audio mixing, among other themes. One can, therefore, do very detailed cutting using Premier Pro to have only the exact training movie they require.
Final Cut Pro
This editing software involves complex video editing like multicam support, color grading, and motion graphics. This is one of the reasons why Final Cut Pro has remained a top choice among Mac users. Professional video editors like it due to its wide range of compatible tools with other Apple products.
DaVinci Resolve
DaVinci Resolve is an expensive editing system famous for its color correction and grading prowess. This one has been used by film and television because of several features, such as visual effects, audio post-production, etc. It also boasts many filmmaking tools provided by it.
Lightworks
Lightworks is a flexible software that targets different platforms, including Windows, Macintosh, and Linux operating systems. The free version contains all essential editing tools, while the paid one offers advanced features such as 4K video support and real-time effects. Independent filmmakers who need flexibility and high professionalism will find this software indispensable.
Shortcut
Shotcut is a free, open-source program for Windows, MAC, or Linux operating systems. Video-cutting functions include timeline-based editing controls (video/audio), audio controls (audio waveform display), and file format support. They are valuable to those who desire some excellent but affordable solution.
HitFilm Express
HitFilm Express offers video editing and visual effects functionality under one roof, along with advanced options, including compositing, 3D modeling/animation tools, and traditional aspects of an editor package. People create content that requires dynamic visuals in this software.
By exploring these different options for the programs that edit lessons quickly, you will identify the best tool based on the skills required for creating engaging training videos with a professional touch.

Setting Up the Recording Environment to create Training Videos
A. Choosing a Suitable Location
Find a quiet and well-lit space to Create Training Videos.
The quality of your recorded training videos begins with choosing an unoccupied place that is quiet and conducive enough to see and hear you without any distractions.
Consider checking for background noise and distractions before you Create Training Videos
Consider the noise and other disturbances that may distract listeners. Avoid loud areas like streets, appliances, etc., which can interfere with what is taught or presented in disorganized surroundings.
Positioning lights to avoid harsh shadows or glare
Videos must have proper lighting for accurate visuals. Place your lights appropriately in order not to cast a sharp shadow on your face or cause a glare that will affect the quality of the footage.
Adjusting light intensity and color temperature as you Create Training Videos
Adjust your lights' brightness and color temperature to achieve appropriate lighting effects. Equilibrated lighting conditions improve visibility, skin colors, and overall video appearance.
Using a high-quality microphone
High-quality sound is crucial for effective video communication in training. Purchase an expensive microphone that will guarantee clarity, lack of distortions, and absence of sounds from the surrounding environment.
Positioning the microphone for optimal sound capture
Optimal audio recording requires the correct positioning of a microphone. Place it close enough to provide good voice capture but out of sight to avoid too much peripheral noise.
Minimizing Echo
Soft furnishings such as carpets, curtains, or furniture can select a room with low echo characteristics, enabling you to avoid echoes in your recordings.
Testing Microphone Levels
Always ensure your microphone level is not too loud or soft, which can be adjusted for clear audio output.
Use Natural Light
Employ sunlight from windows as an adjunct to artificial lights in your videos for more realism and beauty of the subjects.
Pick out a Simple Background
Go for neat and uncluttered backgrounds that go with the content without distracting viewers from the main points in the video presentation.
By following these tips while setting up your recording environment, you can create professional-looking training videos with sharp visuals, clear sound, and minimal distractions so that people watching them will feel engaged.

Recommended Filming Techniques to Create Training Videos
Making your training videos more interesting with varied angles
One way to increase your training videos' visual interest is by experimenting with different camera shot angles. They could be high or lower shots or an aerial shot example. Alternatively, they can focus on essential information details and create a dynamic presentation.
Choosing the Right Shots to Get Your Message Across Effectively
Selecting shots appropriate for conveying ideas effectively in video is critical. For instance, different types of close-up shots highlight vital details, while full shot vs. wide shots provide overall contexts. This mixture of shots helps viewers to remain engaged and facilitates better understanding.
Speak Clearly and Concisely
Communicating clearly as you create a training video session is essential. Speak slowly to ensure that the audience understands what you are saying. Being concise and direct keeps the audience attentive and helps them know well.
Using Visual Aids to Support Content
Graphics like animation or charts can improve the clarity of your message and reinforce key points. This makes it easier for viewers to follow the content without getting overwhelmed. Thus, visual aids help break up the content, aiding in retention.
Use Storytelling And Anecdotes To Relate The Content To The Audience
Storytelling as an art captures audiences’ attention, making complex topics relatable through this method. Personal anecdotes shared during such trainings or real-life examples are significant in connecting better with your audience emotionally, thus retaining their interest throughout the video lesson.
Incorporate Humor Or Interactive Elements To Keep Viewers Engaged
Incorporating humor into any film text increases engagement levels of audiences during the watching period, including other interactive things like quizzes or polls within it, thereby making it more enjoyable than other types of films used for teaching purposes would otherwise be possible whereby students would have become bored after watching those videos without gaining much information from them which may lead them not wanting to watch similar ones in future.
Editing and Post-Production
Importing Footage and Organizing Files
Transferring footage from the camera to the computer
After you create training videos, this is the first editing stage, where you will have to transfer all recorded footage from a camera to a computer. So that video files are accessible through an editing program.
Organizing clips and assets for easy access during editing
It is essential to manage your video clips, audio files, and graphics well. In this regard, folders could be created, or some system could be set up to group different elements of one's work while doing the post-production part later on down the line.
Trimming unnecessary footage and transitions
While editing, removing any unwanted or redundant sections is good practice, which makes your film brief yet captivating. This should involve cutting off pauses, which could take away attention from the primary subject matter being discussed, to maintain continuity within a straightforward narrative.
Adjusting pacing to maintain viewer engagement
Adjust clip timing, transition timings, and effects accordingly so that they will affect how fast or slow the pace goes by -which only lets it become as long as it should take or shorter.
Improving the attractiveness of text through graphics or movements
Incorporating images, animations, or visual effects can improve the general appearance of your training videos. Apply overlays, lower thirds, or animated elements to make content visually appealing and emphasize the main concepts.
Highlighting critical points and providing additional information using text overlays
Text overlays help underscore vital information and provide extra meaning in your videos. Captions, titles, and subtitles may be added to break down challenging ideas for viewers to understand and better comprehend.
Correcting Colors
Alteration of colors and tones at this post-production stage will make a video look good by ensuring uniformity and beauty.
Editing Audio Clips
Adjust audio levels, insert music tracks or sound effects into silent parts, and eliminate background noise, among other sound improvements that can transform a simple video into a practical learning resource.
Transitions & Effects
Use smooth transitions between clips, such as fades or dissolves, to create continuous movement, thus maintaining consistency within your video.
Review And Feedback
The process of editing your work is only complete after you evaluate it, looking at cohesion, correctness, and quality. Receiving feedback from others helps one consider different perspectives on ways of improving their content.
These editorial and post-production practices will help fine-tune your training videos for clarity, engagement, and aesthetics, making them informative enough, effectively conveying a message while simultaneously captivating the audience.
Best Practices To Use As You Create Training Videos
Be Prepared Ahead Of Time
Plan what your video will contain before starting filming. It should mention the goals you have set up for yourself; also, you need to define the target audience and underline critical messages. Write a script or an outline that will guide all steps taken during the making process while keeping its structure clear.
Make it Shorter
Aim at brevity in training videos. Refrain from including unnecessary data since long explanations may result in losing attention. Instead, try focusing on providing essential information directly.
Attract Your Audience
Present exciting and not dull pictures, tell stories, or offer interactive content to keep your target audience involved. Using real-life situations, anecdotes, and examples can make learning resources memorable and relatable.
Ensure Good Audio & Visuals
High-quality audio is essential in training videos that aim to communicate effectively. Look for a good microphone for optimum clarity. Ensure the lighting is conducive and the camera settings align with the film’s overall atmosphere.
Use Visual Aids
Use graphics, animations, or even text overlays to reinforce significant concepts or improve comprehension among students. They assist in breaking down complex information into smaller parts that the learners can quickly grasp.
Practice Makes Perfect
Before recording yourself speaking on video, rehearse to feel confident and comfortable while presenting. Pay attention to how your voice sounds, how fast you speak, and any gestures to maintain contact with viewers throughout the video presentation.
Edit Judiciously
Review your post-production video content for clarity and coherence. Cut out unnecessary footage; add transitions where necessary and ensure a seamless flow of information from one scene to another. Pay close attention to sound levels, color correction, and general aesthetic appeal of the video.
Ask For Feedback
Let others review this instructional material after it has been created; they may be peers, colleagues, or target audience members. Constructive feedback helps identify which areas need improvement, making lessons more engaging.
Optimize Accessibility
Consider using closed captions or subtitles on your videos to reach wider audiences since many people may not have understood what you said due to hearing problems, among other language barriers that non-native speakers face. This means that viewers should easily understand what is presented through these films.
Conclusion On How To Create Training Videos
There must be intense preparation, brief content explanations, and exciting performances for enticing training videos. Adhere to the golden rules as envisaged: plan meticulously, keep your videos short, and maintain a firm grip on your audience’s attention from beginning to end of your presentation. Use visual support tools during presentations, rehearse what you will say on camera before recording it, edit your work carefully after completion, ask for feedback from others on the video you have made or recorded, and make it accessible.
Don’t forget about planning content materials, keeping it exciting and understandable, rehearsing before recording, revising well, asking for other people’s opinions on the video one has created or shot, and ensuring availability. Contact us if you need consultation when producing Videos.

Get total clarity on your video marketing and paid media with our FREE comprehensive data audit.
CINESALON NEWS