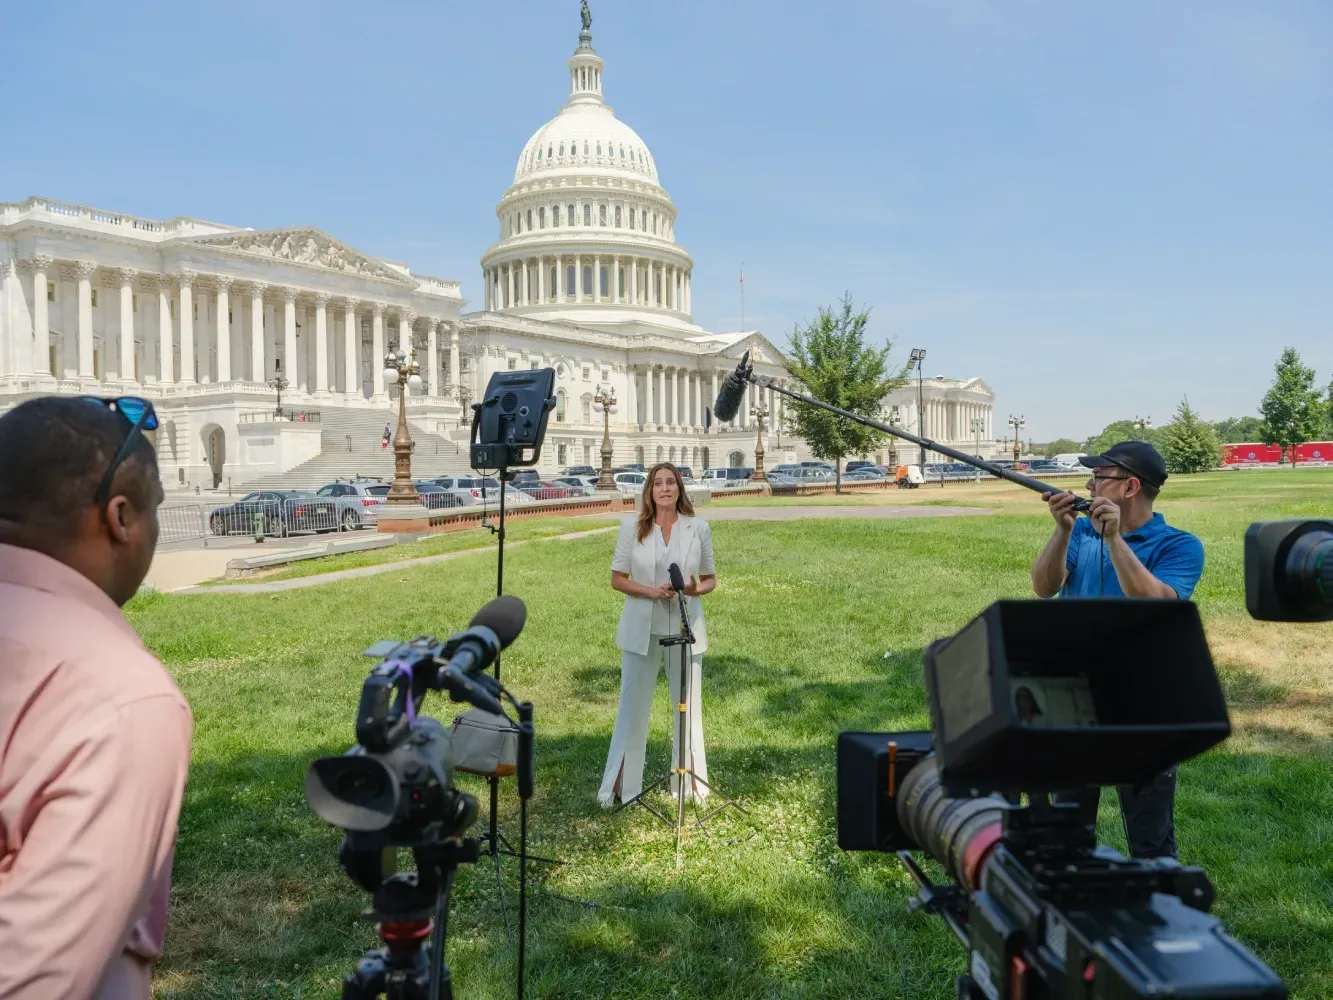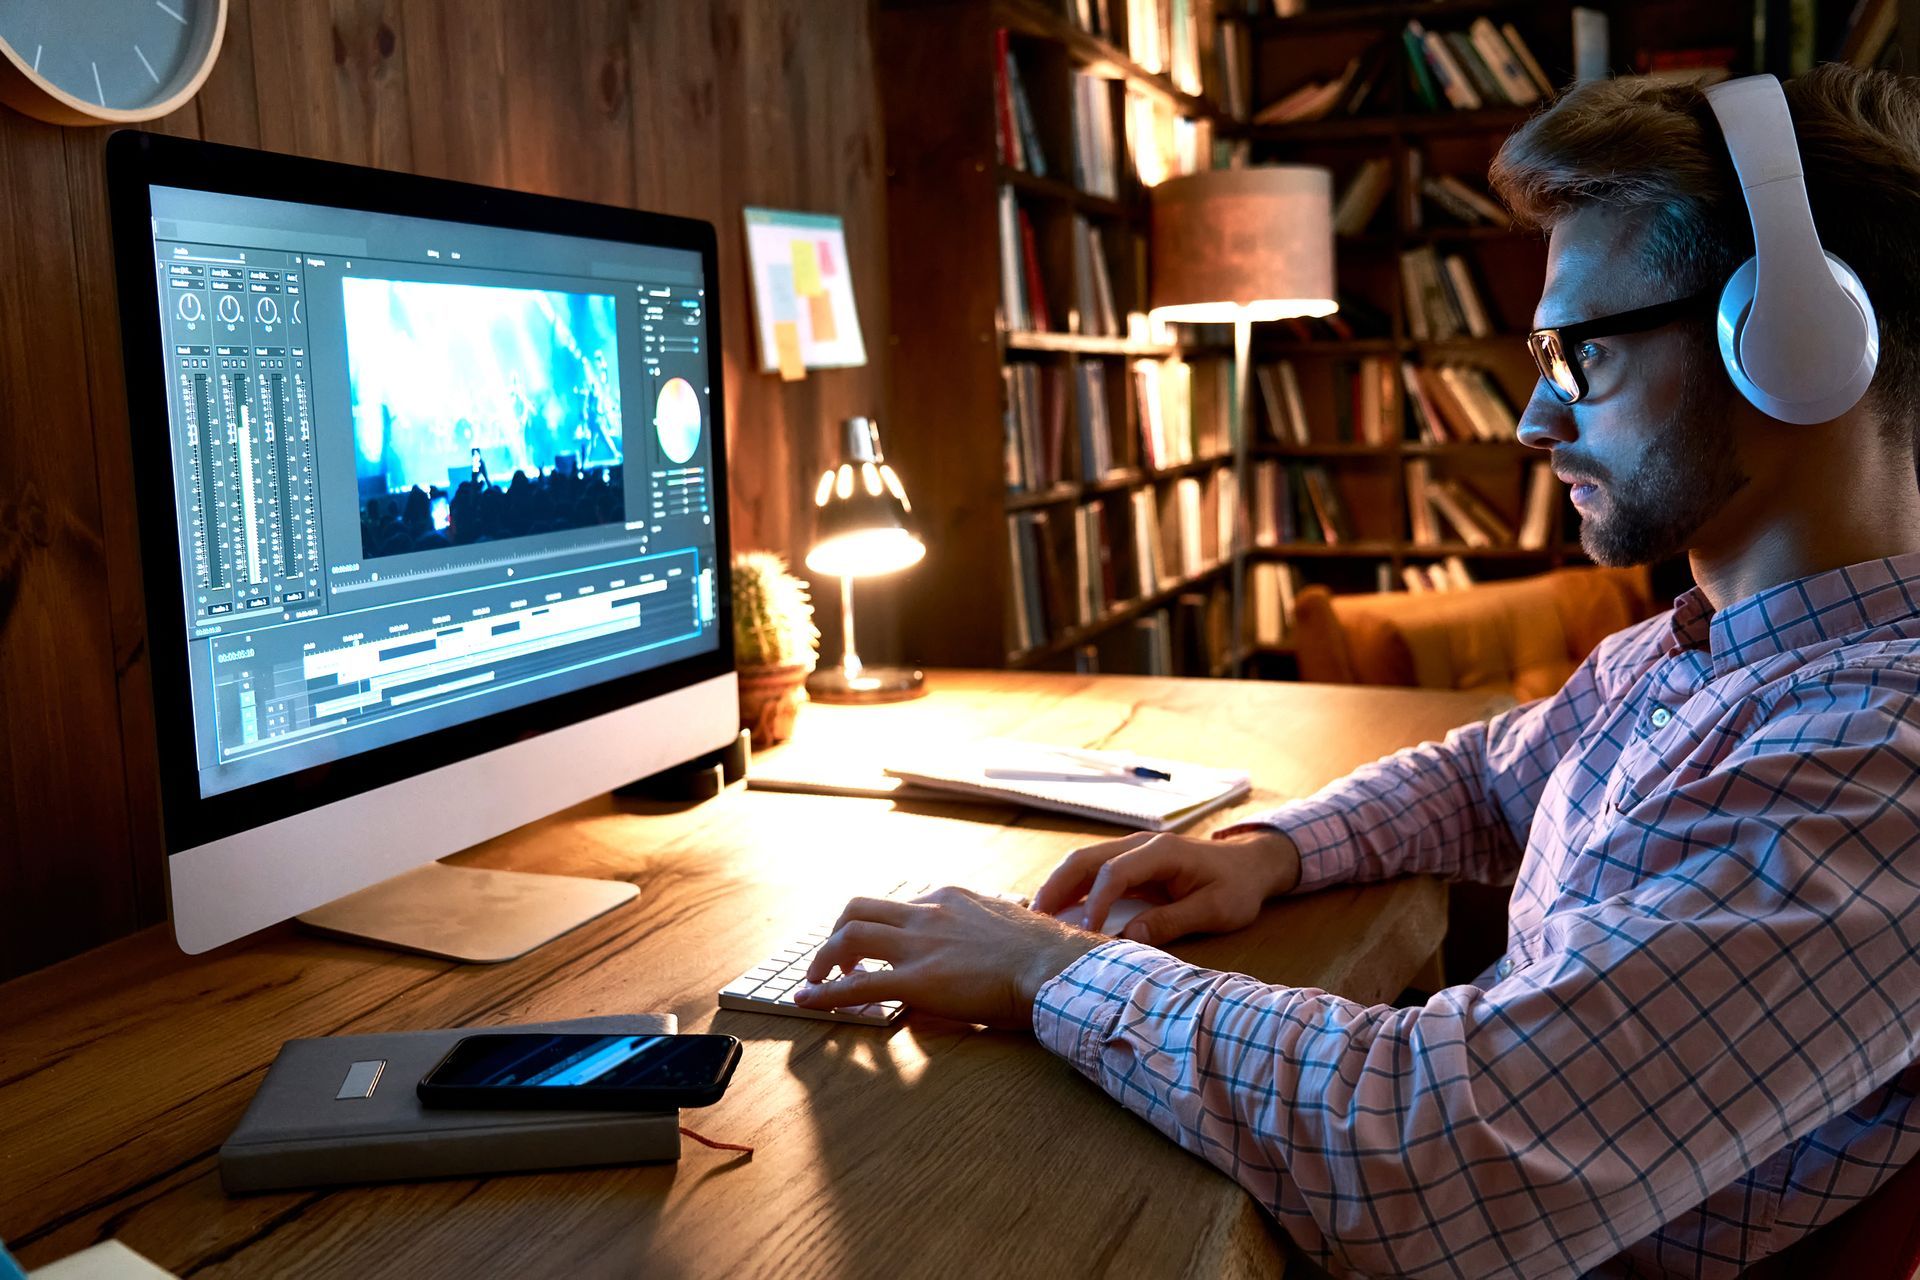
Post-production is an essential step in video production that can make or break your project. It's the stage where you combine all the footage, audio, and other elements to create a cohesive and compelling final product. However, post-production can be complex, so having a checklist can help ensure you don't miss any crucial steps.
1. Organizing and backing up your footage
It may seem easy to organize and back up your footage. It is essential to do it right to ensure the post-production process goes smoothly. Here are some more facts that will help you see how important this step is:
Setting up a folder structure:
If your project files have a clear and uniform folder structure, it will be easy to find specific clips. It will save you time when editing. If you are making a film of a wedding, you could create subfolders for the ceremony, the reception, and the speeches. You could also sort your video by camera angle or type of shot. Make sure that whatever format you choose is easy to use and is the same for all project files.
Using detailed file names can make it easier to find specific clips. It can help you to keep things from getting mixed up. An excellent way to name files should include information like the date, place, camera angle, and type of shot.
Choosing a backup solution:
You must back up your video to protect it from being lost or changed. There are many ways to back up, such as with an extra hard drive, the cloud, or a RAID system. When picking a backup solution, you should consider your budget, your job size, and how much space you need. It's also essential to choose a backup option with redundancy. It can help to stay planned such that if one backup fails, you have another one.
The best ways to back up your videos:
You should follow a few best practices to keep your film safe. First, make a backup schedule so your footage is usually backed up. Second, keep many copies of your backups in different places. For example, having one offsite or in the cloud protects against theft or natural disasters. Third, ensure your backups can be recovered by testing them often. Lastly, you might want to use a checksum-checking tool to ensure your backed-up footage is correct.
In post-production, it's essential to organize and back up your film. Make a clear folder structure, use informative filenames, and choose a reliable backup solution. Make sure to follow the best practices for backing up your footage. It will ensure your work is safe and easy to find throughout post-production.

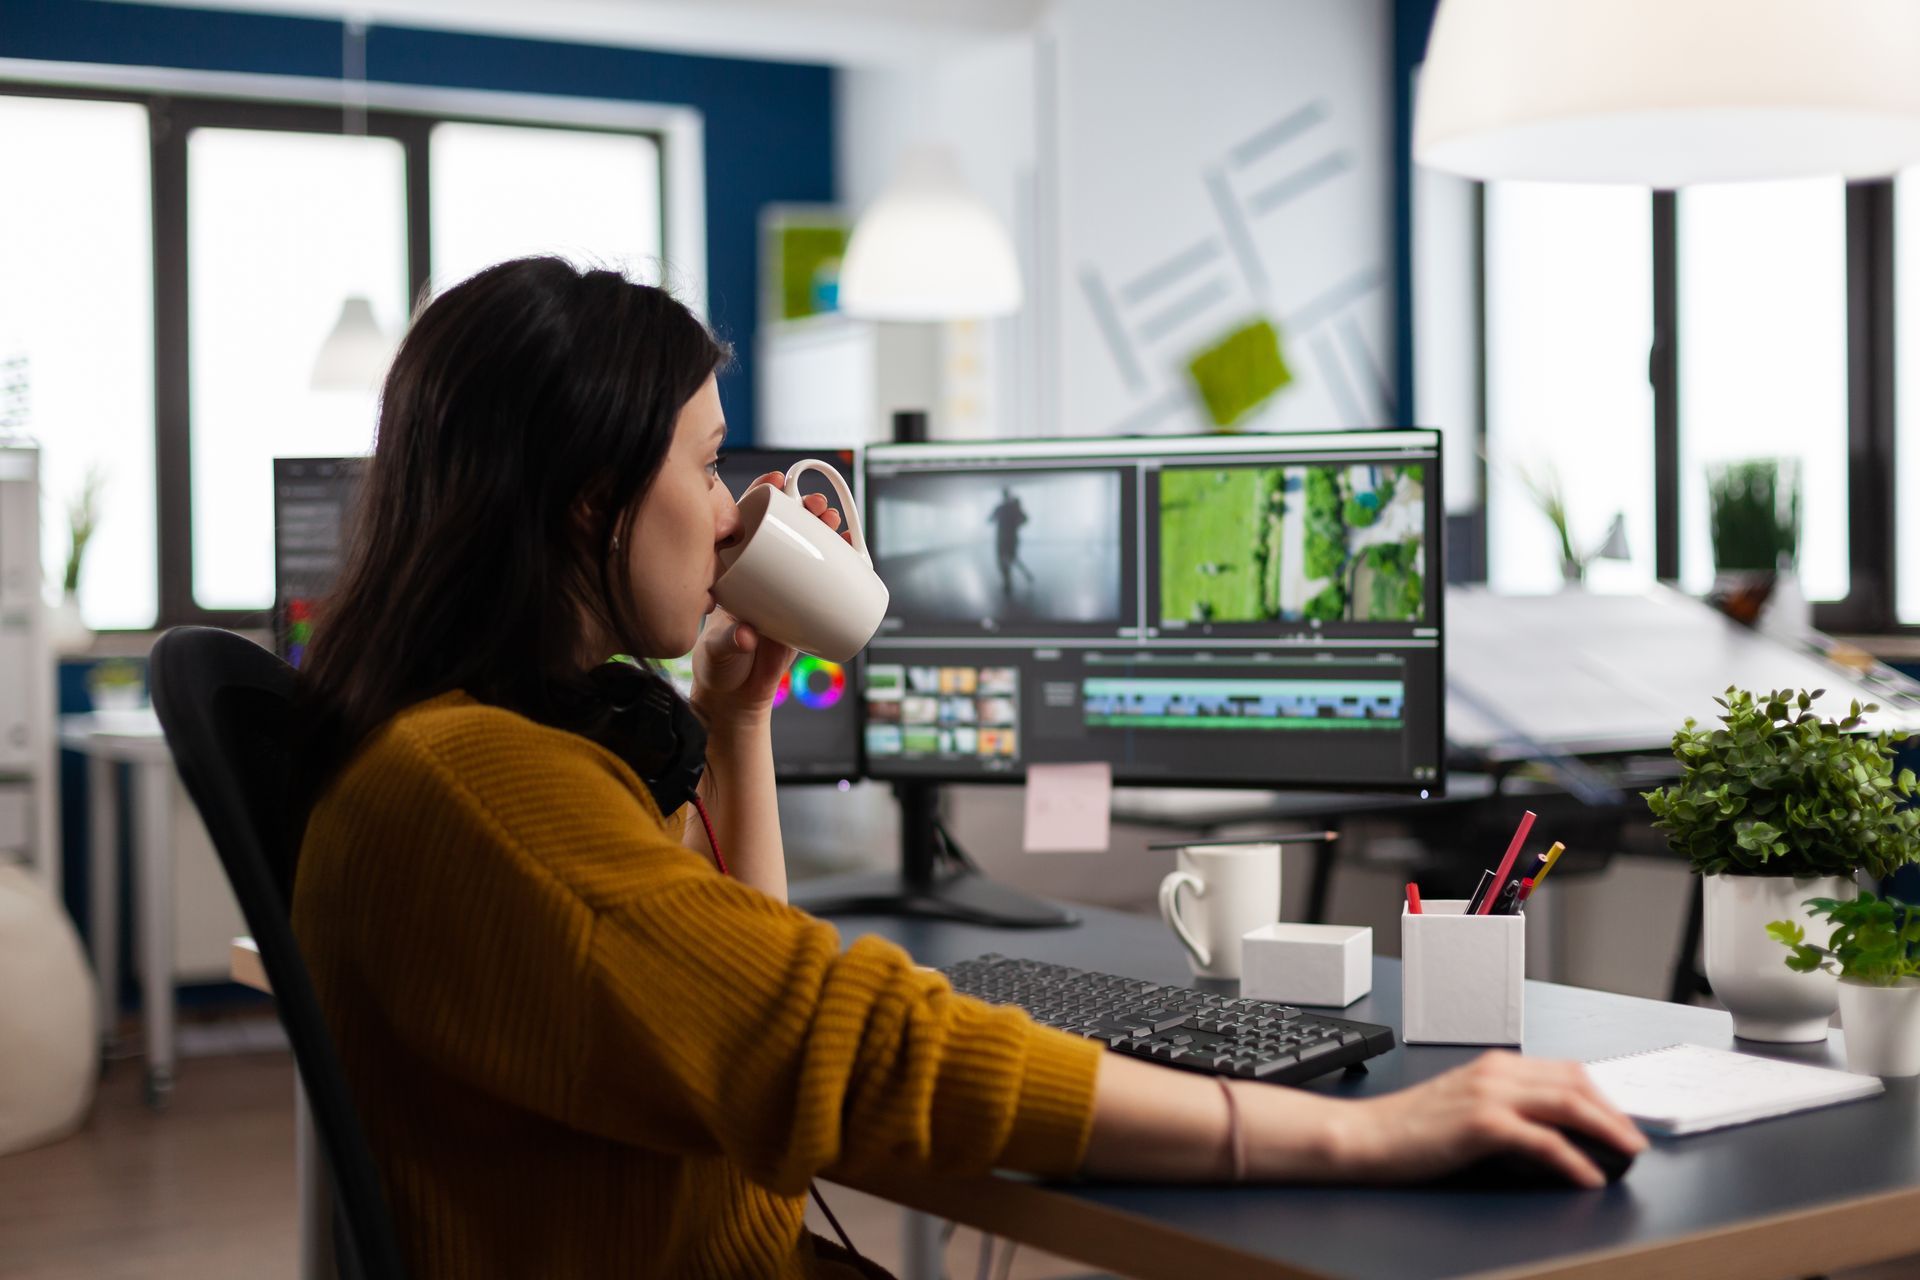
2. Reviewing and selecting the best takes
In post-production, one of the most important steps is to look at all the takes and choose the best ones. Here's an in-depth look at each part of this process:
Choosing the right takes for your project:
You must review all the footage you shot to choose the right takes for your project. It will enable you to select the clips that best tell your story. It's essential to think about both the technical parts of the footage. Check the focus, exposure, and how the players or subjects are doing. It's also essential to consider how your story moves along and how each clip fits into the whole.
Making a rough cut:
Once you've chosen the best takes, you can start making a rough cut of your project. A rough cut is an early form of your edit that has all of your story's essential parts. It allows you to try different shots and speeds to figure out the best way to tell your story. Any editing software can make a rough cut, which is generally imperfect.
Getting your edit just right:
Once you've made a rough cut, it's time to get your edit right. It means trimming and changing your clips and adding transitions. You also need to adjust the timing of your modifications to make a polished end product. It's essential to think about the pace and flow of your story. Ensure that each clip fits into the bigger picture. It's also essential to think about the technical parts of your edit: color correction and sound mixing. It will help to make a finished product that flows well and looks professional.
Working with other people on your edit:
Working with others on your edit is an excellent way to get feedback. It also helps to make sure your story is clear and exciting. You can work with other editors, your director or a producer. You can also work with all of them to get feedback on your rough cut and improve it. You need to keep an open mind to make the best possible final result. Be willing to make changes based on what people say.
Reviewing and choosing the best takes is essential in making a final product that looks clean and professional. Pick the right takes for your project and make a rough cut. Fine-tune your edit, and work with others. It makes sure that your story is clear, engaging, and well-paced. If you pay close attention to the details, you can make a final product that fits your artistic vision. You can ensure the output wows your audience.
3. Editing and pacing your video
Editing and pacing are essential parts of post-production. It can be the process that can make or break your final video. Here's an in-depth look at each part of this process:
Basic editing techniques:
It involves cutting and trimming clips and changing their time and order. It also requires editing techniques such as adding effects and transitions. These techniques help make a product that fits together and tells your story. Most editing software has a lot of tools and features that can help you get the desired results.
Making a compelling story:
Good editing helps you make a compelling story. It helps grab your audience's attention and keeps it that way for the whole video. It's essential to organize your movie in a way that makes sense. Please focus on the most critical parts of your story and leave out anything that doesn't add to it. To do this, think about the 3-act framework, which has an opening, a rising action, and an ending.
Setting the pace and rhythm:
The pace and rhythm of your video are two of the most important things you can do to keep your audience interested. It's essential to give your story a flow and pace that fits and keeps people interested. You can do this by changing how long your shots are, how fast your cuts are, and how loud your music or sound effects are. Remember that the pace can also change based on what kind of video you're making, like a tutorial or a commercial.
Adding transitions:
Transitions help make the changes between shots smoother. It also makes the end product look more polished and put together. Common changes include cuts, fades, and dissolves. It's essential only to use changes when they add something to your story. If you use too many transitions, they can be distracting. They can also make your movie look less professional.
Sound editing and pacing are essential if you want your final result to look professional. Using basic editing techniques, you can make a video that tells your story well and keeps people interested. To make a compelling story, set the right pace and rhythm, and use transitions well. You can make a movie that fits your creative vision and wows your audience. Pay close attention to detail and think outside the box.
4. Adding music and sound effects
Adding music and sound effects to your movie can improve its quality and make it more emotional. Here's an in-depth look at each part of this process:
Choosing the right music for your project:
It's essential to choose the right music for your project. It helps to set the right mood and make your audience feel something. Think about the music's genre, tone, and tempo and how it fits with your video's story and images. You can use royalty-free music libraries or work with a composer. They can help you make original music that fits your idea.
Adding sound effects:
Sound effects help make your movie more accurate and powerful. They can bring attention to certain acts, set the mood, or add humour or tension. Some common sound effects are footsteps, explosions, and sounds from the surroundings. It's essential to pick sound effects that go with your story and images without taking over.
Getting the audio levels right:
Getting the audio levels right is essential if you want your movie to be straightforward. Ensuring the music and sound effects don't drown out the conversation is essential. Use tools for changing audio to change each audio track's volume and ensure they are all the same.
Working with a composer or sound designer:
Working with a composer or sound designer can help you make original music. They help to get good effects that are great for your project. A composer can help you make a custom score that perfectly fits your story and visuals. A sound artist can help you add realistic and robust sound effects. When you work with these experts, your end product can be taken to the next level.
Adding music and sound effects to your movie can give it more feeling and make it seem more real. You can make a video that engages your audience by picking the right music. Add sound effects, balance the audio levels, and work with a composer or good designer. You can make a movie that fits your vision if you pay close attention to detail and think outside the box.

5. Color grading and correcting
Color grading and correction are an integral part of post-production. It can help you make a good final result that fits together nicely. Here's an in-depth look at each part of this process:
Understanding colour grading:
Colour grading is changing the colours and tones of your footage to give it a specific look and feel. It means changing your footage's brightness and adjusting the contrast, colour, and hue to create a certain mood and look.
Using tools for colour grading:
Adobe Premiere Pro, DaVinci Resolve, and Final Cut Pro X are some of the tools and apps to use for color grading. These tools have various features, like colour wheels, curves, and levels. They let you change the colour and tone of your footage to make it look and feel a certain way.
Fixing colour problems:
Color correction is fixing any colour problems in your footage, for example, changing those with white balance, exposure, and intensity. There are a lot of things that can cause these problems. These include lighting, camera settings, or colour grading choices. It's essential to fix these problems if you want your videos to look consistent.
Creating a consistent look and feel:
To create a consistent look and feel, you need to ensure your movie looks the same throughout. It can mean changing the colours of all your footage to match a specific theme. You can also give different scenes or shots different looks. You can make your movie more emotional and real to watch by providing a consistent look and feel.
Color grading and correction are critical steps in making a final result that looks good and fits together nicely. Learn the basics of colour grading, and use tools for colour grading. Fix colour problems, and create a consistent look and feel. It will improve your video's quality and emotional effect.
6. Adding titles and graphics
Titles and images are essential during post-production since it helps get your message across. It can also improve the story and make the video look and feel more professional. Here's an in-depth look at each part of this process:
Choose the right font and design:
When making titles and images for your project, choosing the right font and design is important. You should select a font that is easy to read, fits the style of your project as a whole, and sets the right tone and mood. It's also essential to consider how your titles and images are designed and laid out. Please make sure they look good and are easy to read.
Making an opening title sequence:
An opening title sequence is an excellent way to set the tone for your project and get the viewer's attention. It usually has the project's name, the cast and crew's names, and any other important information. You can use animation, motion graphics, and text overlays. These tools and methods to make an opening title scene.
Adding lower thirds and captions:
Lower thirds and captions are good ways to give your users more information. For example, you can provide the name of a speaker or the name of a place. You can use Adobe Premiere Pro and Final Cut Pro X, among other programs and tools, to make lower thirds and labels.
Using motion graphics to improve your project:
Motion graphics can make your project better and the watching experience more immersive. You can use them to make your titles and images more interesting. You can also create dynamic transitions and uniquely share information. Many tools and programs, like Adobe After Effects, can be used to make moving images.
Adding titles and images are important in post-production and can help you communicate. It can improve the story and make the video look and feel more professional. You choose the right font and style and make an opening title sequence. Add lower thirds and captions, and use motion graphics to improve your project.
7. Exporting and formatting your video for different platforms
In post-production, one essential step is exporting and formatting your movie for other platforms. It ensures that your video looks and sounds good no matter where it is watched. Here's an in-depth look at each part of this process:
Understand the export settings:
It's important to know what the different export settings do before you send your video. Resolution, frame rate, and compression are the most popular settings. Each environment affects the size and quality of the video you export. It is essential to pick the right ones for your job.
Picking the proper format:
It's essential to pick the correct format for your video to play well and look good on different devices. MP4, MOV, and AVI are all popular video file formats. Each format has pros and cons, so you must pick the one that works best for your job.
Optimizing for different platforms:
YouTube, Vimeo, and Facebook all have different requirements. They also have suggestions for how to post videos. It is essential to ensure your video is optimized for each device. That includes the resolution, aspect ratio, and file size. Make sure your movie looks and sounds good no matter where it is watched.
Uploading to online video platforms:
Once you've exported and formatted your video, post it to the online video platform of your choice. Different sites have different rules about file size and format for uploading. Make sure your movie is uploaded successfully and looks its best. Ensure to read and follow the platform's rules.
The most critical step is exporting and formatting your movie for different platforms. Understand the export settings, and choose the correct format. Optimize it for other platforms and properly upload it to online video platforms. Ensure that your video looks and sounds its best no matter where it's being watched.

8. Reviewing and testing your final video
The most important part of the post-production process is to watch and test your final movie. It ensures that your movie is polished, free of mistakes, and conveys the message you want. Here's an in-depth look at each part of this process:
Checking for technical problems:
Before you put the finishing touches on your video, check for technical problems. Look for issues like audio and video quality, colour grading, etc. Ensure the audio levels are all even, the color grading is uniform, and the video has no glitches.
Checking for continuity problems:
Continuity is essential if you want your movie to tell a story that flows well. Check for problems with continuity, such as jump cuts or mistakes in props, outfits, or the way the set is made. Make sure your movie flows well and looks like a professional made it.
Checking for pace and story:
Pace and story are essential parts of video production. Make sure the pace of your movie stays the same and that the story is clear and exciting. Review the movie to ensure the message is clear and fits with what you want to achieve.
Getting feedback from other people:
Getting feedback from other people is an essential part of reviewing your video. Share your movie with people like coworkers, friends, or family to find out what they think. Their comments can help you determine what needs to be fixed and ensure that your video does what you want it to do.
It is essential to review and test your final video. It helps ensure it's clean, free of mistakes, and communicates well. You can ensure that your final video meets your goals and gets the desired results. Check for technical and continuity problems, looking at the pace and story. Ensure to also get comments from others.
Promoting and sharing your video on social media and other channels
Promoting and sharing your movie on social media and other channels is essential. It is part of the post-production process, and it's important to take the time to plan and do it well. Here's more information about each of the four parts:
Making a marketing plan:
To make a marketing plan, determine your goals and who you want to reach. Think about what you want to say in your video and how you want to position it so that it speaks to your viewers. Once you know your goals and who you want to reach, make a plan. Ensure that it includes the channels you will use to promote your video. Create the strategies you will use and the message you want to send.
Choose the proper channels:
It's essential to spread your video through the proper channels. Choose platforms that match the preferences and habits of your audience. If your audience is more busy on Instagram than on Twitter, you should put most of your efforts there. Think about the features and limits of each site. It can include the length and aspect ratio of videos to ensure your content works best on each one.
Engaging with your audience:
To build a community around your video content, engage with your audience. You can make your movie more visible and reach more people by responding to comments. Please share it with relevant groups, and take part in conversations. Share behind-the-scenes footage or other exclusive material on social media. It helps to keep your audience interested in your brand.
Tracking the performance of your video:
It's essential to track the performance of your video to know how it's being used and if you want to reach your goals. Track views, engagement, and other important data by using analytics tools. This knowledge can help you make intelligent choices about your videos and how you market them in the future. It can also help you find places where your video could be better and ways to make it work better.
It takes planning and execution to promote your movie on social media and other channels. Make a marketing plan, pick the proper channels, and interact with your audience. Keep track of how well your video is doing. It will ensure it reaches the right people and gets the desired results.
Benefits of a post-production checklist
Post-production is an essential part of making a movie. It's the stage where rough footage is turned into a finished, professional product. But the post-production process can be overwhelming if planning and preparation aren't done right. A post-production plan can help with this.
A post-production plan is a list of all the tasks that need to be done after filming. It helps the post-production team stay organized, on track, and productive. Here are a few of the most important reasons you should have a post-production plan.
1. Organization and getting things done
A post-production schedule helps keep the editing process organized and ensures all steps are taken. It shows what tasks need to be done, in what order they should be done, and who is in charge of each job. It helps ensure that the post-production process doesn't take too long or make any mistakes.
2. Make sure of quality
A post-production plan ensures all the footage is looked at and any changes are made. It is important to ensure that the final product meets the standards and is of good quality. It also helps find problems or mistakes before the final output is sent to the client.
3. Fewer misunderstandings
Misunderstandings can cause a lot of trouble during the review and approval process. A post-production checklist makes it easier for team members to talk about what needs to be done by giving them a clear and straightforward list of tasks that need to be done. It ensures that everyone understands what is happening and that there are no mistakes.
4. Combining sound and music
A post-production plan helps ensure all the necessary sound effects, music, and dubbing are added. It is important if you want the end product to look polished and professional. It also helps ensure the sound is clear and that the music fits with what is being shown.
5. Changes in color
Color grading is an essential part of the process that comes after filming. It helps set the mood and tone you want for the finished result. A post-production checklist helps ensure that the end product is color graded correctly and looks its best.
6. Finishing touches
Special effects can be a very effective way to improve the result. A post-production checklist helps ensure the end product has all the effects it needs. It helps make the end product more immersive and exciting.
7. Timeliness
It's important to deliver the final product on time and within budget. A post-production checklist helps ensure the final product is delivered on time and budget.
It is essential to have a post-production checklist. It helps to make sure that the final result is of high quality. It also ensures that the video meets the standards, is delivered on time, and doesn't exceed budget. During the review and approval process, it helps make sure that all steps are taken. A post-production checklist is a handy tool for any post-production team. Making one is worth the time and work it takes.
Tips for a clear post-production workflow
Post-production is an essential part of making a movie. It's where the magic happens, and raw footage is turned into a polished final result. It's essential to have a clear post-production workflow if you want to make a high-quality final result and get it done on time. Here are some tips for creating a clear process for post-production.
1. Organize Footage
One of the most essential parts of post-production is organizing the film. Making a well-organized folder layout and labelling your footage makes it easier to find and use later in editing. It makes the writing process go faster and saves you time.
2. Use a digital shot list and storyboard
Using a digital plan and a clear list of shots can help you keep track of the edit and ensure you get the desired result. It helps you stay on track and ensures the end product has all the needed shots.
3. Use software for production workflow and work with a skilled assistant editor
Production workflow software can help automate jobs that are done repeatedly and speed up the post-production process. An experienced assistant editor can help you complete more and ensure that post-production goes quickly.
4. Keep your vision in mind during the editing process.
From the start of the post-production process, it's essential to have a clear idea of the final result. It helps you stay on track and ensure the result meets your standards.
5. Use a Pancake Timeline
Stacking two or more timelines on top of each other is an editing method called a "pancake timeline." This method makes editing more accessible and easier to work with more than one series at a time.
6. Use the right tools or buy them.
Using the right tools is essential if you want to get good results. Investing in good tools and hardware can help you improve your workflow and get better results.
7. Make templates for projects
Project templates can save you time and ensure every project goes through the same steps. Templates can have options, transitions, and effects that are used often, among other things.
8. Learn quick ways to do things
By learning keyboard shortcuts, you can save time and speed up the writing process. It is especially helpful for jobs that you do over and over.
9. Use tools to work together
Tools like Go-Visually can help you work more quickly with your team and clients. You can share your work and get real-time comments with these tools.
10. Get feedback all the time
For the post-production process to go quickly, you need to keep getting feedback from your team. It lets you find problems early and make any required changes to the process.
Conclusion
Post-production is a complex process that requires careful planning and execution. By following this post-production checklist, you can ensure you don't miss any crucial steps and create a compelling final product. Remember to take your time and get feedback from others to ensure your video is the best it can be.

Get total clarity on your video marketing and paid media with our FREE comprehensive data audit.
CINESALON NEWS