Imagine being able to explore a scene in all directions. It feels like you're right there. This is what 360-degree videos provide. They are a type of video recording where every direction is recorded at the same time. You can view these videos and feel like you're in the middle of the action.
The Growing Importance of 360-Degree Videos
The rise of virtual reality (VR) and augmented reality (AR) has made these videos popular. They're now used in different industries. Real estate agents use them to show properties. Travel bloggers use them to provide virtual tours. Teachers use them for virtual field trips. Even the gaming industry uses them for a more immersive experience.
Overview of Our Guide
Let's introduce you to our guide. This comprehensive step-by-step guide is designed to help you master 360-degree videos. From capturing the videos to editing and sharing them. We will walk you through every step. Let's begin this exciting journey.
Understanding 360-Degree Videos
Before we dive in, you need to understand what you're dealing with. You'll learn about the definition and functionality of 360-degree videos in the next section. We will also discuss the key benefits of using this type of video. This knowledge will give you a good foundation for the rest of the guide.
The Equipment You'll Need
The right equipment is essential for capturing quality 360-degree videos. We will provide an overview of the necessary gear in the third section of the guide. This includes an in-depth look at 360-degree cameras and their features. You will also learn about the importance of tripods, stabilizers, and other auxiliary equipment.
Capture, Edit, Share!
Finally, we will delve into the main processes: capturing, editing, and sharing your 360-degree videos. We will guide you through each step in great detail. You'll learn about setting up your equipment, shooting techniques, and common mistakes to avoid. After capturing, we will move on to the editing process. You will learn about different software, how to stitch your videos, and how to refine them. Lastly, we will guide you on how to export and share your masterpiece with the world.
Understanding the Basics of 360-Degree Videos
Defining 360-Degree Videos
360-degree videos aren't like ordinary videos. These special videos offer a panoramic view. They cover every direction - up, down, left, right, front, back. It's all recorded simultaneously. When viewing, you can change your perspective. It's as if you're standing at the center of the action. You get to decide what to look at. This immersion is what makes 360-degree videos special.
Benefits of 360-Degree Videos
These videos offer unique advantages. They deliver an immersive, interactive experience. They make viewers feel present in the video. Traditional videos can't match this. Businesses use 360- degree videos for their immersive quality. They can showcase their products from every angle. Real estate agents can give virtual tours of homes. Travel bloggers can take their audience on virtual trips around the world. The possibilities are endless.
Uses Across Different Industries
The versatility of 360-degree videos is impressive. Let's look at some of the industries that benefit from them:
1. Real Estate: Virtual tours help potential buyers explore properties from the comfort of their homes.
2. Travel and Tourism: Travel bloggers can give viewers a 360-degree view of the places they visit. It's like taking their audience along on their trips.
3. Education: Teachers can use these videos for virtual field trips, taking students to places they may never be able to visit in person.
4. Entertainment: The gaming and movie industries use 360-degree videos to create immersive experiences that engage their audiences in entirely new ways.
The use of 360-degree videos is not limited to these industries. With creativity and innovation, you can apply them in any field.
Equipment Needed for 360-Degree Video Capture
Creating 360-degree videos requires specific tools. Let's break down the main ones. These are the pieces of equipment that will set you up for success.
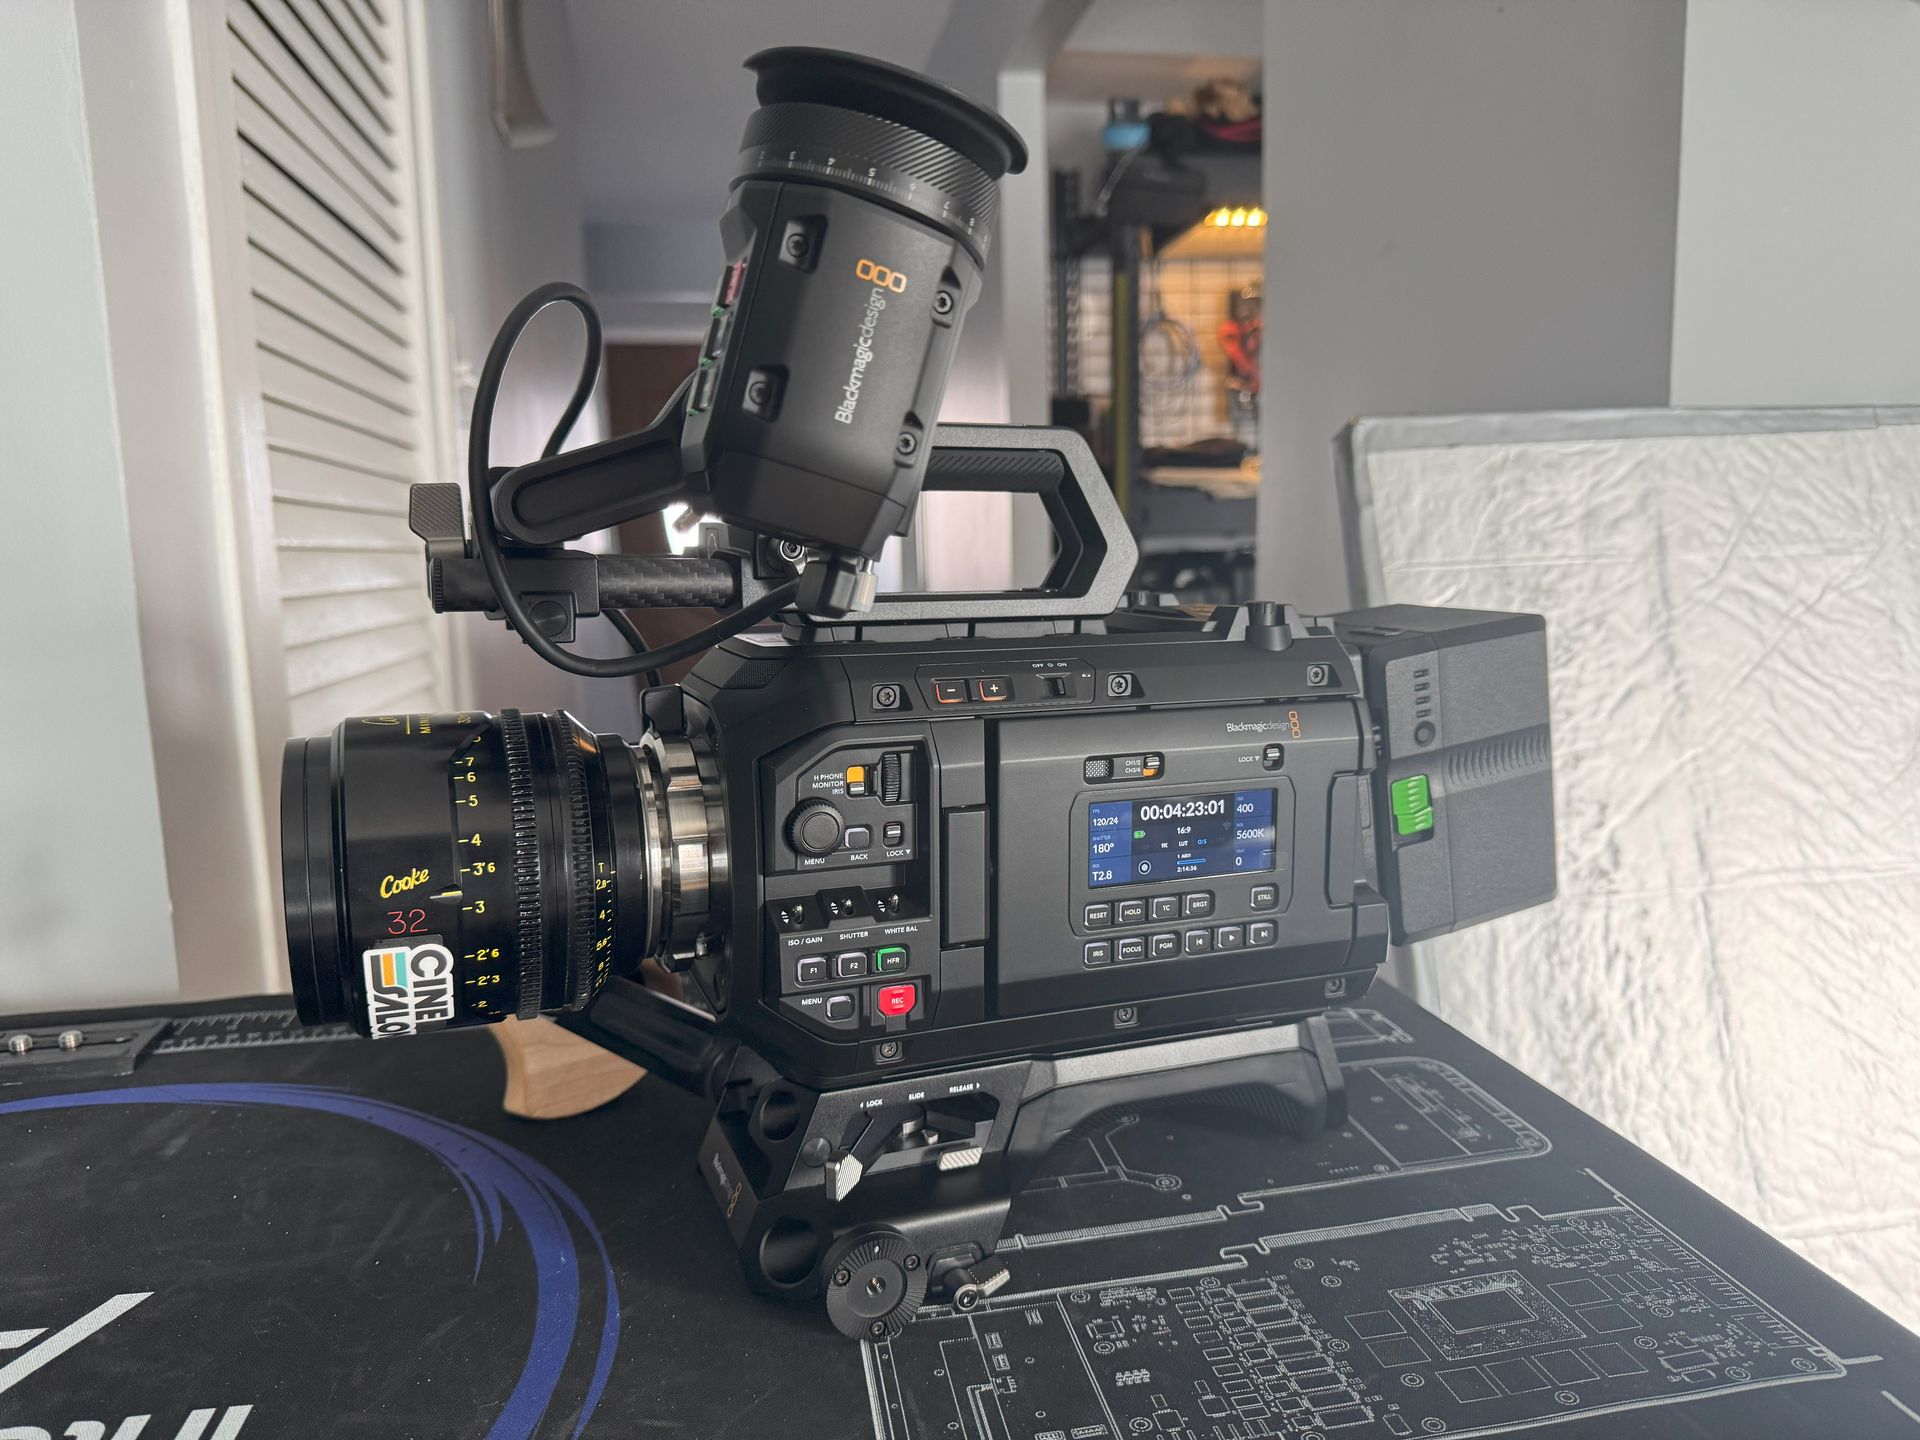
360-Degree Cameras
First on the list is the 360-degree camera. Unlike traditional cameras, these have multiple lenses. This allows them to capture everything around them simultaneously
Features to Consider
Choosing a 360-degree camera isn't always straightforward. Here are a few features to look for:
1. Resolution: This affects the video's clarity. Higher-resolution cameras deliver clearer videos.
2. Frame Rate: This is the number of frames per second (fps) the camera can capture. A higher frame rate makes movement appear smoother.
3. Stabilization: Cameras with good stabilization reduce blurring caused by movement.
This is important for clear, sharp videos.
Recommended Cameras
There are many 360-degree cameras available. Some popular choices include the GoPro Max, Insta360 ONE X2, and Ricoh Theta V. All these cameras have high resolutions and excellent stabilization.
Importance of Tripods and Stabilizers
Next up are tripods and stabilizers. They're vital for keeping your camera steady during shooting. This prevents shaky footage and ensures high-quality video.
Auxiliary Equipment
In addition to the camera and tripod, you might need other equipment. For instance, if you're shooting in low light, you may need additional lighting. If clear sound is important, consider a high-quality microphone. The specific equipment you need will depend on your shooting conditions and requirements.
Getting the right equipment is the first step towards creating stunning 360-degree videos. Now, let's look at how to prepare for your shoot.
Preparing for a 360-Degree Shoot
Storyboarding for 360-Degree Videos
Preparation is key to a successful shoot. Start with a storyboard. It's a visual representation of your video plan. Storyboards help you outline the progression of your scenes. They help you visualize the final product. You'll plan each shot, knowing where to place the camera. Remember, in 360-degree videos, everything is in the frame.
Scouting and Preparing the Location
Next, scout your location. This helps you plan your shots. Consider the lighting conditions and any potential interruptions. With 360-degree videos, you need to ensure the whole scene is clear. Remove any unwanted objects from the scene.
Lighting Considerations
Proper lighting is crucial. It can make or break your video quality. Natural light is the best. If you're shooting indoors, ensure the area is well-lit. Avoid harsh shadows or overly bright spots. They can ruin your video's appearance.
Audio Considerations and Best Practices
Don't forget about the sound. Poor audio quality can distract viewers. If you're recording sound, use a good quality microphone.
Try to minimize background noise. Getting ready for a 360-degree shoot takes time and careful planning. The effort will pay off when you see your high-quality footage. Now that we're prepared, let's move to the actual shoot. The next section will guide you through the process of capturing your 360-degree video.
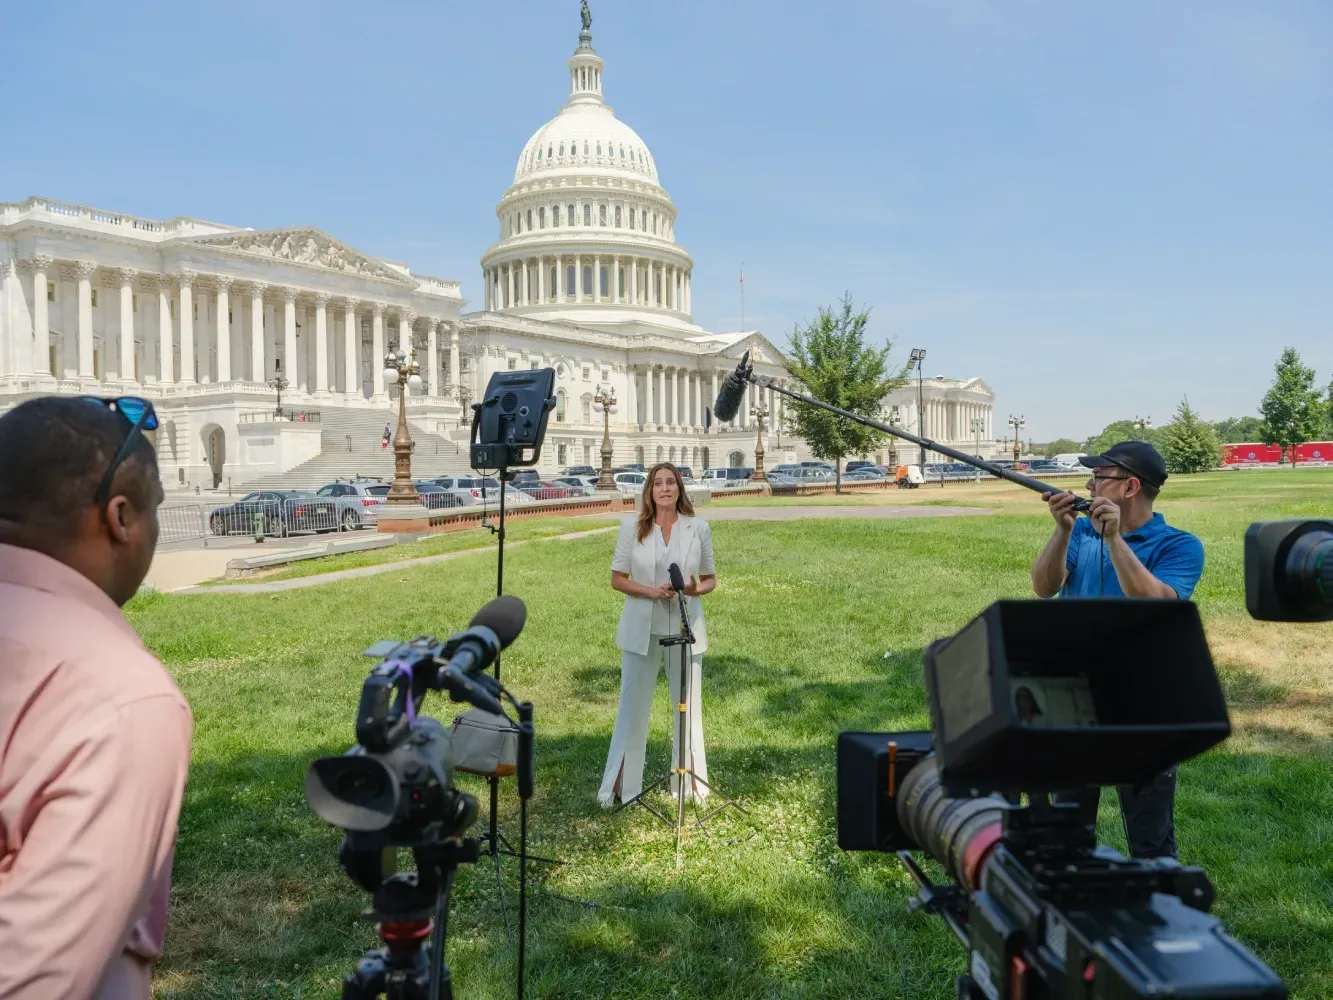
Shooting a 360-Degree Video
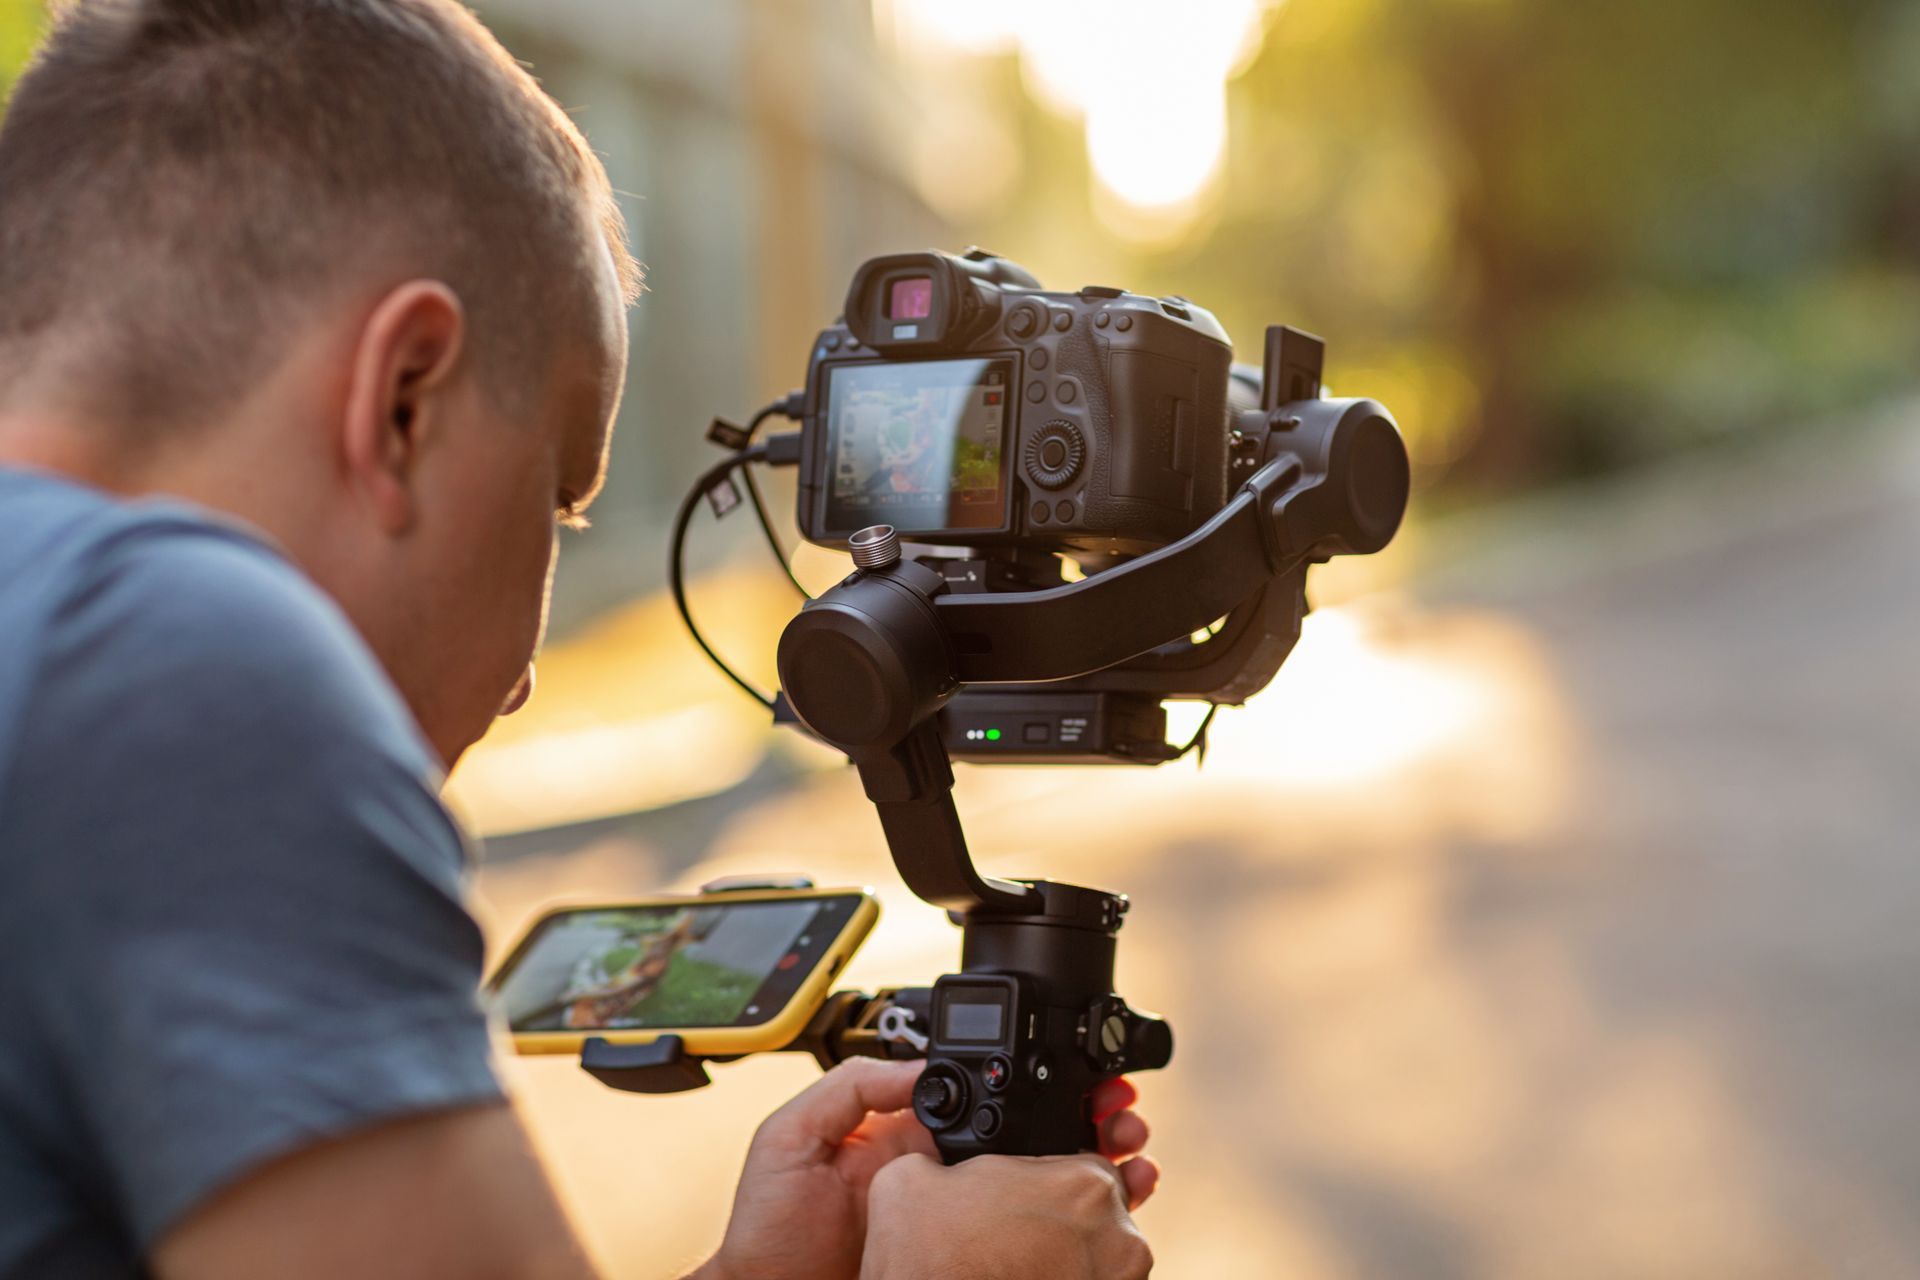
The shooting process starts with setting up your equipment. Mount your 360-degree camera on a tripod or stabilizer. This ensures steady, high-quality footage. Make sure the camera is level to avoid a tilted horizon in your video.
Camera Settings for Optimal 360-Degree Video Capture
Understanding your camera settings is crucial. Set the resolution to the highest level your camera allows. This ensures the best possible quality. Adjust the frame rate based on your needs. For normal scenes, 24 to 30 fps is sufficient. If you plan to capture fast action, consider a higher frame rate.
Filming Techniques Specific to 360-Degree Video
Filming with a 360-degree camera differs from traditional filming. Here are some tips:
1. Camera Placement: Place the camera at eye level. This gives the viewer a natural perspective.
2. Movement: Move the camera slowly and steadily. Fast or abrupt movements can disorient your viewers.
3. Camera Distance: Keep the camera close to the action. But not too close. Remember, everything is in the frame.
Common Mistakes to Avoid While Shooting
Everyone makes mistakes. But knowing common pitfalls can help you avoid them. Here are a few:
1. Ignoring the Background: In 360-degree videos, everything is visible. Pay attention to the whole scene, not just the primary subject.
2. Moving Too Fast: Rapid camera movements can be disorienting in 360-degree videos. Keep movement slow and steady.
3. Poor Lighting: Ensure your scene is adequately lit.
Dark or unevenly lit areas can ruin your video quality.
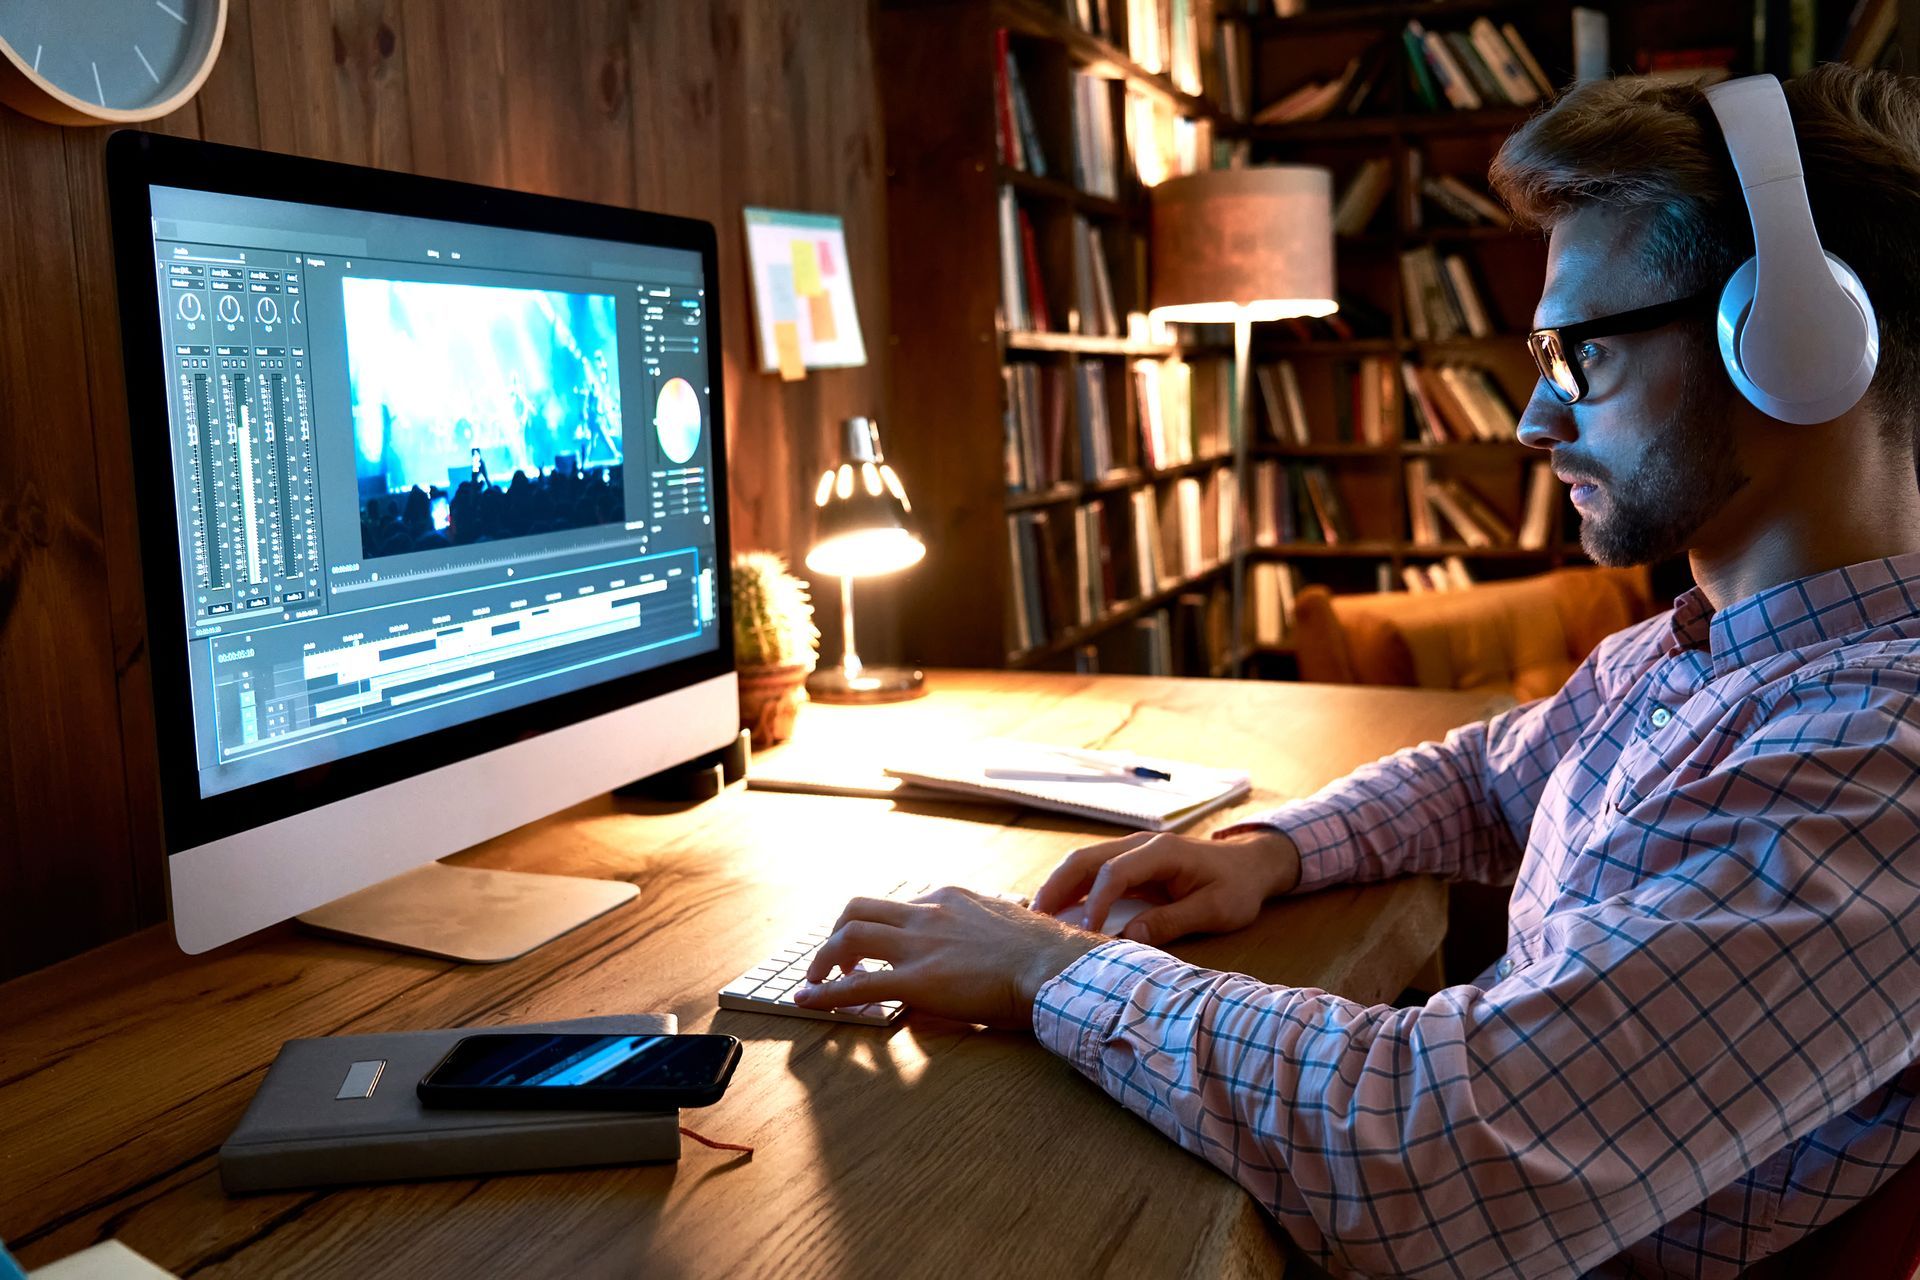
Introduction to 360-Degree Video Editing
Overview of the Post-Production Process
Capturing your footage is just the first half of the process. Next comes editing, where you refine and enhance your footage. This is where you stitch together your video, adjust colors, and add effects. Don't worry if you've never done this before. We'll walk you through it.
Understanding the Workspace and Key Functions
Each editing software has its workspace. Familiarize yourself with it. Learn where the tools are and what they do. Look out for the stitching feature, trimming tools, color correction, and effects. Understanding these tools is key to effective editing.
Stitching in 360-Degree Video Editing
What is Stitching?
Stitching is a key step in 360-degree video editing. It combines the footage from each of your camera's lenses into one seamless video. The result is a full, 360-degree panorama.
Stitching Using Specific Software
Different software has different stitching processes, but they all follow a similar structure. Here is a generalized step-by-step guide:
1. Import your footage: Load your video files into your editing software.
2. Select the stitch function: Look for a button or menu option labeled 'Stitch' or similar.
3. Adjust the stitch: Use the software's tools to fine-tune the stitch. Align any misaligned elements and smooth any visible seams.
4. Apply the stitch: Confirm your adjustments and apply the stitch. Your software will combine the footage into a single, seamless 360-degree video.
Tips for Seamless Stitching
Here are a few tips to help you get a seamless stitch:
1. Use software from your camera's manufacturer: This software is often optimized for your specific camera model. This can make the stitching process easier and more accurate.
2. Carefully adjust the stitch: Take your time when fine-tuning the stitch. Small adjustments can make a big difference in the final video.
Once you've successfully stitched your footage, you're ready to start editing in earnest. In the next section, we'll dive into the tools and techniques you can use to refine your 360-degree video.
Refining Your 360-Degree Video
Trimming and Cutting Your 360-Degree Video
Trimming and cutting are the basic tools of video editing. Use them to remove unnecessary footage. Most software provides a timeline view for this purpose. You can simply drag the start and end points to trim your video. To cut a section out, you'll split the video into two points and then delete the section in between.
Color Correction and Grading
Color correction is vital in video editing. It ensures your video looks natural and visually appealing. Adjust brightness, contrast, saturation, and white balance to get the right look. Color grading takes this a step further. It allows you to apply creative color effects to set the mood of your video.
Adding Effects and Transitions
Effects can add a touch of magic to your video. You can use effects to focus the viewer's attention, add text overlays, or create visual interest. Transitions, on the other hand, smoothen the change from one clip to another. They help your video flow smoothly and maintain viewer engagement.
Adding Audio
Adding audio to your video can enhance the viewer experience. You can add background music, voiceovers, or sound effects. Be sure to balance the audio levels so that no element overpowers the others.
Exporting and Sharing Your 360-Degree Video
Choosing the Right Export Settings
Exporting is the final step in the editing process. You're converting your project into a video file. Here are some things to consider:
1. Resolution: Choose the highest resolution possible. This ensures the best quality.
2. Format: MP4 is a common and widely supported video format.
3. Codec: H.264 is a good choice for 360-degree videos. It provides a balance between quality and file size.
Exporting Your Video
Once you've chosen your settings, it's time to export. The process varies between software, but generally, you'll select 'Export' from the file menu, choose your settings, and then start the export.
Sharing Your 360-Degree Video
Now that you've exported your video, it's time to share it with the world.
Here's how:
1. YouTube: YouTube supports 360-degree videos. You can upload your video just like any other. Viewers can then pan and rotate the video during playback.
2. Facebook: Facebook also supports 360-degree videos. You can post your video on your timeline, and viewers can interact with it.
3. VR Platforms: If you've made a VR video, consider sharing it on a VR platform like SteamVR or Oculus.
Remember to promote your video. Share the link on your social media channels. Encourage viewers to interact with your 360-degree video.
Congratulations! You've now walked through the process of capturing and editing 360-degree video. It's a journey, but with this guide, you're well-equipped to create immersive videos that stand out.
Troubleshooting Common Issues in 360-Degree Video Production
Identifying Common Problems
Despite careful planning, problems can arise during 360-degree video production. But don't worry, most issues have simple solutions. Here are a few common problems and their fixes.
Stitching Errors
Stitching errors can cause visible seams in your video. If you notice these, return to your stitching software. Re-adjust the stitch until the seams are no longer visible.
Poor Video Quality
If your video quality is poor, check your camera settings. Make sure you're shooting at the highest resolution. During editing, ensure your export settings match your shooting resolution.
Disorienting Camera Movement
If your camera movement is disorienting, consider using a stabilizer. This can smooth out any shaky or abrupt movements. Also, move your camera slowly and steadily to avoid motion sickness.
Bad Audio Quality
Bad audio can ruin an otherwise great video. If your audio quality isn't up to par, consider using an external microphone. During editing, use your software's audio tools to enhance the sound quality.
Struggling with Editing Software
If you're struggling with your editing software, consider looking for online tutorials. There are many resources available that can guide you through the specific software.
Final Thoughts on 360-Degree Videos
Creating 360-degree videos can be challenging. But with patience and practice, you can overcome these challenges. Remember, every problem has a solution. Don't be afraid to experiment and learn.
Now, you have a complete overview of capturing and editing 360-degree videos. From understanding the basics, getting the right equipment, shooting, and editing, to troubleshooting, you're well-equipped to create immersive and interactive videos. Happy shooting!

Get total clarity on your video marketing and paid media with our FREE comprehensive data audit.
CINESALON NEWS