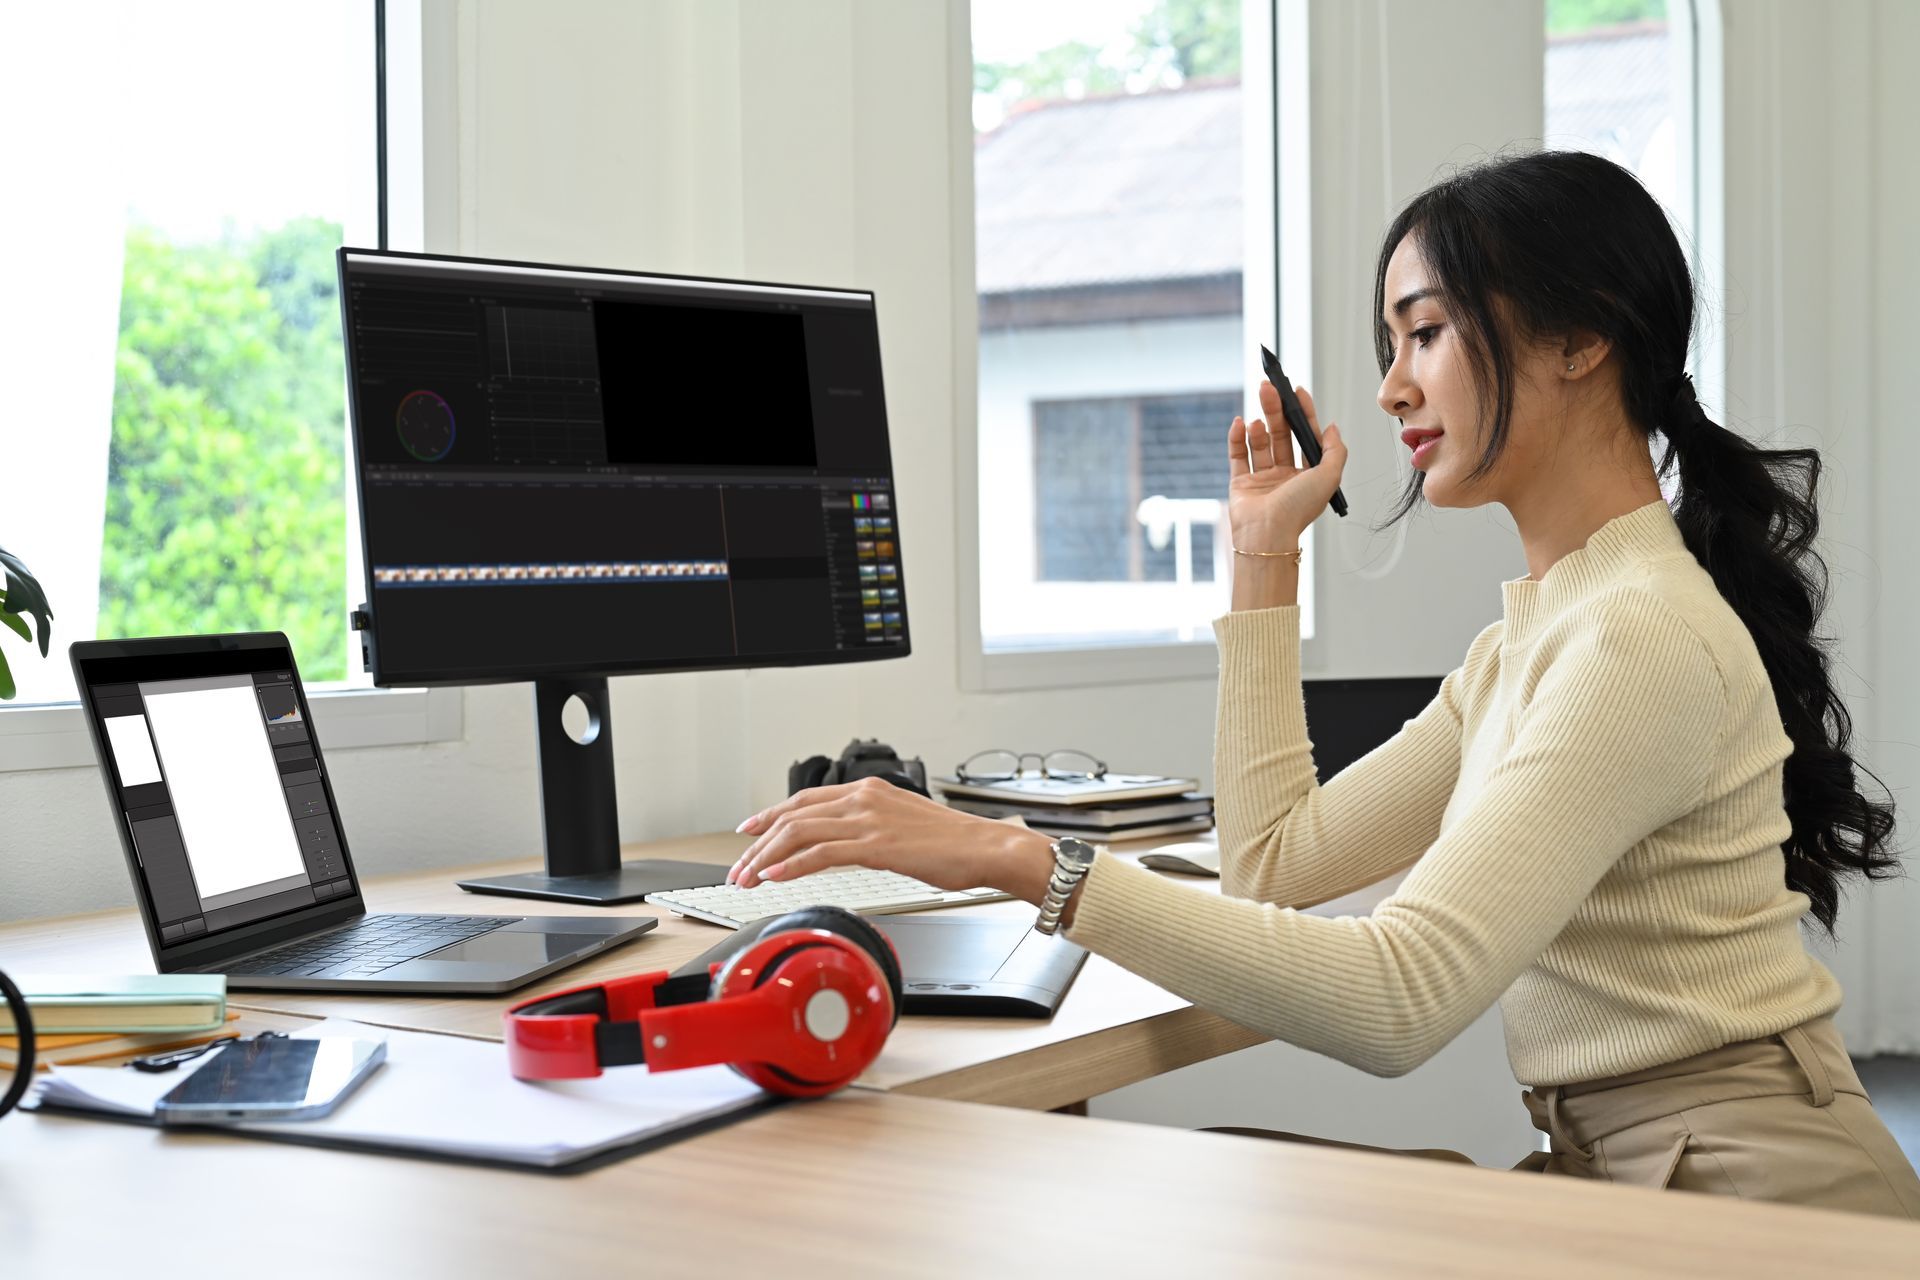
If you want to shorten a video or highlight any specific part, you can crop it. This implies excluding the sections that are not necessary. This outline will guide us on how to crop videos using tools like QuickTime, iMovie, iPhone, and Premiere Pro on a Mac computer. Every tool has its approach to cropping videos, and by following these steps, your videos can look precisely how you want them to appear. So here is how we could crop videos step by step with those tools.
How to Crop a Video in QuickTime on Mac;
Upgrading to QuickTime Pro
- To crop a video in QuickTime, you must have upgrade to QuickTime Pro.
- This is because the free QuickTime does not possess the essential features for cropping a video.
- Upon acquiring a permit, enable the Quick Time Pro, then start cropping your clips.
Creating a Mask File
- To crop a video in Quicktime quickly, create a mask file.
- A mask file is an image that defines the video area you would like to keep.
- You can create mask files via programs such as Adobe Photoshop, which are graphics editors, or use QuickTime Mask Editor, among other ways.
- To do this, select what section of the clip should be kept and save it as mask files.
Applying the Mask
- The next step after creating your file is to apply it quickly when handling your video clips.
- To apply the mask, open your video in Quick Time and choose the “Open Mask” option.
- This will direct one where they can pick and apply their created masks while working with their clips.
- When this process is done, the outside appears black, whereas the inside looks visible only through areas within the mask.
- Crop the video in QuickTime using the available tools and according to how you want the outcome.
Saving the Cropped Video
- After applying the mask, you can save the final video, which has been cropped.
- To save the cropped video, select the “export” option and choose a format for your video.
- This is where Quick Time supports several formats of videos, such as MP4, MOV, and AVI, among others.
- Finally, save your cropped video on your computer after selecting its format.
iMovie on iPhone/Mac;
Overview of iMovie for Video Cropping
iMovie is a movie editing software Apple made that functions on iPhone and Mac devices. You can choose what area should be kept, for example, using crop tools while cutting out those unnecessary in the footage.
Cropping a Video in iMovie on iPhone
- To carry out this action, open the iMovie app on your iPhone and tap the required clip for cropping purposes.
- While choosing a file, there could be an option named crop tool that allows an individual to select a particular region that needs to remain after the cropping process finishes—it helps determine other sections within duplicate footage that must be excluded outside there, too.
- Change the video’s aspect ratio depending on the platform it is posted to, such as Instagram, Snapchat stories, etc. After trimming your video, please save it into our camera roll or share it via video social media platforms.

Different Aspect Ratios for Social Media Platforms
Each platform is unique in terms of aspect ratios. Instagram, for instance, requires square videos with an aspect ratio of 1:1; at the same time, YouTube Platforms prefers comprehensive screen videos at an aspect ratio of 16:9. With iMovie, you can resize your video aspect ratio according to each social media platform’s requirements.
Comparison of Cropping and Resizing
Cropping and resizing are two different methods of editing videos. While cropping entails eliminating unnecessary parts of a video, resizing is all about changing its proportions.
As such, if focusing on something specific inside one’s video, one should crop it instead, but resizing will be much more helpful when making changes in size so that it fits within particular screen dimensions. Thus, both ways could be employed at once to reach this goal.

How to Crop a Video on iPhone
A. Using the Crop-Rotate Icon
- On an iPhone device, you can easily crop videos using the Photos app and select the “crop-rotate” icon from there.
- To do so, open an edit mode, then select any cropped portion or rotate option under Edit>Select Crop-Rotate option, allowing users to adjust their desired portion by dragging corner anchors into position.
- This feature makes trimming and adjusting framing simple and can be done directly from your iPhone.
Cropping with Video Crop – Crop and Resize Video
- Video Crop-Crop and Resize Video is another method for cropping iPhone videos.
- These applications provide more advanced options than built-in tools for cropping and resizing your video.
- Once downloaded, pick your video, select the segment you want to preserve, and crop it.
- This technique provides greater control over cropping and allows for precise adjustments.
Cropping for Specific Aspect Ratios
Different platforms require specific aspect ratios when cropping a movie with an iPhone. For instance, Instagram has a square format that requires a 1:1 aspect ratio. In contrast, the standard widescreen format on YouTube is 16:9. Cropping those videos to fit such specific aspect ratios will appear best when shared on social media or viewed through different devices. Henceforth, knowledge of these aspects helps optimize videos for various videos platforms while improving their visual appeal.
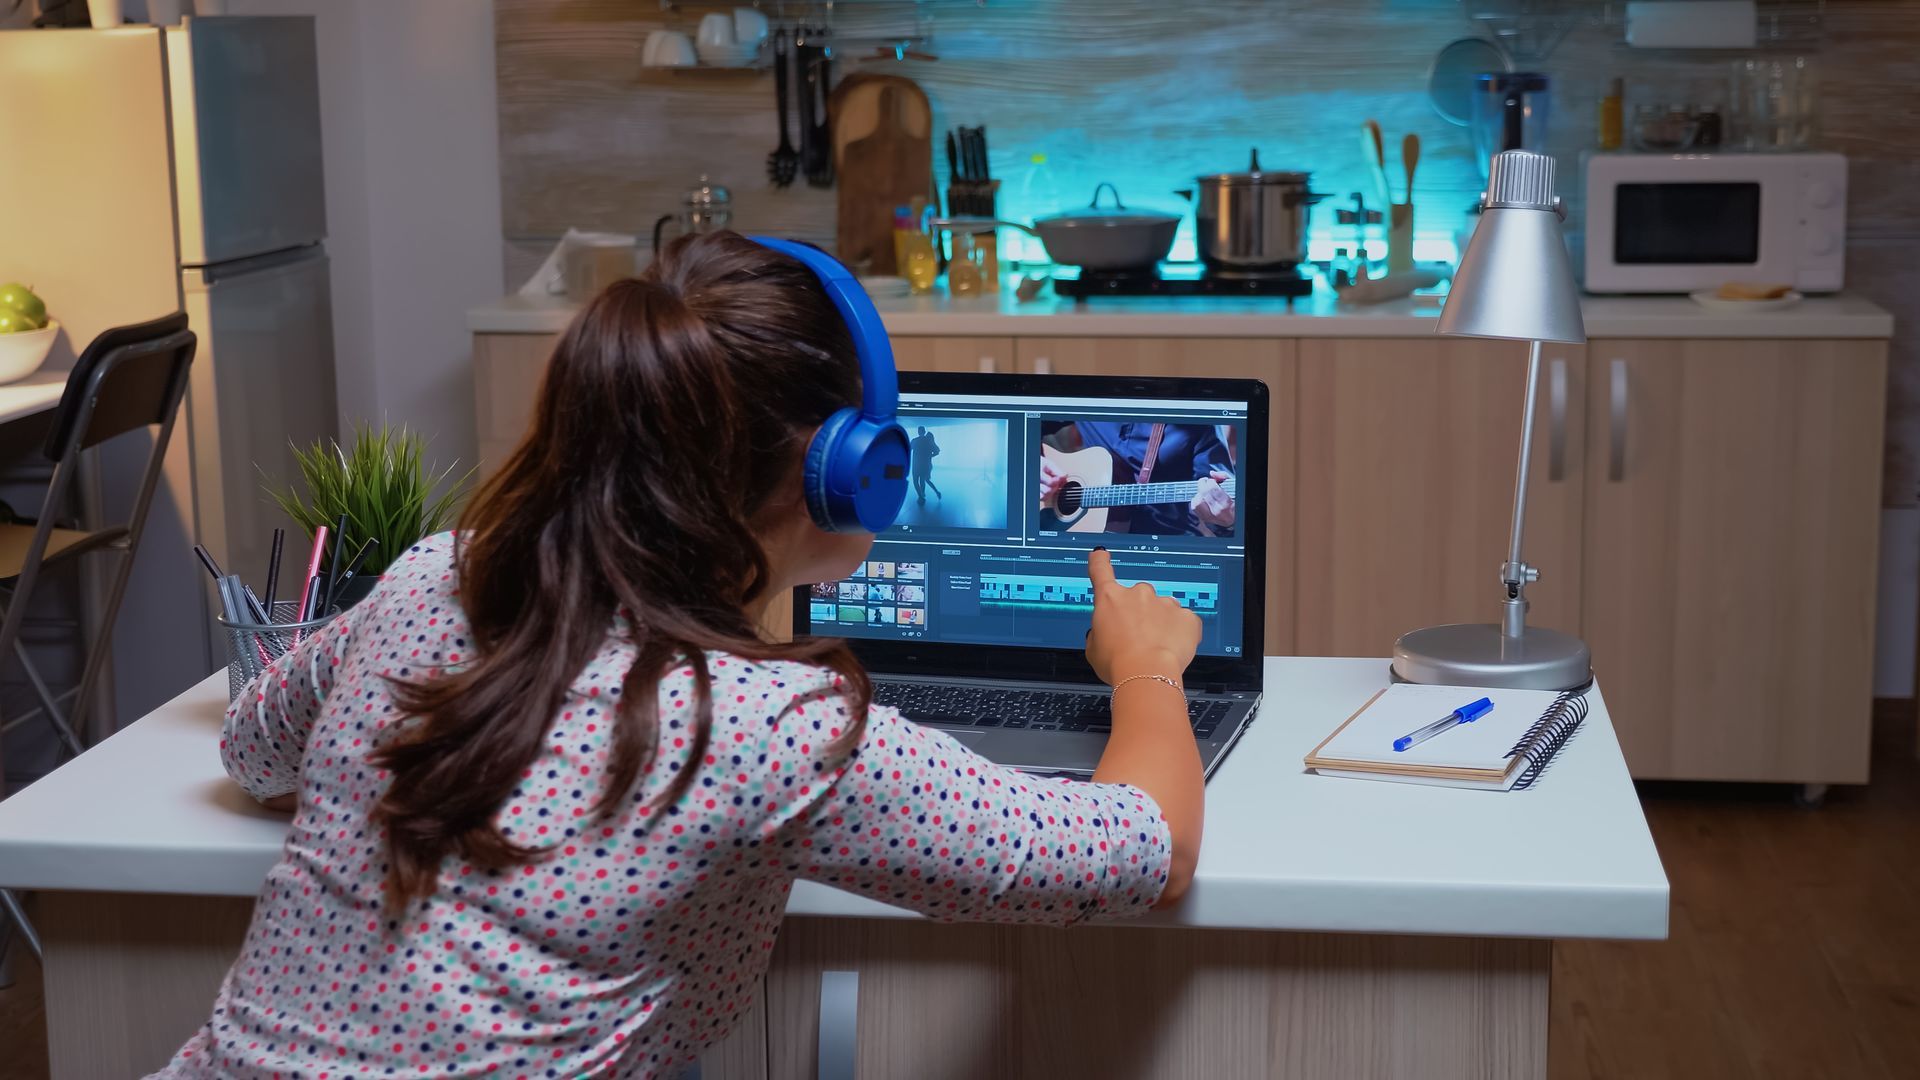
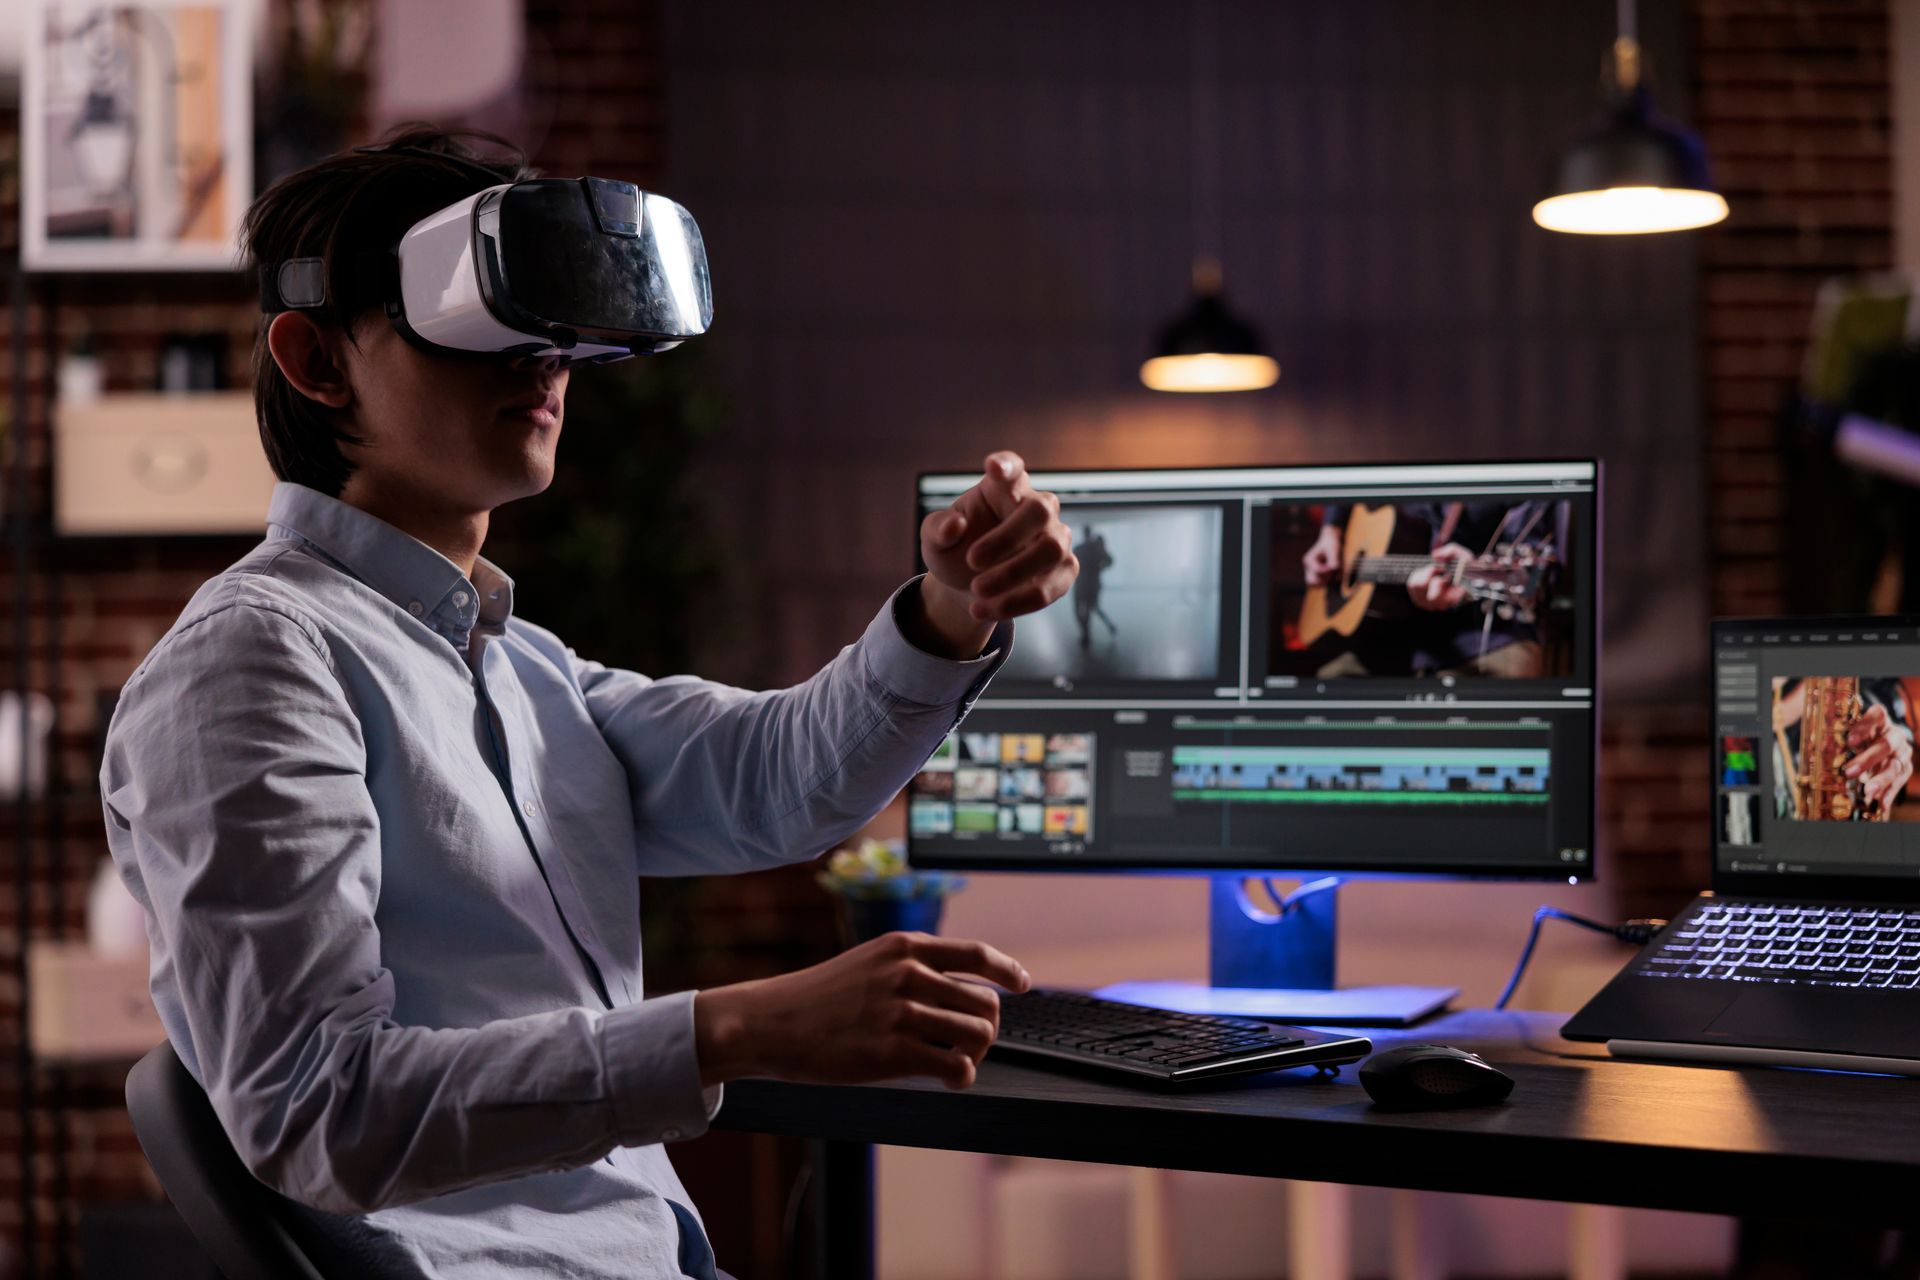
Crop a Video in Premiere Pro
Overview of Premiere Pro for Video Cropping
Premiere Pro has additional features beyond casual video editing, including cropping ability. This enables one to do away with unwanted parts of films using various precision crop techniques /options apart from manually altering frame size. In addition, other functions make this program stand out as among the best tools used to edit high-quality content.
Cropping a Video in Premiere Pro
- Import your video to the software as a first step. In the timeline, choose the video clip you want to work with.
- Next, go to the Effects Control panel and find Motion settings.
- Under Motion settings, there are Scale and Position options.
- Adjusting these parameters will allow cropping of a video by resizing and repositioning it within a frame.
Using the Crop Tool
Premiere Pro does not have a “Crop Tool” like some other programs. However, it is possible to create a similar effect when cropping any video by adjusting our footage clips' Position and Scale properties.
This can be done by simply changing these two settings, making it possible for one to crop their videos effectively to focus on specific areas or eliminate unwanted parts from them. With Premier Pro’s precise control on cropping, a user can make videos with tailored framing that always looks professional.
Saving the Cropped Video
After you have cropped your video in Premiere Pro, saving your work properly becomes essential.
- To save the cropped video file in Export Settings > File > Export > Media>
- Select save location on the computer and click OK once done.
- The export settings window allows you to select several things, such as resolution and bit rate, depending on what you want for your cropped (sic) media file (s).
- Save this way by clicking export at the bottom right corner of this interface once everything has been set according to what you need before saving cropped files in the desired format/extension.
Consequently, the configuration is done, the exports button is clicked, and the cropped video saved on the computer with the preferred file type chosen should match the output purpose, whether sharing online or further editing.
Crop a Video on Mac OS
Overview of Mac OS for Video Cropping
The operating system used for Mac computers, called Mac OS, comes with built-in tools that allow easy video cropping. With apps like QuickTime and iMovie, it is possible to crop a Mac OS video, for instance, to delete unwanted parts, adjust its framing, or even make it smaller for use for different purposes. Video editing on a Mac OS can be achieved through an easy-to-use interface that doesn’t require the user to have additional software.
Cropping a Video on Mac OS
- Mac OS users can crop videos using applications such as QuickTime or iMovie.
- Use QuickTime to create mask files that define what part of the video you want to see, then apply them to eliminate everything else.
- In contrast, you must navigate these menus into the very corner of your display where it says “crop” and select only that tiny part before removing the rest.
- Click the delete key when done with the selection process.
These two programs offer intuitive interfaces that simplify such activities considerably when working on Mac computers.

Using the Crop Tool
We all know one thing about cropping a video in QuickTime and iMovie applications available for the Mac operating system – we will need this utility known as Crop Tool.
- It helps us define what is supposed to appear within our image frames while getting rid of everything else we do not want to be captured by our cameras at all.
- You can resize the frame by manipulating its four points: upper-left corner, lower-right corner, lower-left corner, and upper-right corner until you achieve the desired size or aspect ratio.
In addition, users are also given a clue regarding how their videos will appear after being cropped via this tool; hence, they can select which sections they want included in the final output.
Saving the Cropped Video
- Save your edited work after cropping the video in Mac OS.
- In applications like QuickTime or iMovie, you can save your cropped video by exporting it to your preferred format.
- Before saving the cropped video, please select a suitable file format and quality settings that enable you to share it or edit it further in the future.
- Your cropped video will be saved correctly, and your editing content will be secured for future use.

Five Points on the Difference Between Cropping and Resizing a Video
Purpose
The purpose of cropping and resizing videos differs when editing them. Cropping removes unwanted areas or changes the framing of a film. On the other hand, resizing is meant to alter the general dimensions of a clip without cutting out any information from there.
Size
While cropping involves clipping parts of an image, this reduces the size of the video; resizing achieves this by changing other dimensions while preserving every detail across the frame.
Aspect Ratio
During cropping, some parts of an image are removed, thus changing its aspect ratio, while it remains the same during resizing.
Content
Cropping might mean removing some segments, whereas, for resizing, all remain intact.
Use Cases
In most cases, cropping helps to concentrate on specific points within a picture or adjust its framing, unlike resizing, which allows for fitting videos on various screens and platforms.
To sum up, we know that when it comes to video editing, both methods have different purposes, with cropping being more concerned with removing unnecessary sections and resizing being about modifying an entire footage size. This knowledge will guide you when deciding how to produce your videos through these techniques.
Cropping an MP4 Video on Different Platforms
On iOS iMovie:
- Launch the iMovie on your iOS device.
- Then, create a new project and import the MP4 video you want to crop.
- Please tap on the video clip in the timeline to select it.
- Start by tapping the Crop icon and adjusting the frame to crop the video.
- Check out the cropped video and save or export it.
Android
- Using InShot Video Editor:
- Download and install InShot Video Editor.
- Import your MP4 video.
- Select the video clip you want to edit using a cropping tool.
- Select an area that you wish to retain by adjusting the cropping frame.
- Also, remember to save or export cropped videos.
Windows
- Using VLC Media Player:
- download VLC Media Player for Windows and install it.
- Go to Tools, then move to Effects and Filters.
- Next, in the Adjustments and Effects window in the Video Effects tab,
- Find the Image Adjust box option, click it, then work on cropping settings,
- Lastly, apply crop changes by clicking the Save button before quitting the media player.
These step-by-step processes tell us how to crop MP4 videos on iOS, Android, and Windows. You can conveniently select specific areas of interest in a picture or adjust framing as desired. To this effect, kindly follow our steps below.
How to Become Better at Cropping Videos In QuickTime and Other Tools
Practicing how to crop videos can significantly improve your video editing skills in different ways. Here are some key takeaways about getting better at editing by practicing cropping videos:
Better Concentration
This activity teaches you the value of focusing on a motion picture's specific parts and improving its composition. With this skill, you can create an eye-catching video that can capture the audience’s attention.
Crafting a Story
Cropping lets you tell a story by strategically selecting and organizing footage. By practicing, you can learn how to narrate stories using videos to engage your viewers and make communication more effective.
Enhanced Technical Skills
Consistent cropping tools enhance the technical competence required for video editing software. You will be accustomed to using functions as edit functions, shortcuts, and techniques, thus making the process faster and more efficient.
Boosts Creativity
It also promotes creativity by challenging one to think critically about various framing options, aspect ratios, and visual styles when practicing cropping videos. This experiment supports innovative thinking, which shapes one’s unique editing style.
Paying Attention To Details
Cropping videos should always involve attention to detail so that final products always look polished and professional, as opposed to not being severe with more information while cropping them out. As one gets used to this activity, eventually, they recognize all the minor aspects that contribute towards poor quality videos since any slight changes negatively impact the general outlook of the piece-work.
In summary, regular practice in video cropping improves your technical skills, nurtures your artistic urge and storytelling abilities, and pays attention to intricate details, thereby creating overall mastery of video editing. Practice cropping videos since it could help improve your video editing skills in the long run.

How can cropping videos affect the quality of the video
The quality of a video can be influenced by cropping it, and people need to understand how this process impacts its final result. The following are ways that cropping videos can affect video quality based on the search results provided:
Quality Loss
When you crop a video, re-encoding happens, which may compromise the originality of the video. Because some parts are removed while others are re-encoded in such a process, this unavoidably leads to a loss of quality.
Pixelation
If you zoom in significantly when cropping a clip, it will likely lead to pixelation or blurriness due to the enlargement of what remains. This might happen if one widens or shortens their content too much during cropping.
Aspect Ratio Adjustments
Quality might be affected when videos are cropped to specific aspect ratios or screen sizes without caution. It is essential to retain as many resolutions and aspect ratios as possible, which was initially meant to minimize any decline in quality.
Export Settings
While saving cropped footage, they must be exported at the highest possible quality so that images do not lose clarity and sharpness. On this note, less-resolution export options make videos lose their quality.
Professional Assistance
If maintaining high-quality video is essential, and more expertise in video editing is required, professional video services should be considered for your work. They will ensure that once cropped, your clips will maintain their originality but at least meet those set standards during editing sessions, making them better.
Common Mistakes to Avoid When Cropping Videos
By cropping a film correctly, you can enhance its qualities, but common mistakes could hinder it from being ideal. Here are some common errors people make when they crop their videos:
Over-cropping
Over-cropping may lead to losing crucial details or context in footage. Therefore, it is essential to balance removing unnecessary elements and preserving valuable information so as not to compromise the content's meaning.
Inconsistent Cropping
This could be characterized by irregular cropping where the viewing experience becomes disjointed. Consistency in cropping throughout the video will also help ensure a smooth visual flow.
Ignoring Aspect Ratios
Nevertheless, there are times when aspect ratios are overlooked, resulting in better-fitting visuals on various channels or devices. However, one must always consider vertical aspect ratio requirements for each platform and crop your videos to make them look perfect.
Cropping Without a Purpose
Randomly cropping videos without a clear purpose can create a disorganized and confusing viewing experience. One must have objectives while cropping, such as eliminating distractions or emphasizing selected details.
Not Previewing the Cropped Video
Not previewing the cropped video can lead to unintended consequences, such as unnoticed errors or poor framing. To avoid potential disappointments, always keep an eye on any cropped footage.
Not Saving the Cropped Video Properly: Failing to save the cropped video correctly can result in losing your editing work. To ensure it is ready for sharing or further editing, permanently save the cropped video using the appropriate format and quality settings.
Final Words on How to Crop a Video in QuickTime:
Cropping a video in QuickTime or using other methods makes for valuable skills substantially elevating their quality and attraction appeal. Through knowledge of cropping basics and different platforms’ tool capabilities, you will be able to learn how best to crop videos with better results. However, it would be best to practice correcting mistakes commonly made during video editing to improve your skills and develop more engaging content. Consider the effects of cropping on video quality and take all possible measures to maintain the original resolution and aspect ratio intact as much as possible. You will undoubtedly become an expert if you keep practicing how to crop videos, thus creating visually attractive content that intrigues your audience. Contact us if you need to consult someone to help you with video production.

Get total clarity on your video marketing and paid media with our FREE comprehensive data audit.
CINESALON NEWS